When I bought my 3D printer, I purchased four 30L Tupperware baskets to store my filament in. “Perfect, enough for 32 spools. This should last me quite a while!” I thought:

One year (and over twice as many spools later) it became obvious that solution doesn’t scale. I’d run out of space for Rubbermaid’s and was kicking loose spools across the floor with my feet.
I happened across this Reddit post:
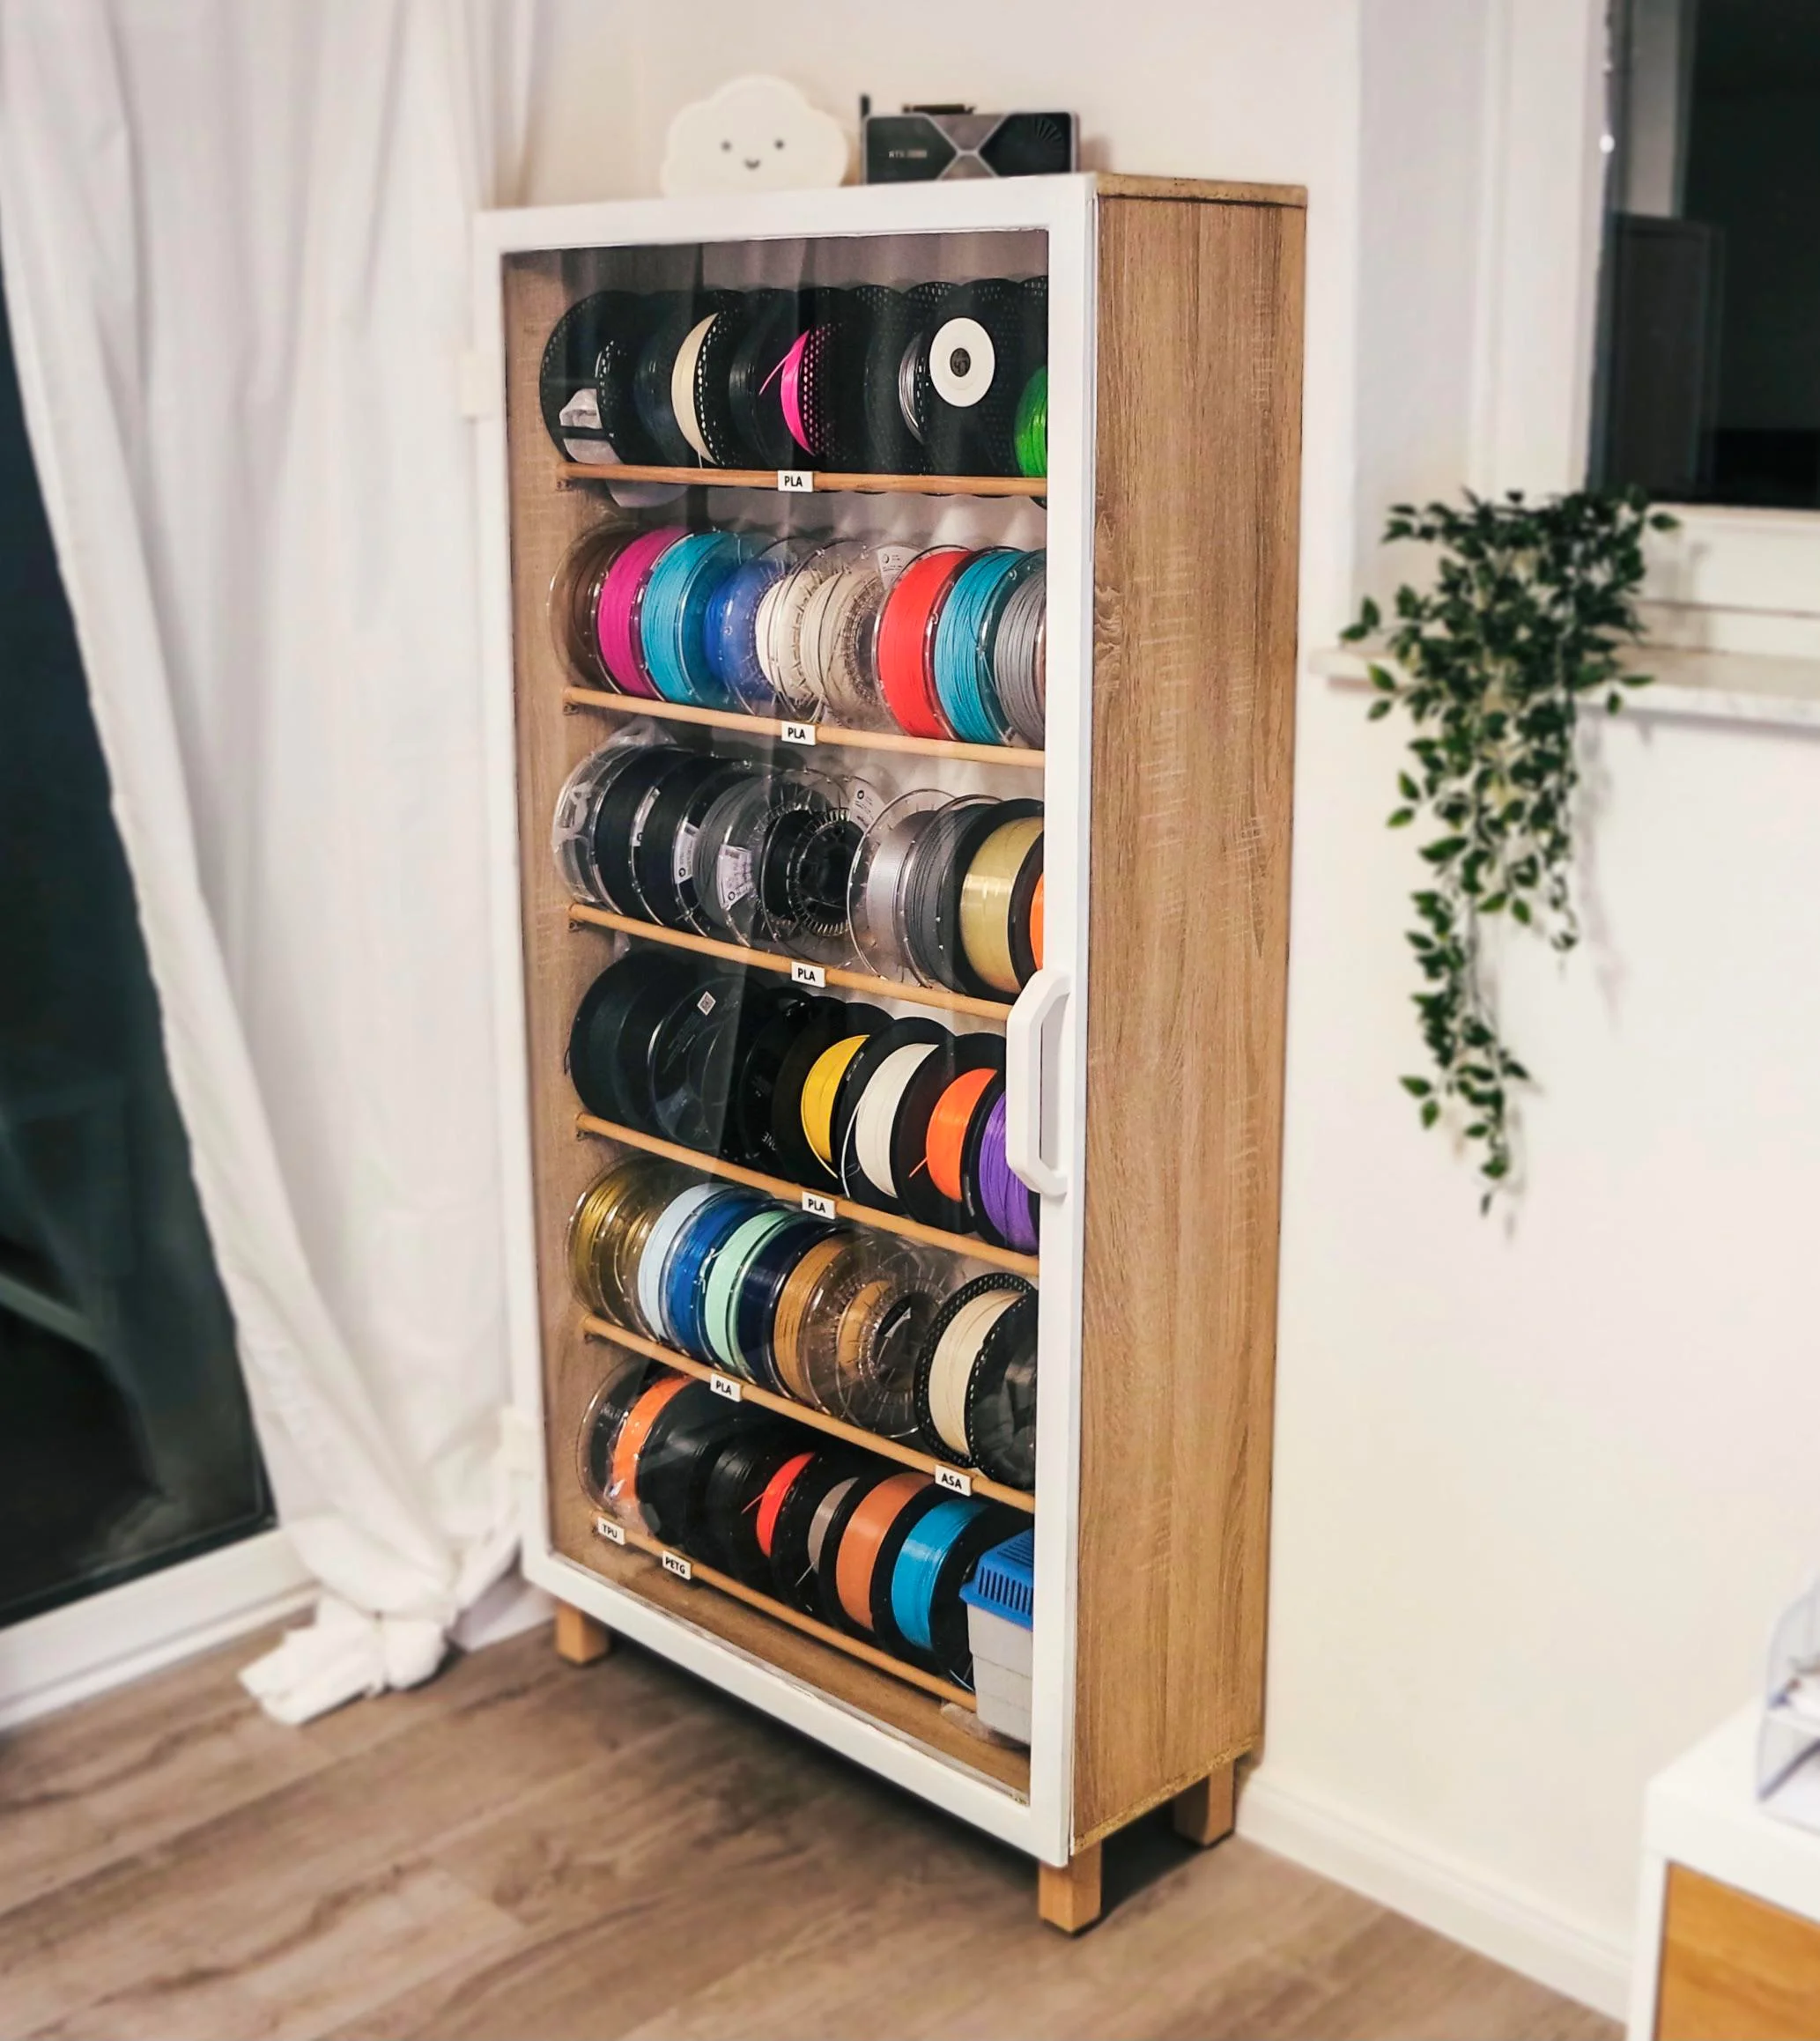
This guy had built a cabinet for all his filament!
Feeling inspired, I hopped into Fusion360 and this was my first attempt at modeling the whole thing:
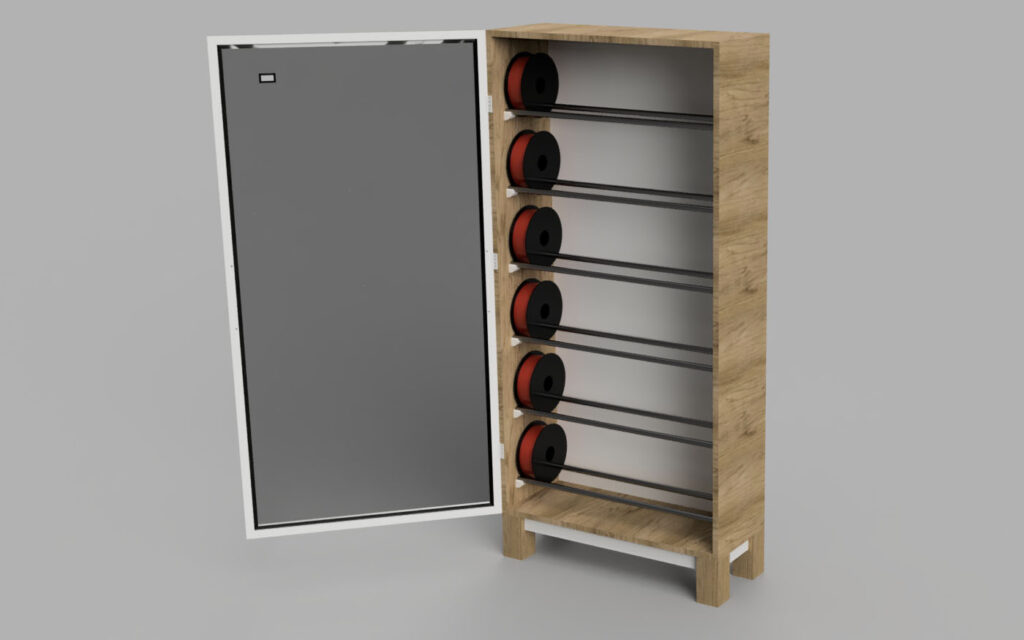
My wife gave it a 4.5/10. It was functional but not all that nice to look at. She didn’t seem thrilled with the idea of it sitting anywhere in our house. I started browsing bookshelf plans on the internet and came across this post:
Build a Bookshelf–{6 Steps to Build Your Own Freestanding Bookshelf} (woodshopdiaries.com)
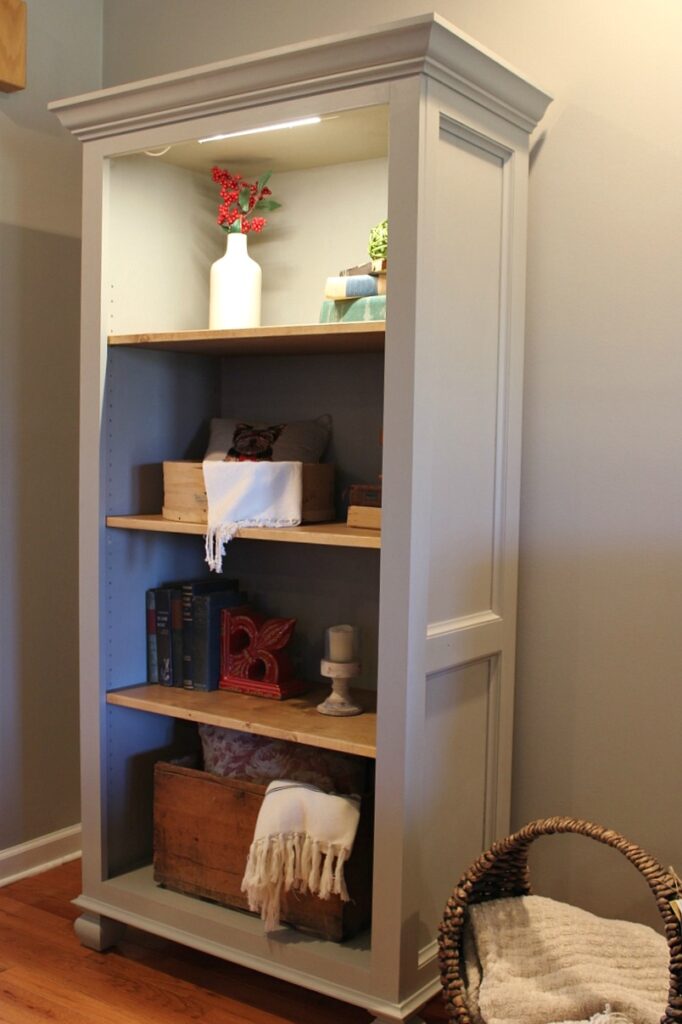
Now THAT was a nice-looking bookshelf! The only problem was I’d never done a LICK of woodworking and it seemed a little advanced. No matter – I had my heart set on something like this and her instructions were clear and straightforward. I was doing it.
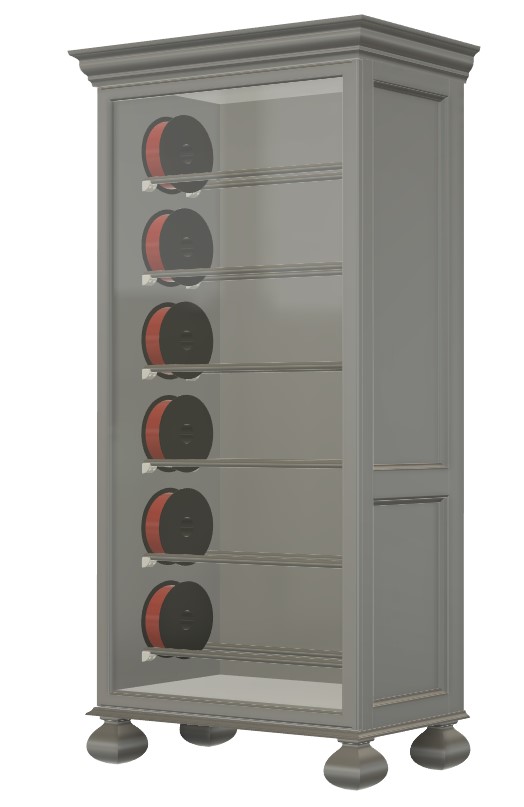
I spent some more time in Fusion modeling the cabinet. It was a good exercise as it allowed me to ensure the filament spools would all fit properly. It also generated a bill of materials as I knew exactly what sizes the pieces of wood should be.
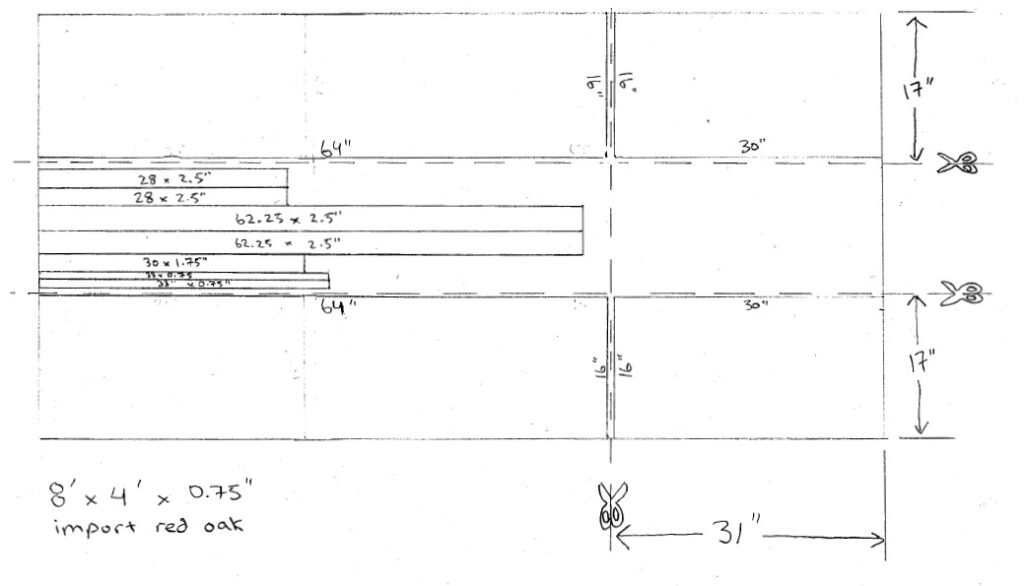
There was no way a standard sheet of plywood was fitting in my vehicle, so I played a little Tetris and marked out the pieces so that the woodstore could cut it down for me.
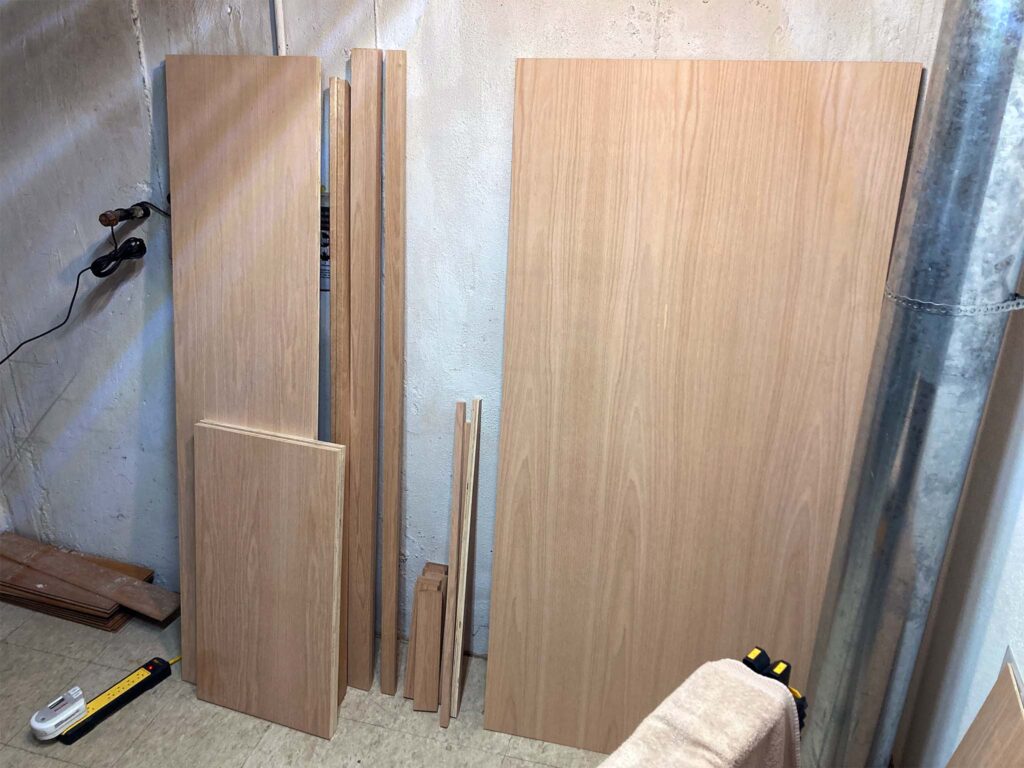
I set up shop in the furnace room downstairs
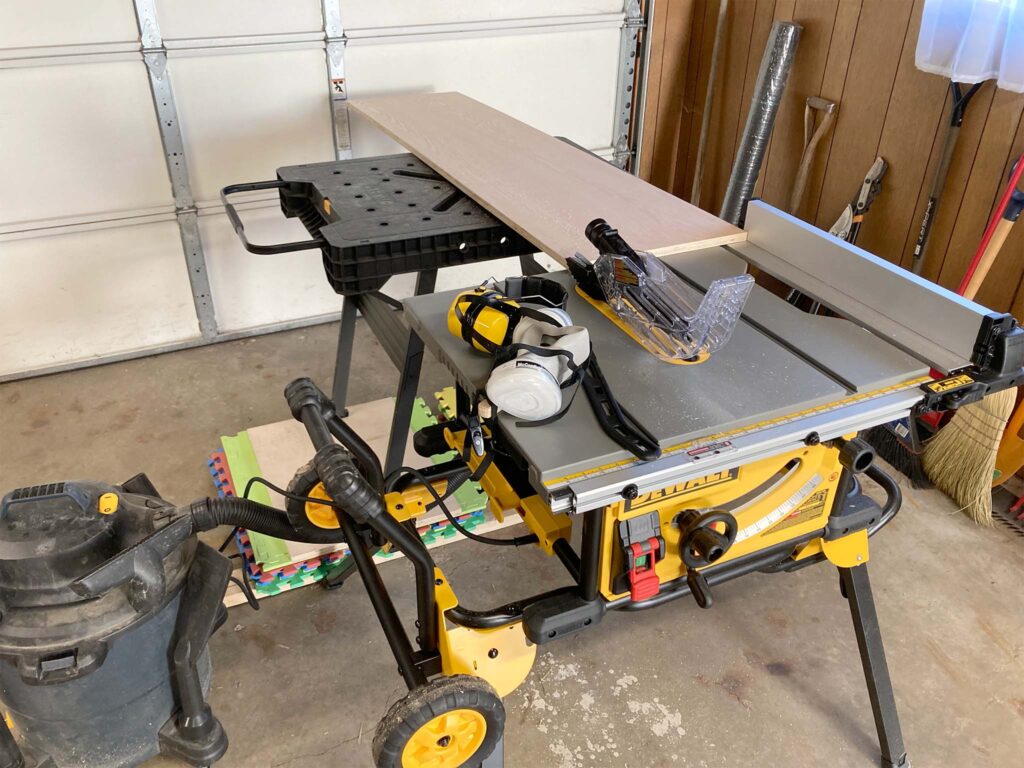
Despite never doing much woodworking, I have a LOT of power tools. One thing I didn’t have is a tablesaw and after watching 100’s of hours of YouTube woodworking videos, I figured I’d treat myself. Luck had it that this bad boy went on sale right when I needed it.
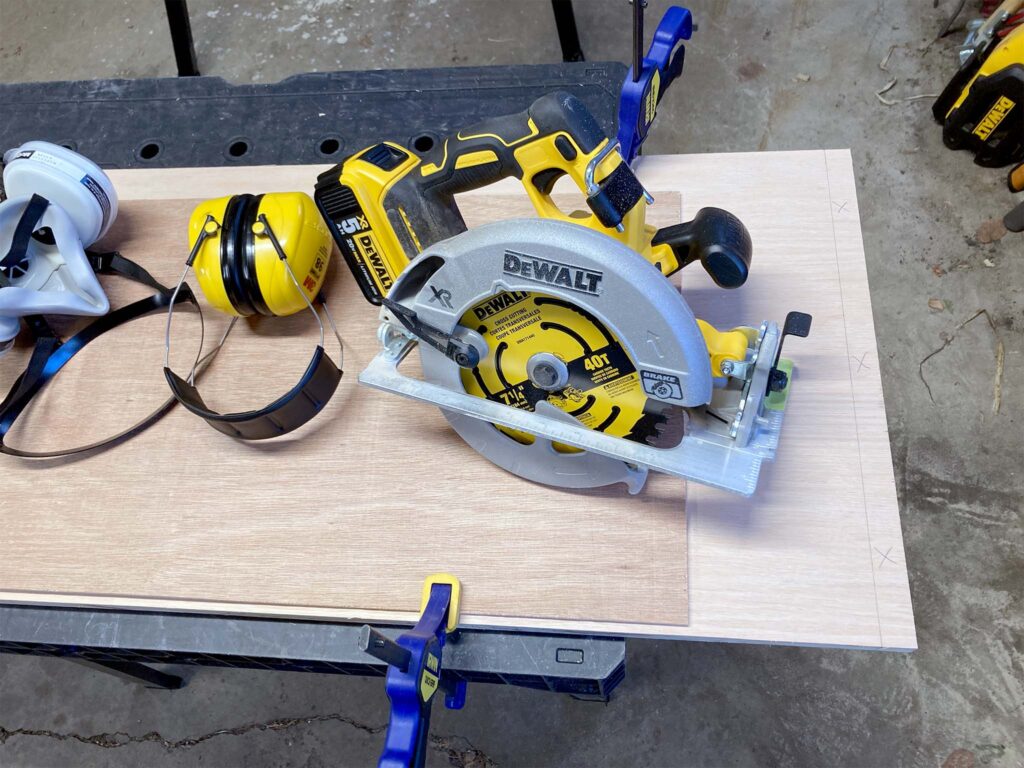
I’m pretty sure I measured at least 6x before every cut with the circular saw. I had no spare oak plywood and it was super expensive.
Ok ok, so I treated myself to one other tool I didn’t own – a handheld router. I wanted nice round edges on the doorframe and this seemed the right way.
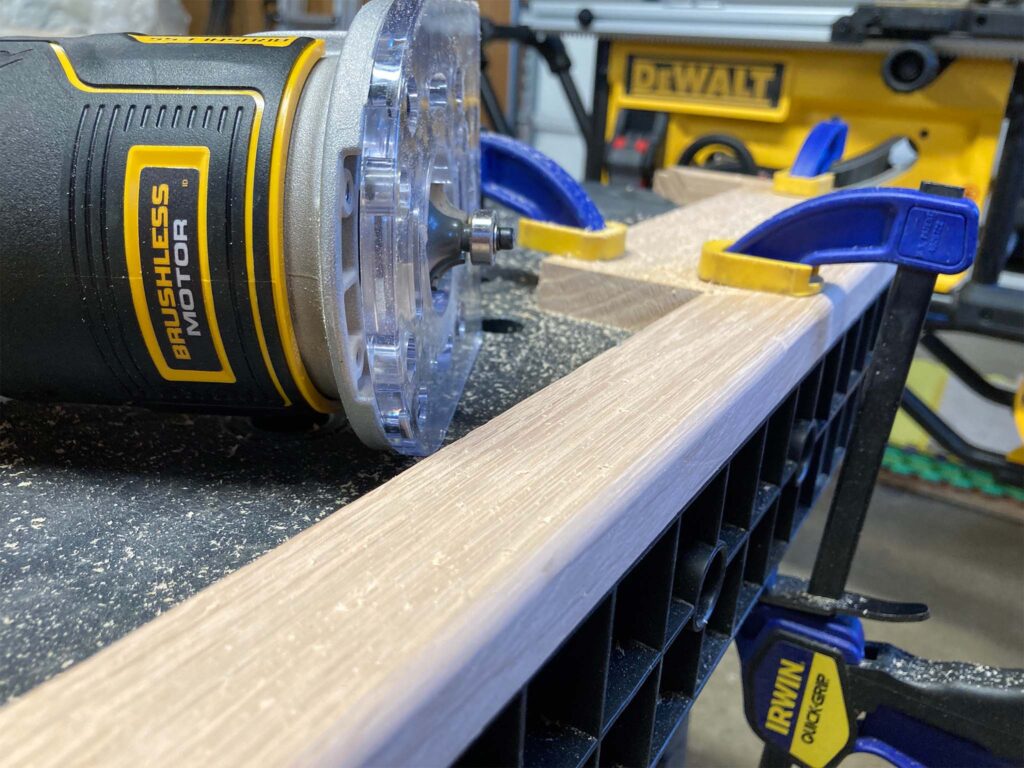
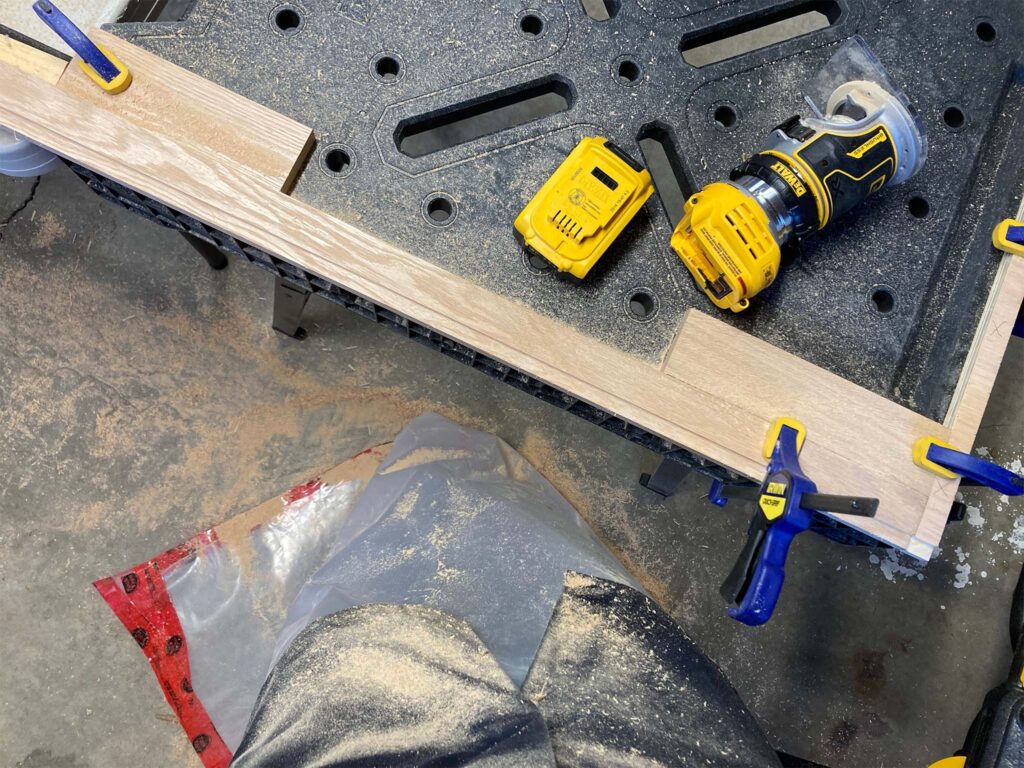
A guy on YouTube described routers as “the messiest tool in the shop”. Good lord was he ever right – this thing threw sawdust EVERYWHERE. Standing there in my jeans soaking up sawdust seemed ridiculous, so I turned to my absolute favorite material ever: polyethylene. Some TuckTape and Cat6 cable later and I had this very fashionable ball gown.
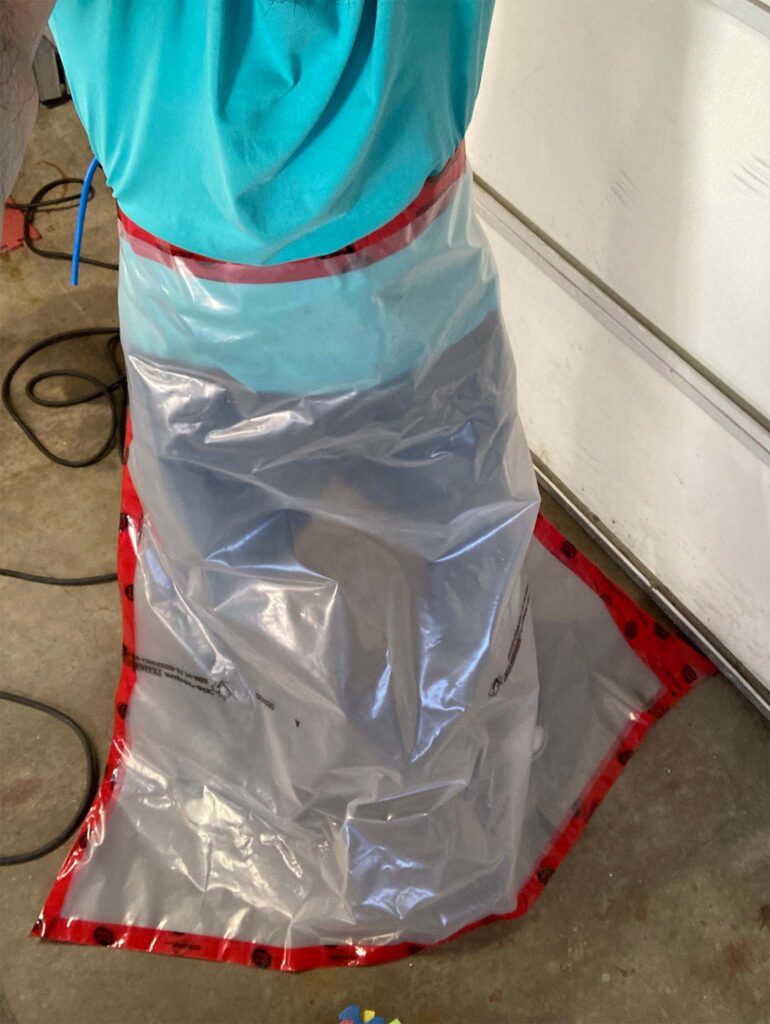
It worked great!
From here on out it was a lot of following along with Shara’s bookshelf build. Some pocket holes, some gluing and screwing, and I had a box!
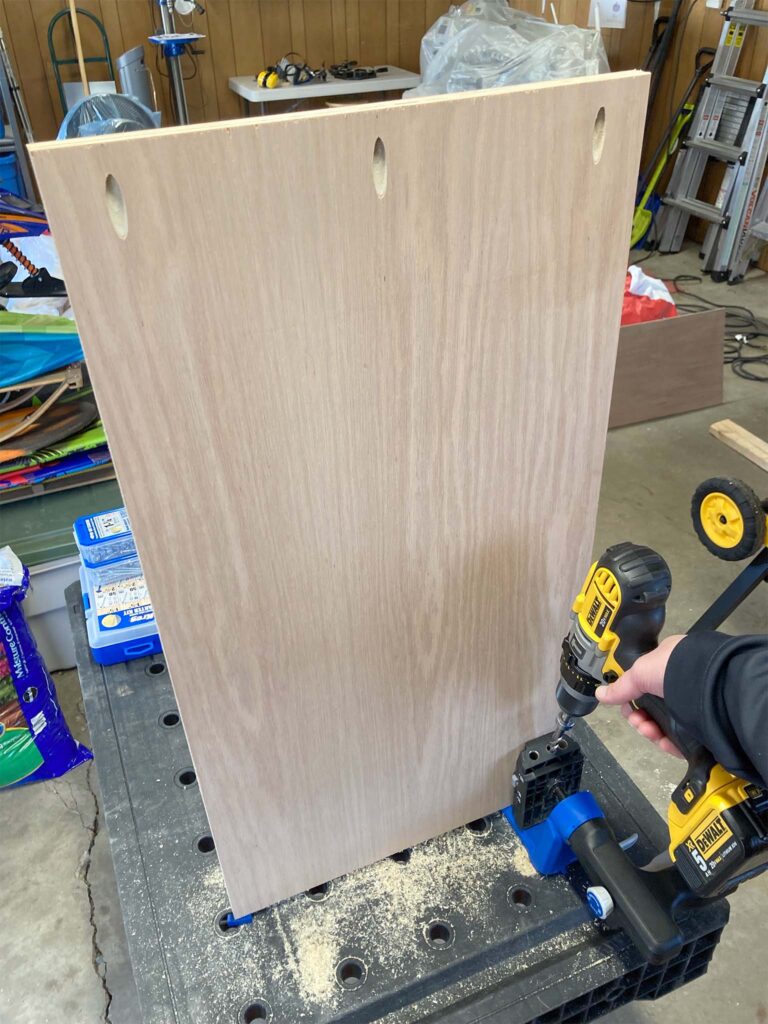
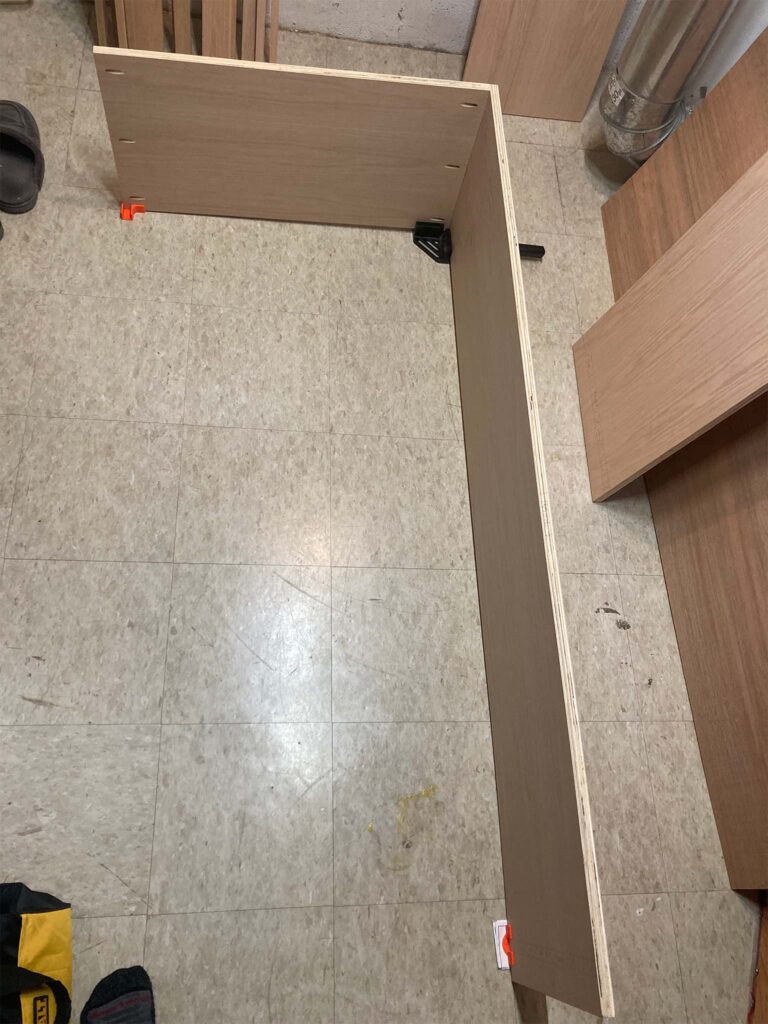
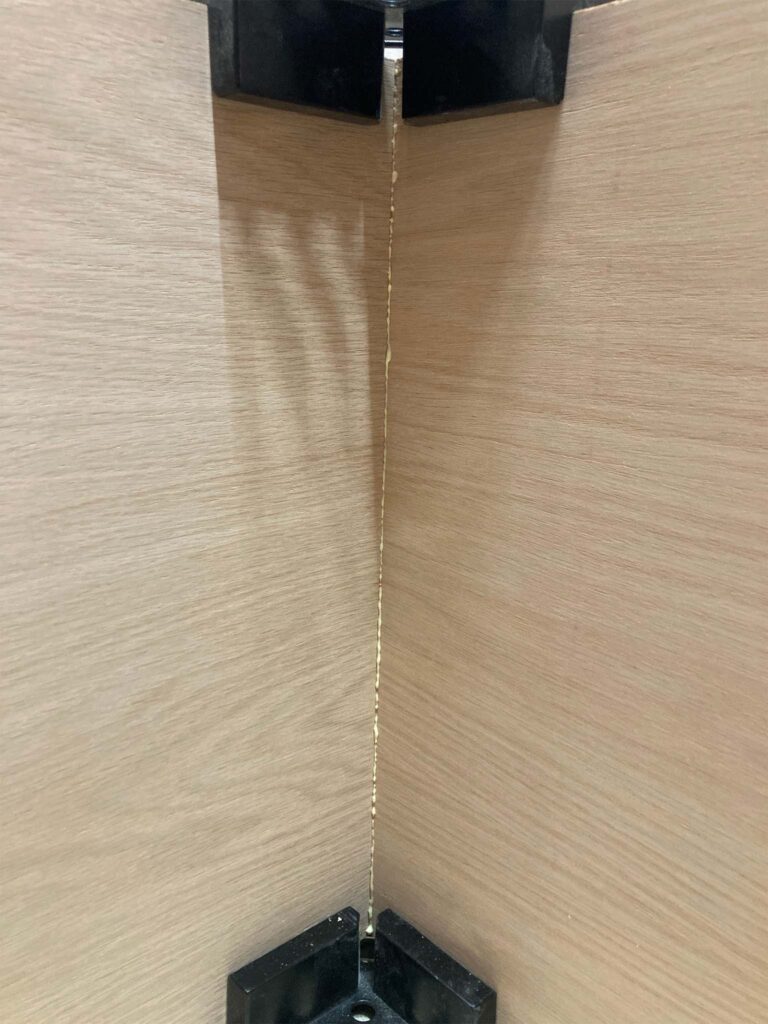
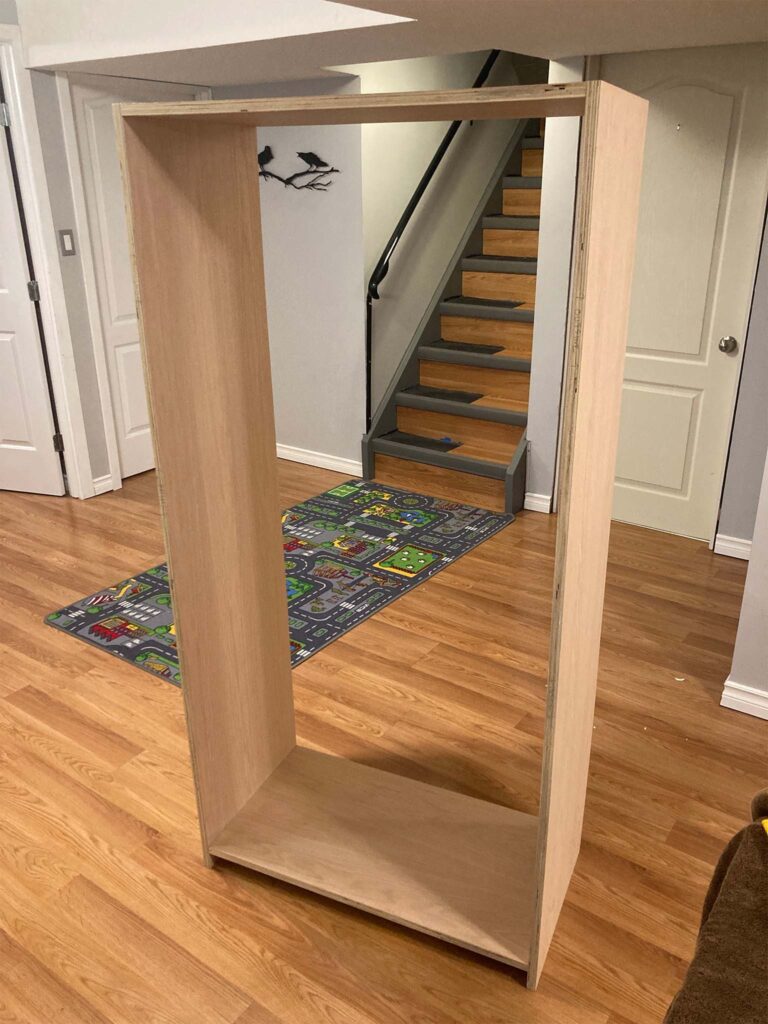
I learned (with some dismay) that the sides of the box weren’t totally straight. They bowed out when I placed the nice square plywood backing on. I clamped them and used a ton of glue and nails to bring the whole thing into square. 🙂
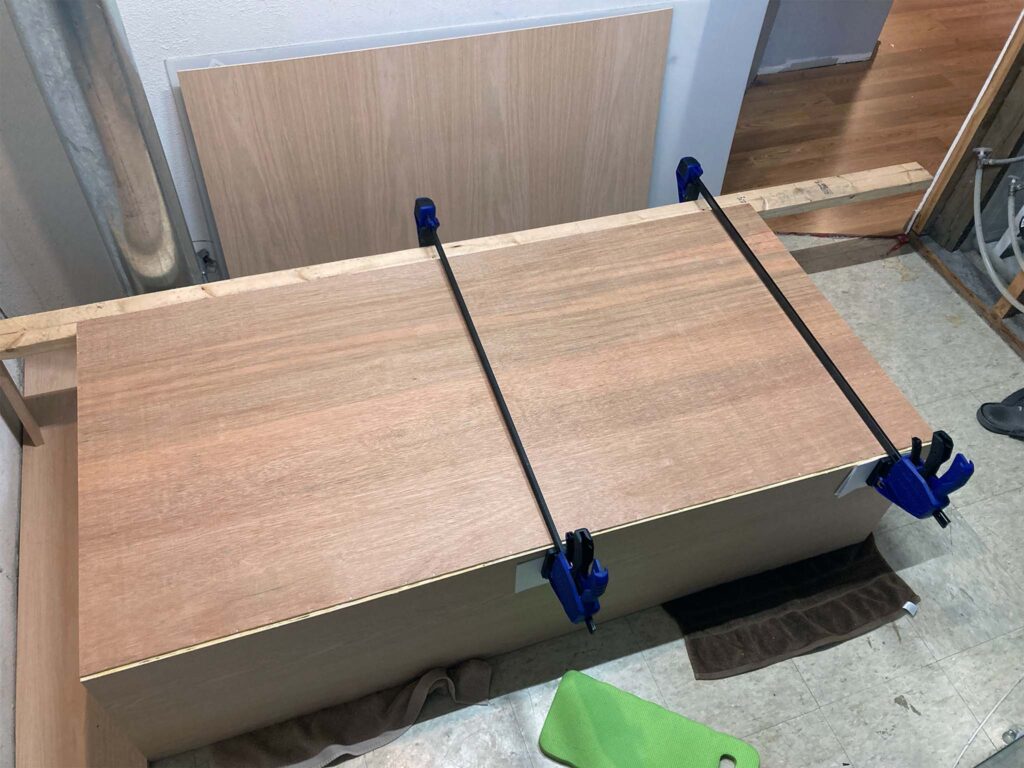
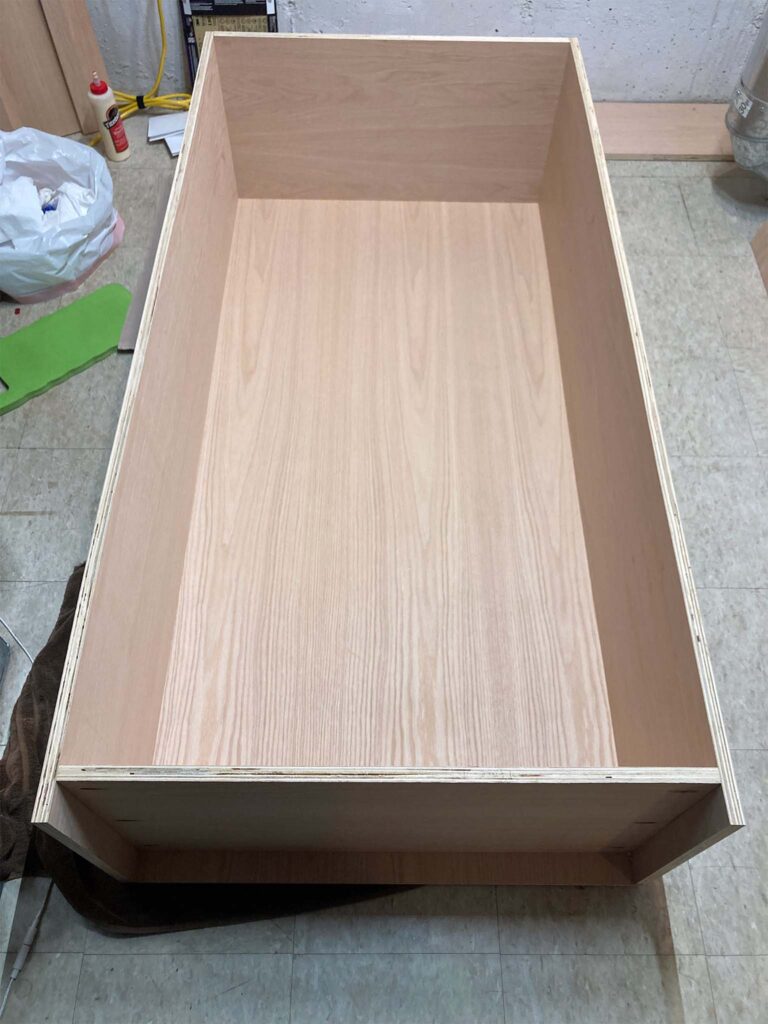
Next up was adding the trim to the side panels.
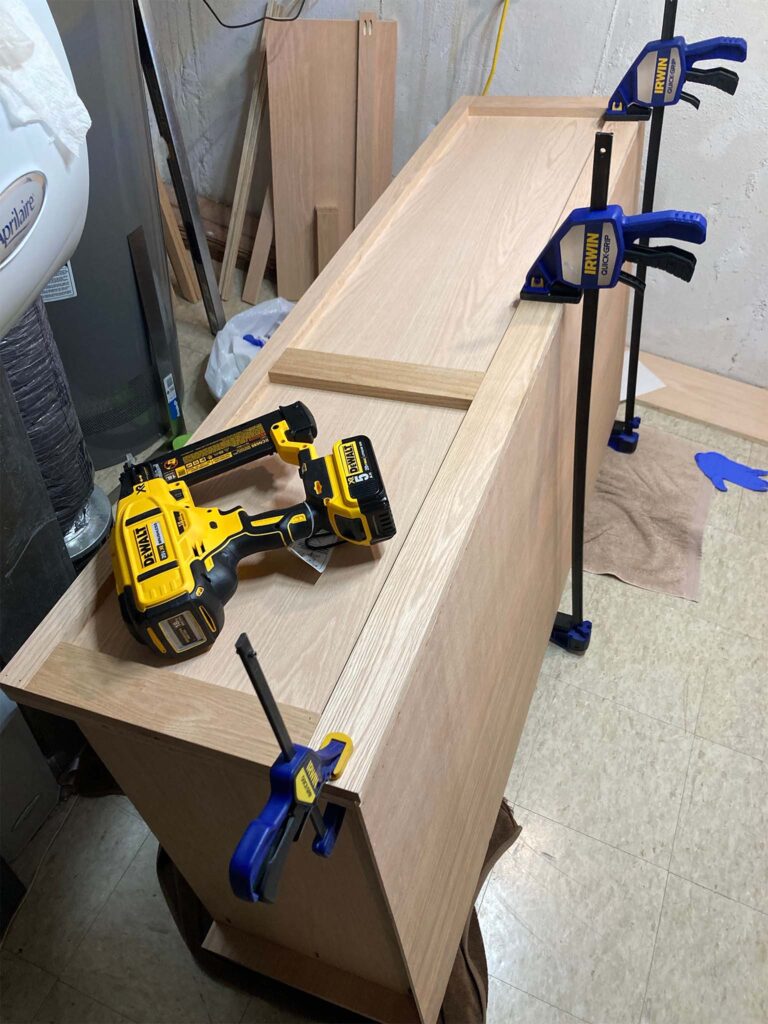
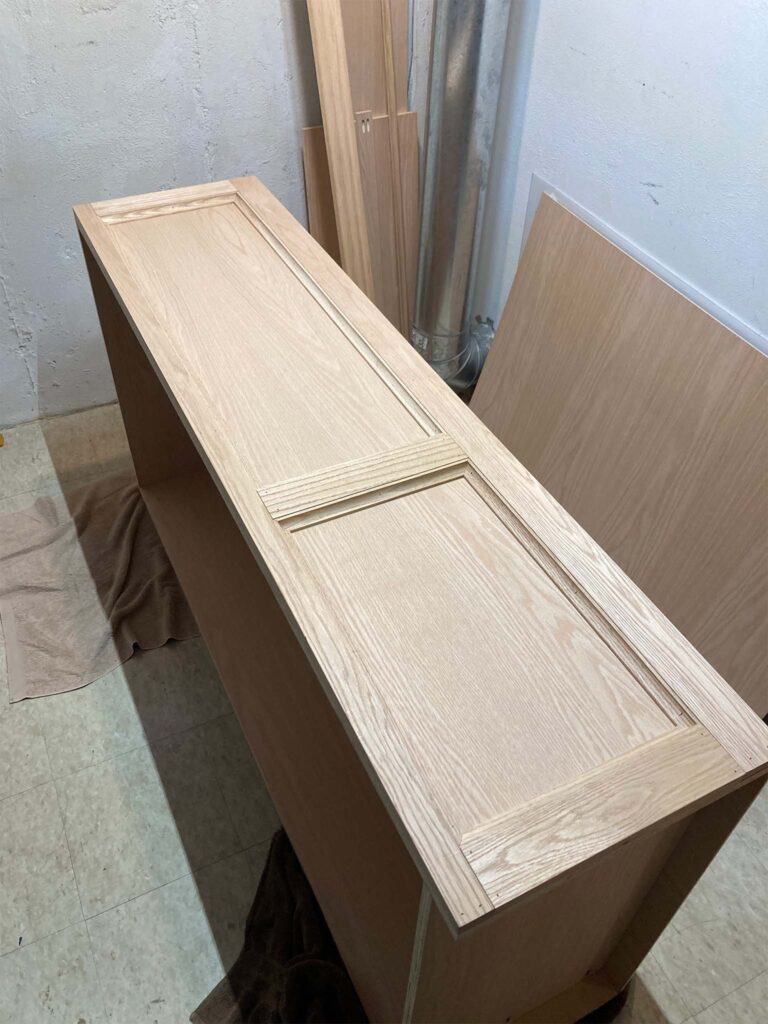
The crown moulding was one of my least favorite cuts on the saw and I was terrified the whole time I’d cut something backwards. But I got it cut and installed and it looks ok.
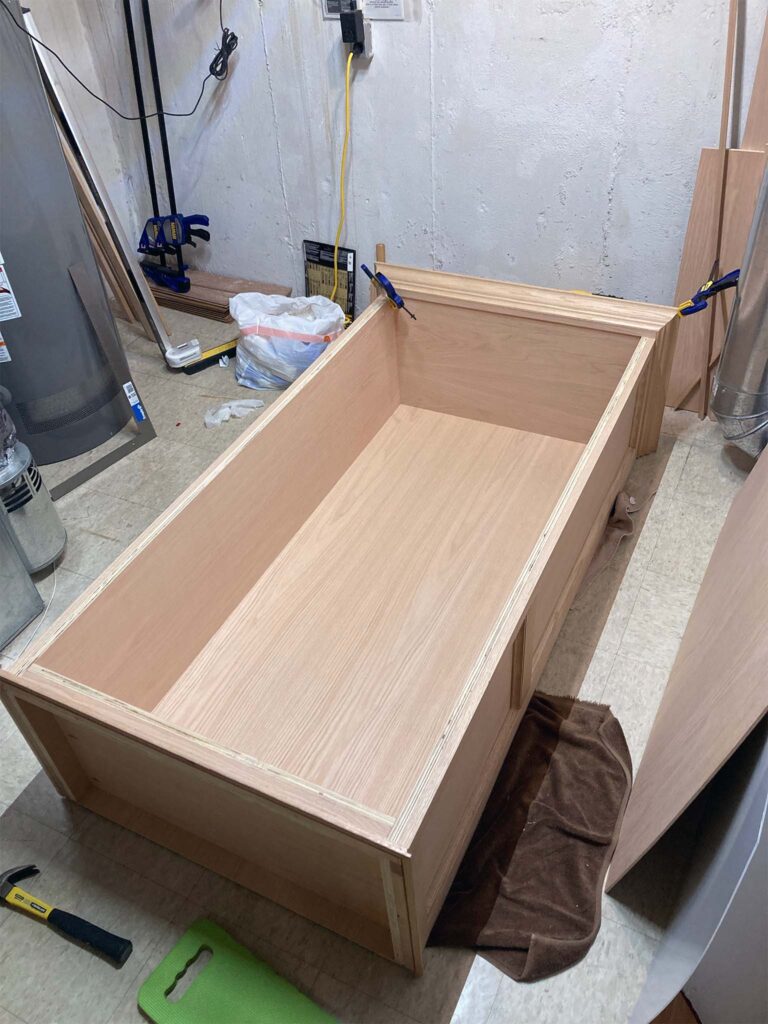
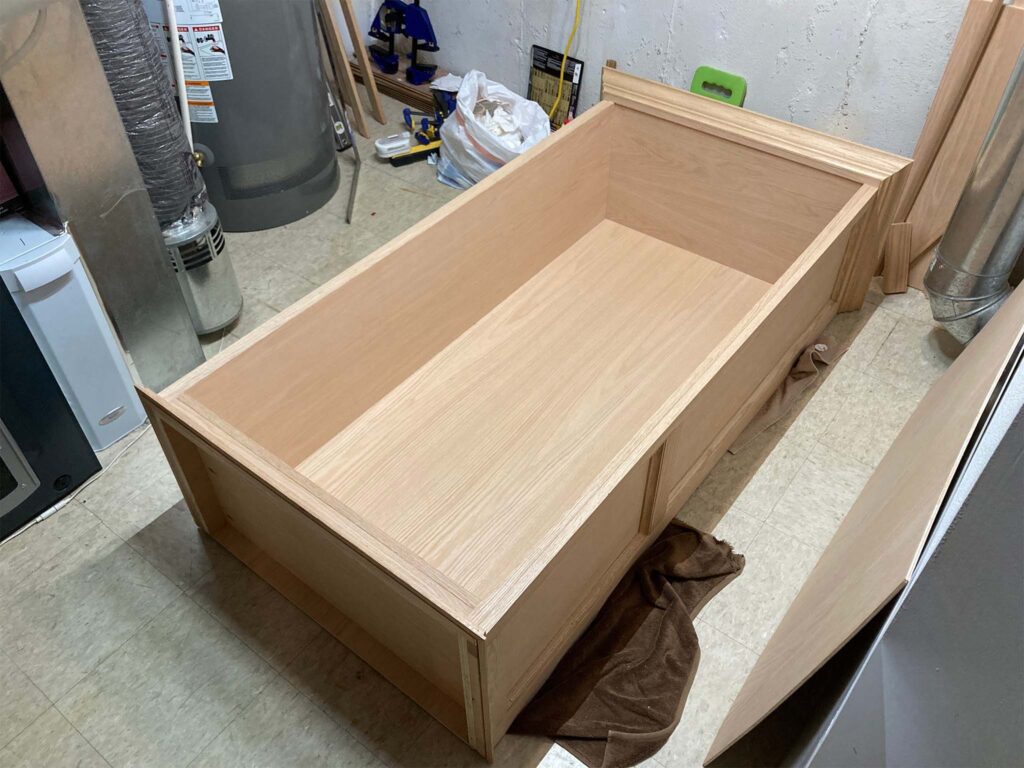
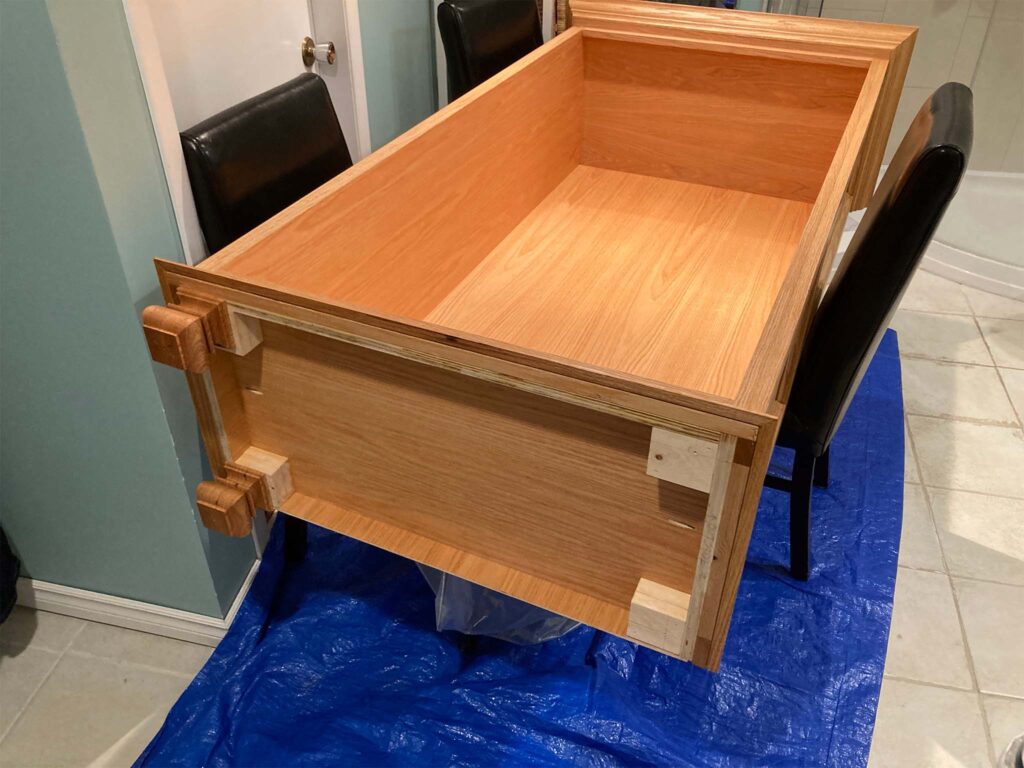
I ordered these cute oak bun feet online and needed something to screw them into, so I chopped down some 2×4’s to the appropriate size and added them to the bottom.
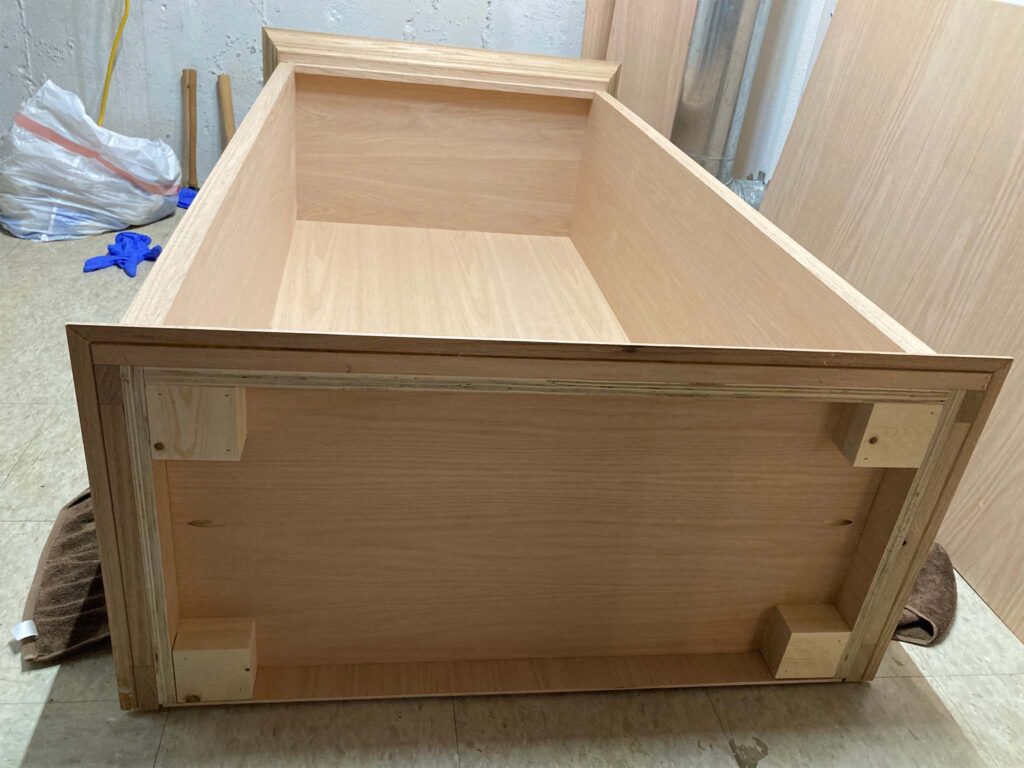
Things were really starting to come together! I spent like 4 nights filling nail holes with putty.
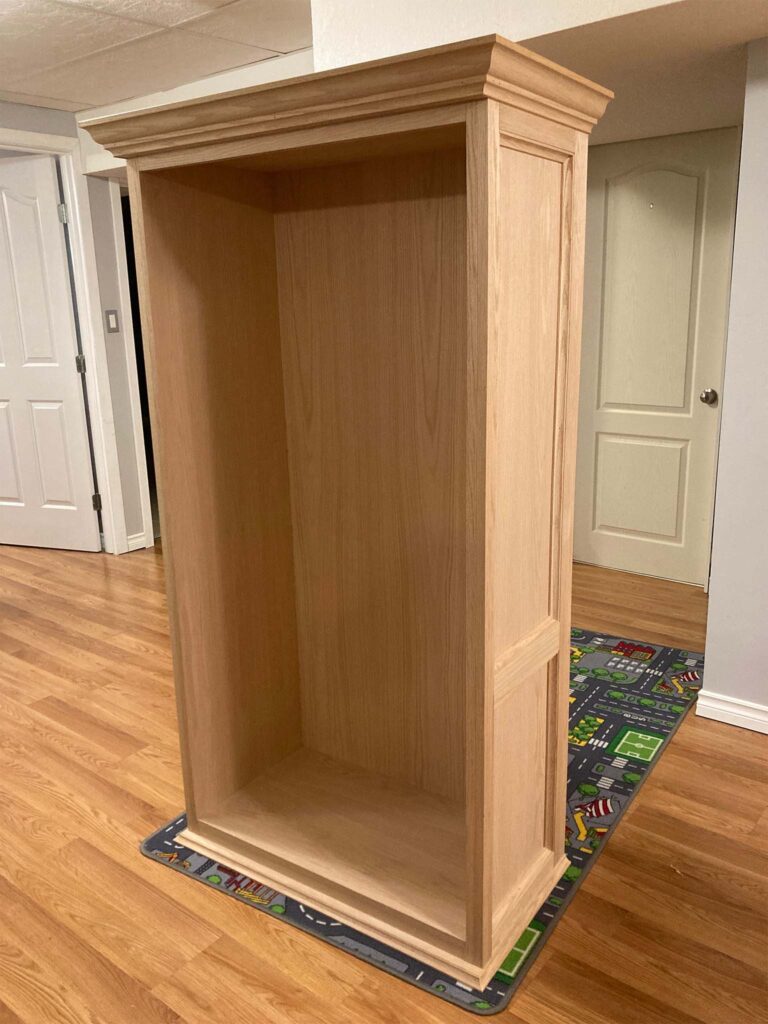
After much debating, I settled on Rubio Monocoat (“Pure” color) as the finish. It seemed very popular on YouTube and the guy in the woodstore called it “the Cadillac of finishes” so how could I resist.
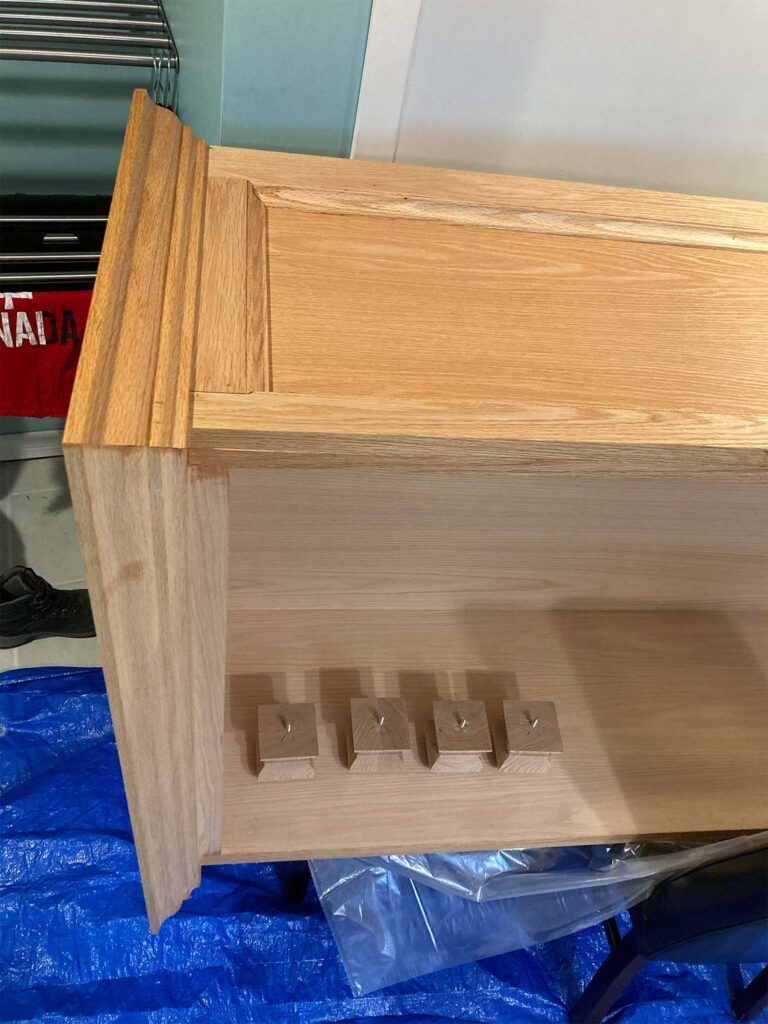
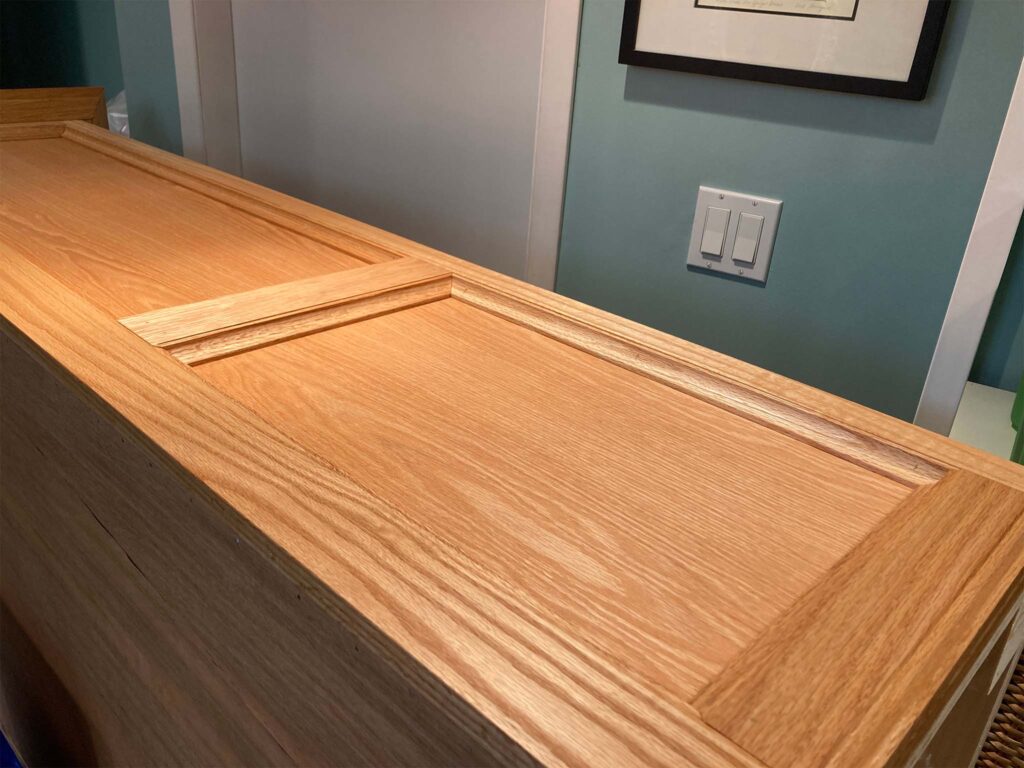
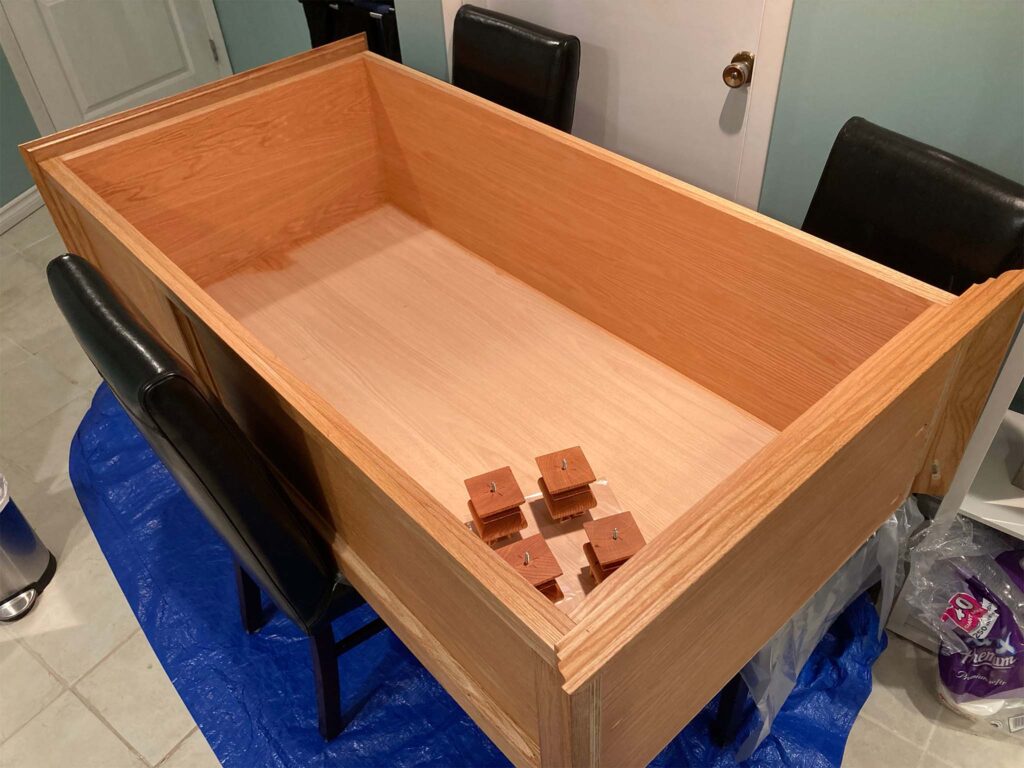
For the feet I just eyeballed the positioning until it looked pretty good.
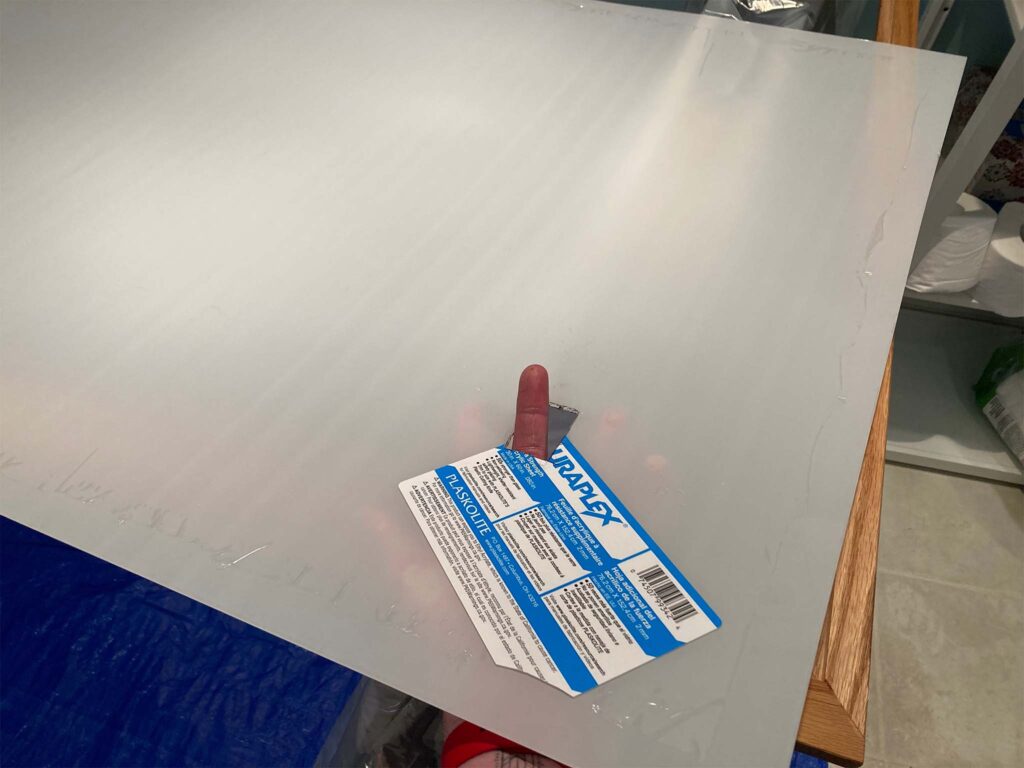
Oh my goodness, the acrylic door was nerve-wracking. I wanted a little square cutout in the top-right so I could mount a temperature/humidity sensor. I scratched, scratched, scratched at the surface terrified the whole sheet would crack like a windsheld. I ended up heating an X-Acto knife to red-hot using a lighter and plunging it through the plastic. It worked pretty well!
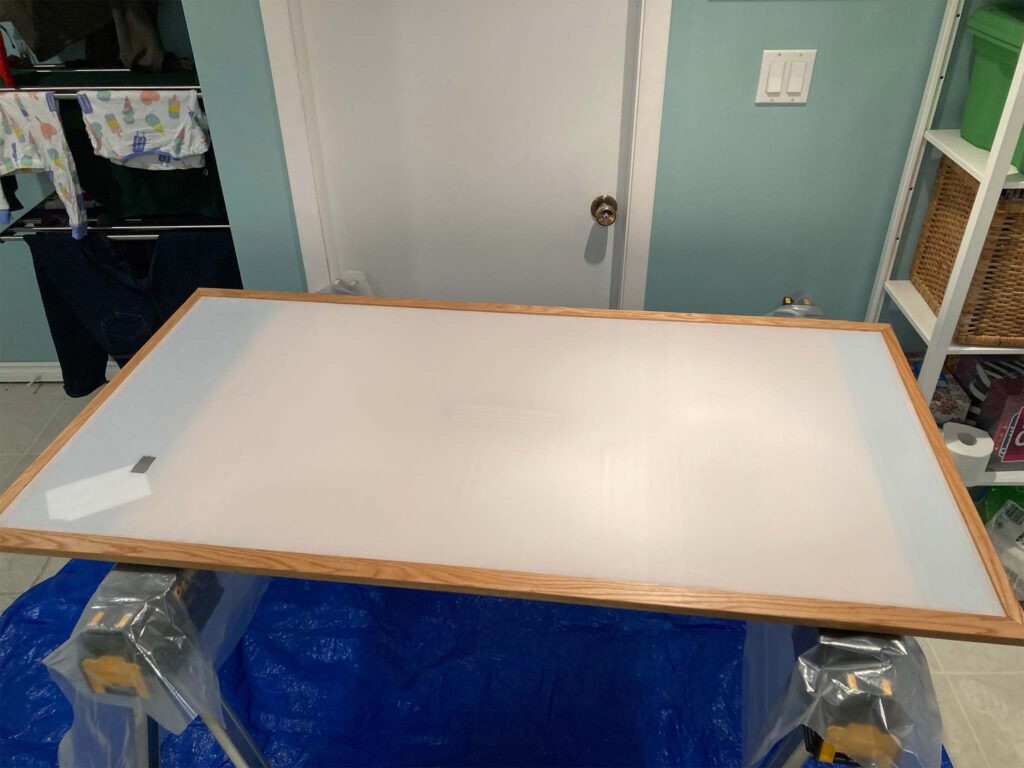
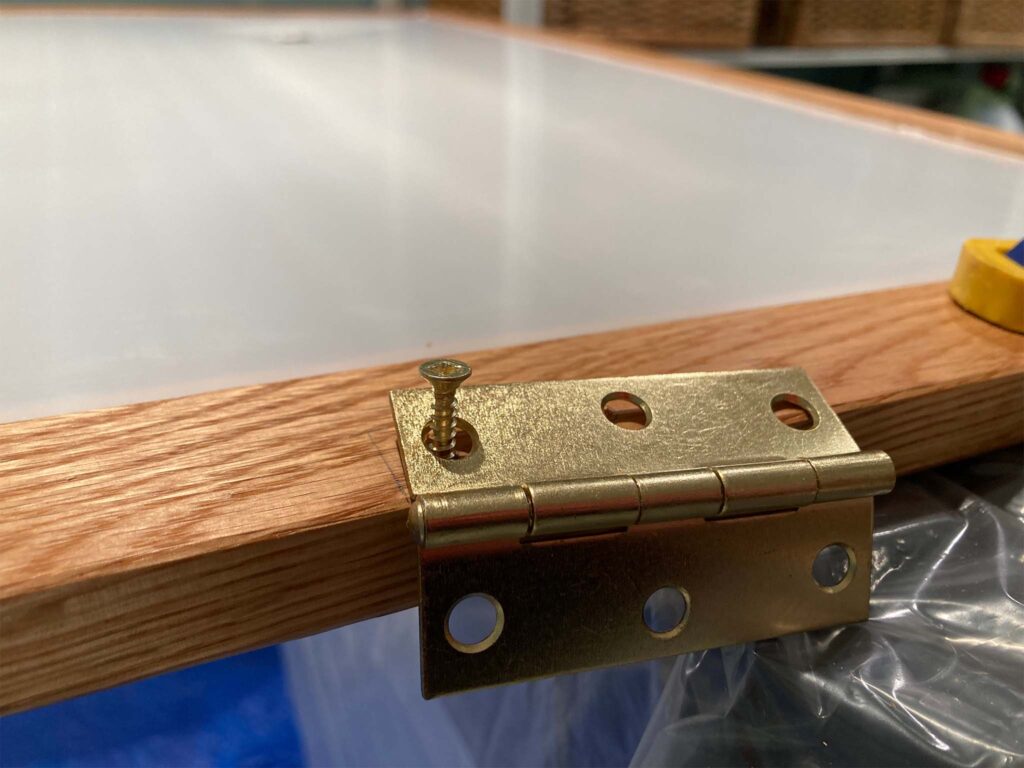
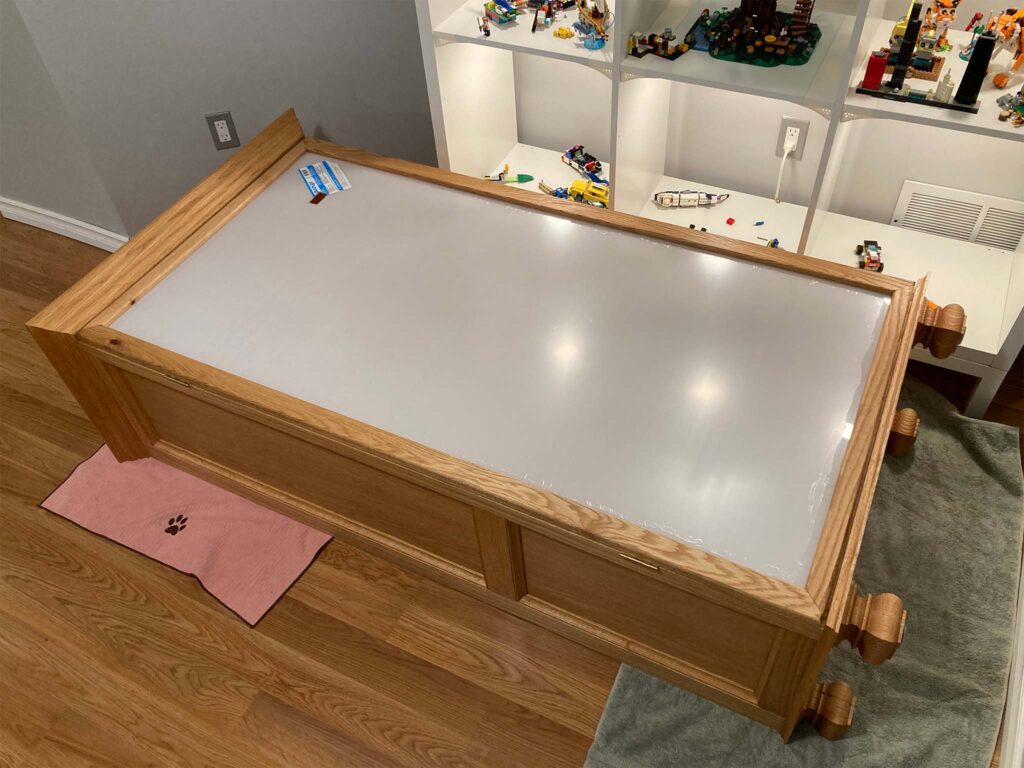
The cabinet was nearly complete! It just needed some rails to hold the filament spools. I designed and 3d-printed a little jig to drill all the holes for the mounting brackets.
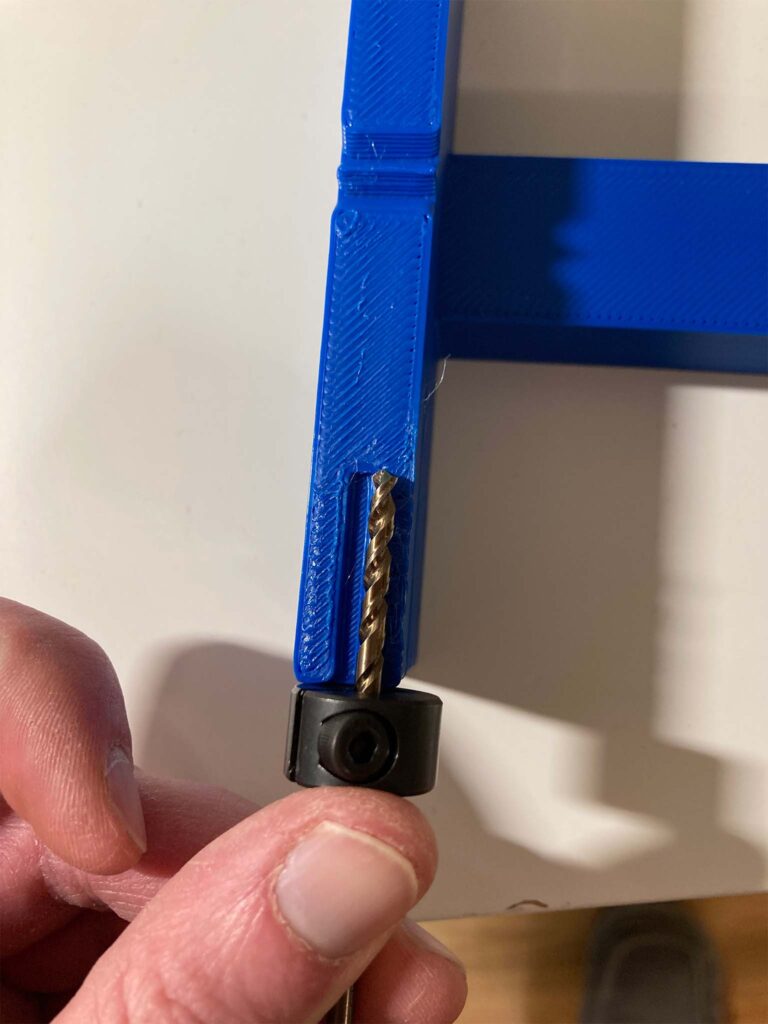
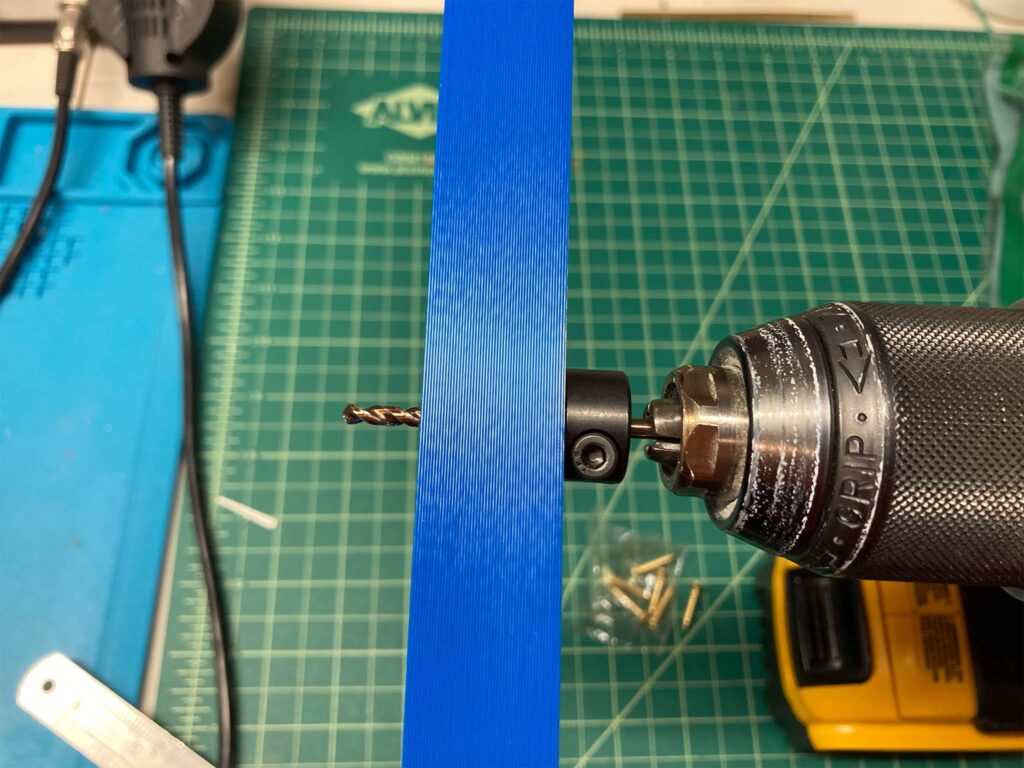
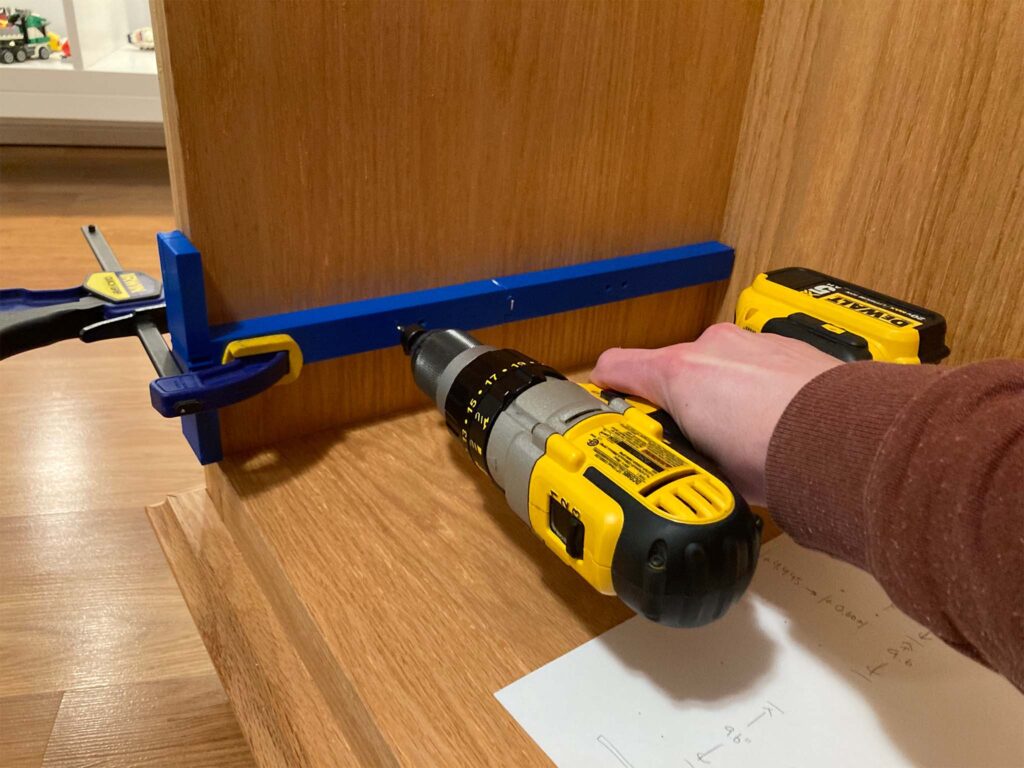
Next up was installing the dowel hangers (3d-printed of course!).
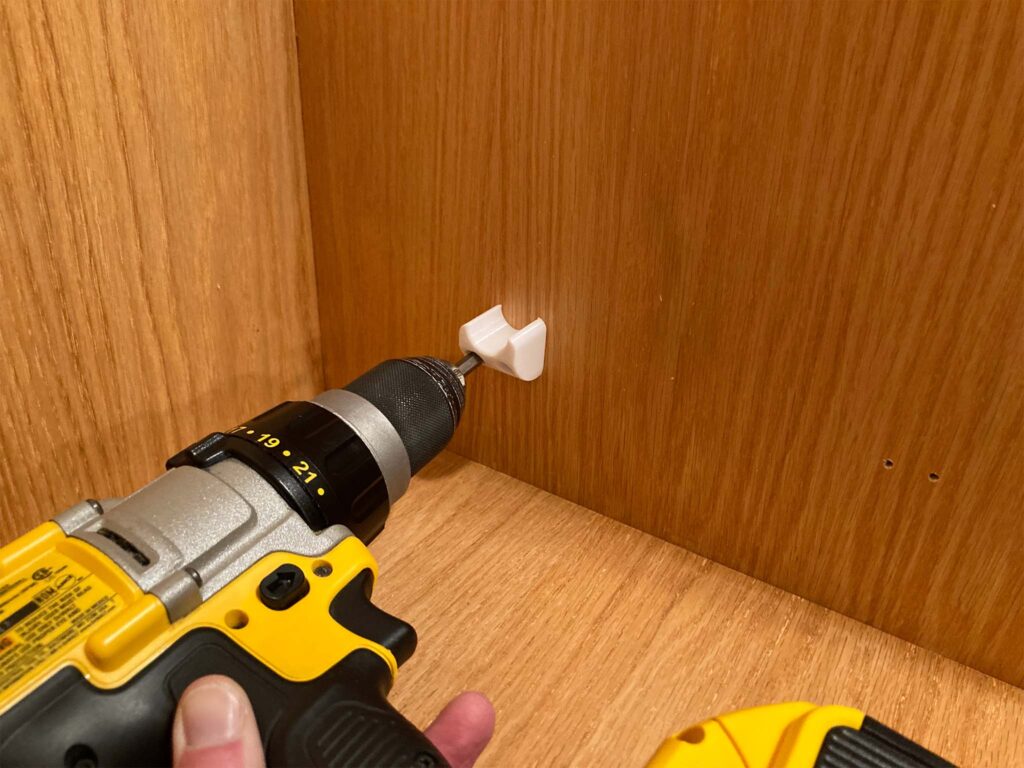
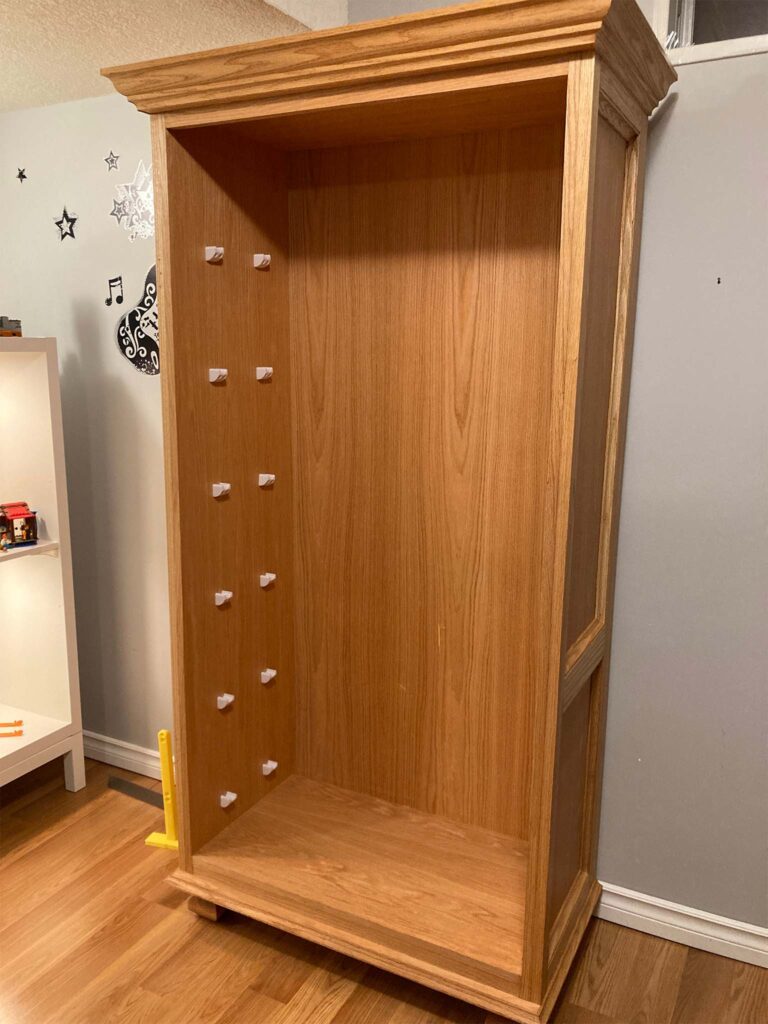
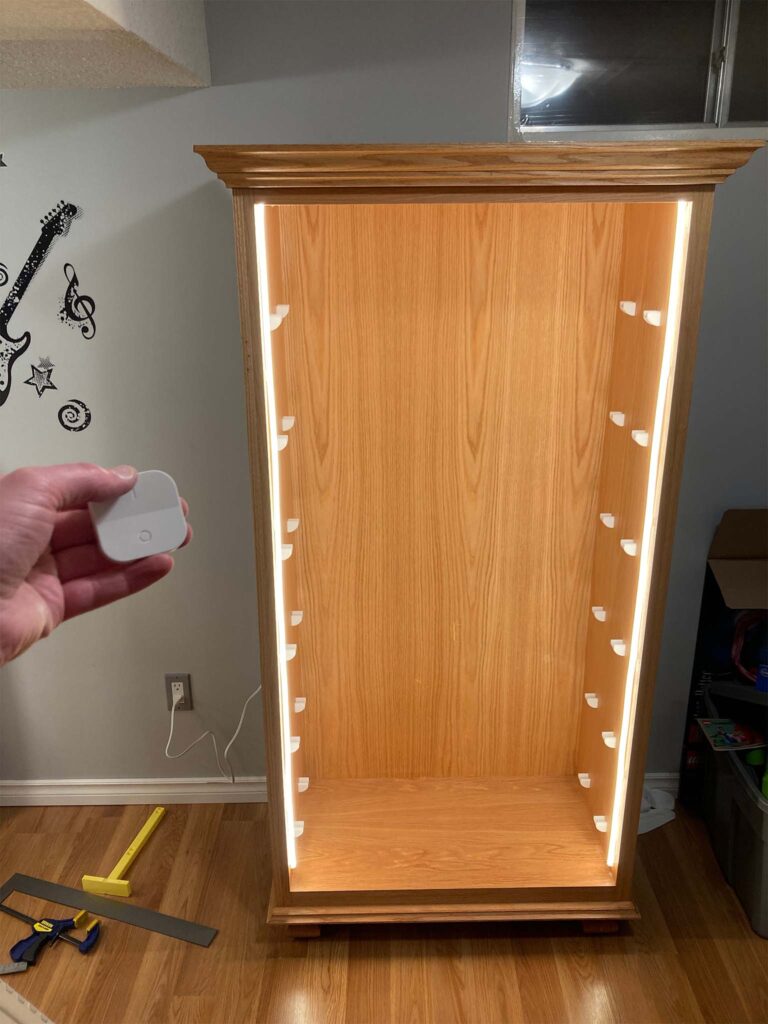
I really wanted the cabinet to be lit so that the colors of the filament would pop when viewed through the acrylic door. I purchased some LED rope light with electronics and wireless switch from IKEA. All the electronic hardware was hidden up top behind the crown moulding.
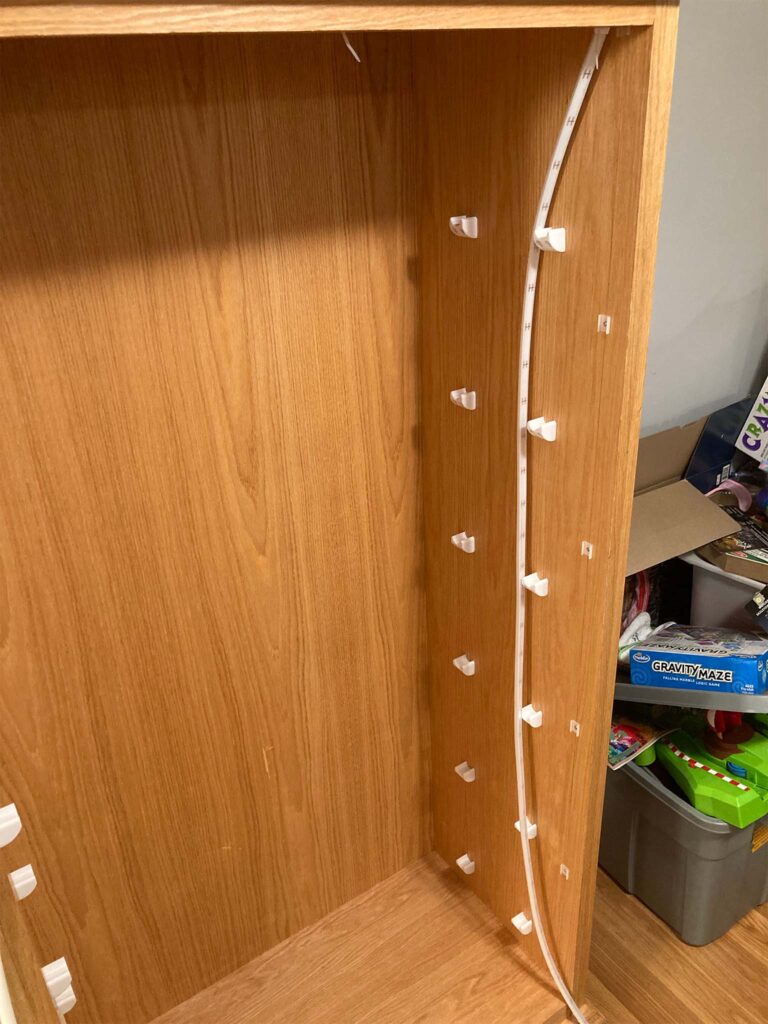
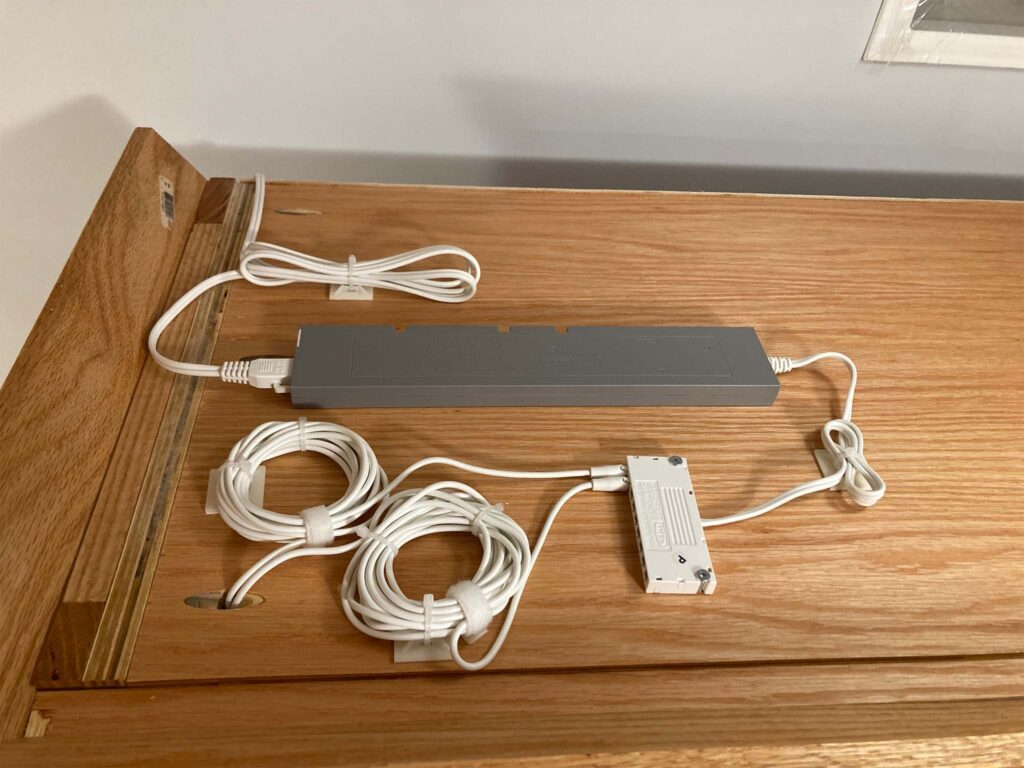
First test of the wireless switch. It looks good!
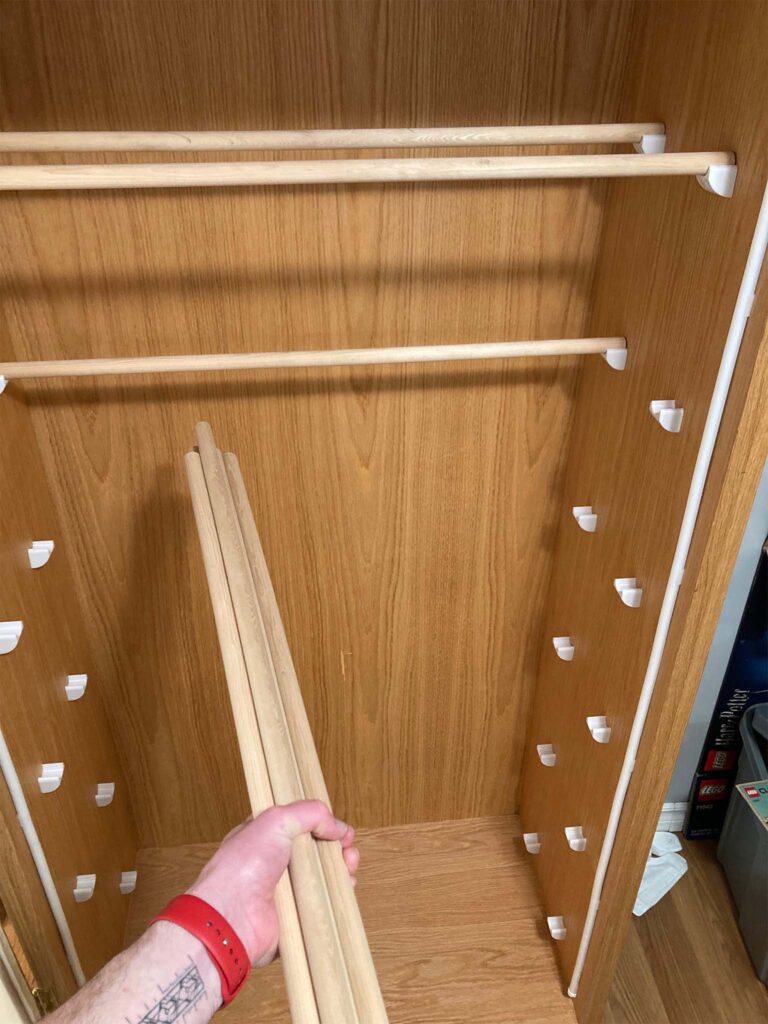
Next up was the wooden dowels. They’re 3/4″ fir and short enough that they seem able to hold 12kg of filament spools.
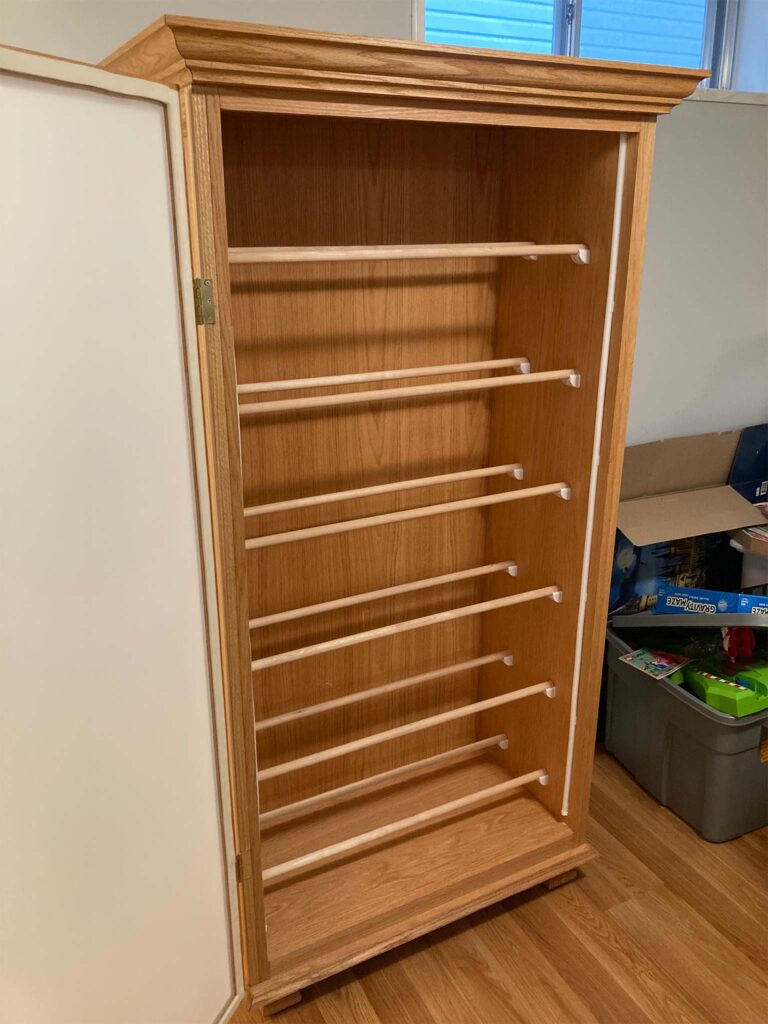
Fully loaded, the cabinet would likely weigh well over 100kg. I made sure to strap it to a stud with some good-sized wood screws.
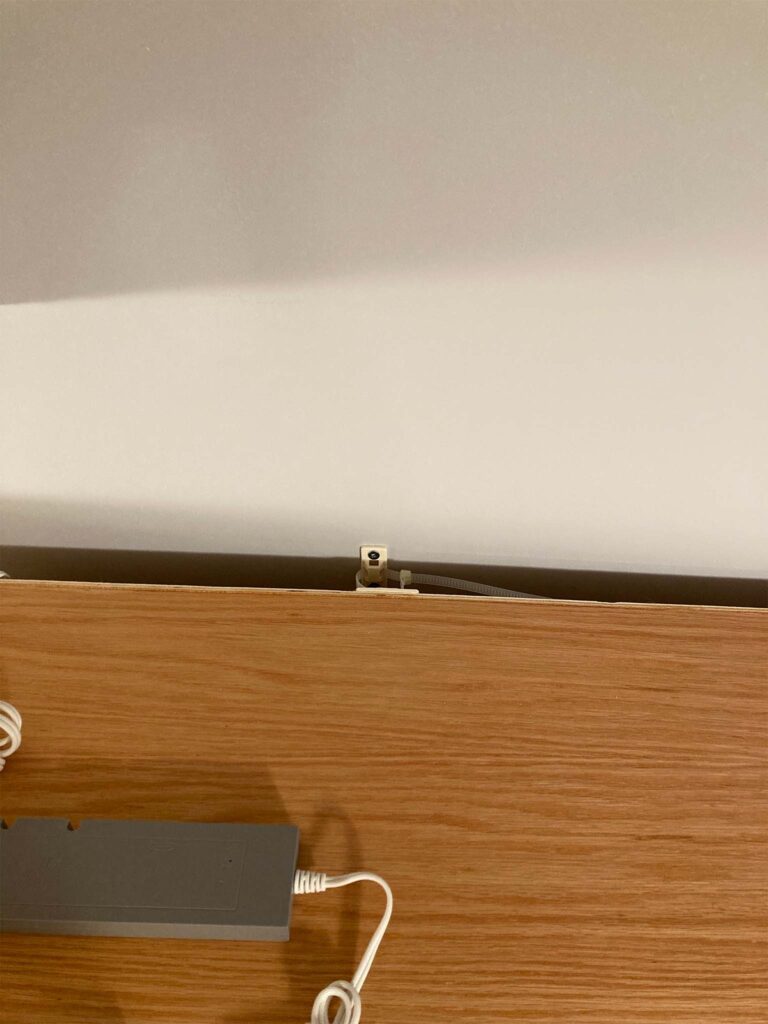
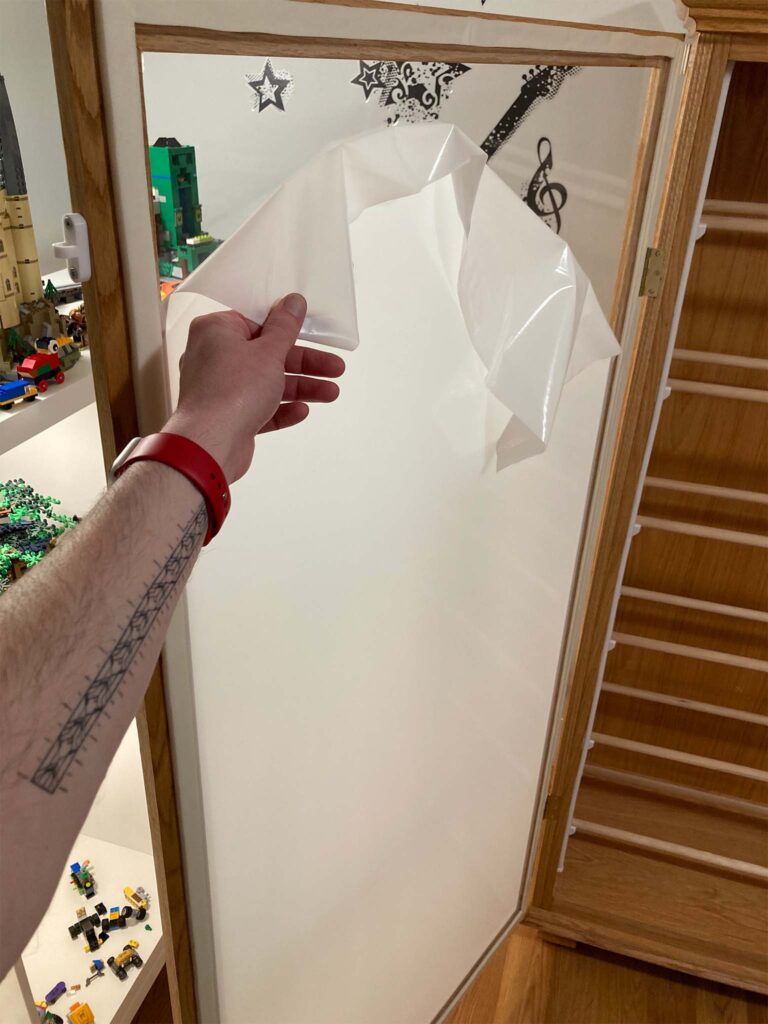
Last up: the door. Oh man, that satisfying feeling of pulling a big sheet of protective plastic off the acrylic. 🙂
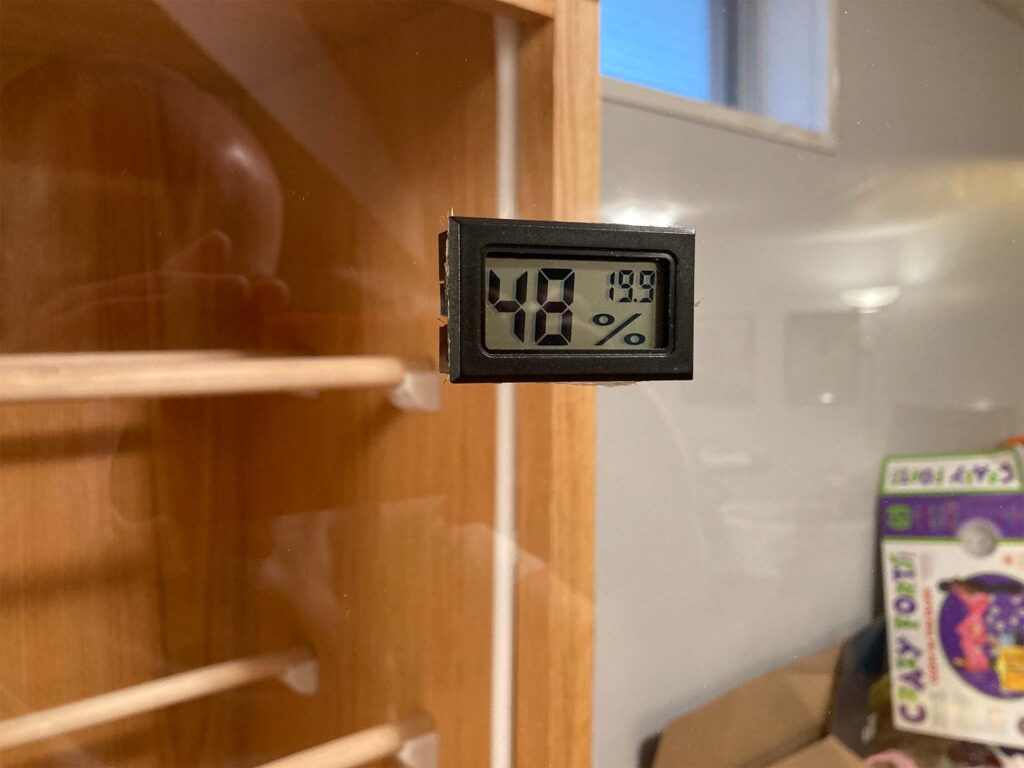
With foam weatherstripping around the doors and wood glue at every seam, the cabinet is very air-tight (by design). I wanted a temperature/humidity sensor to track the conditions inside.
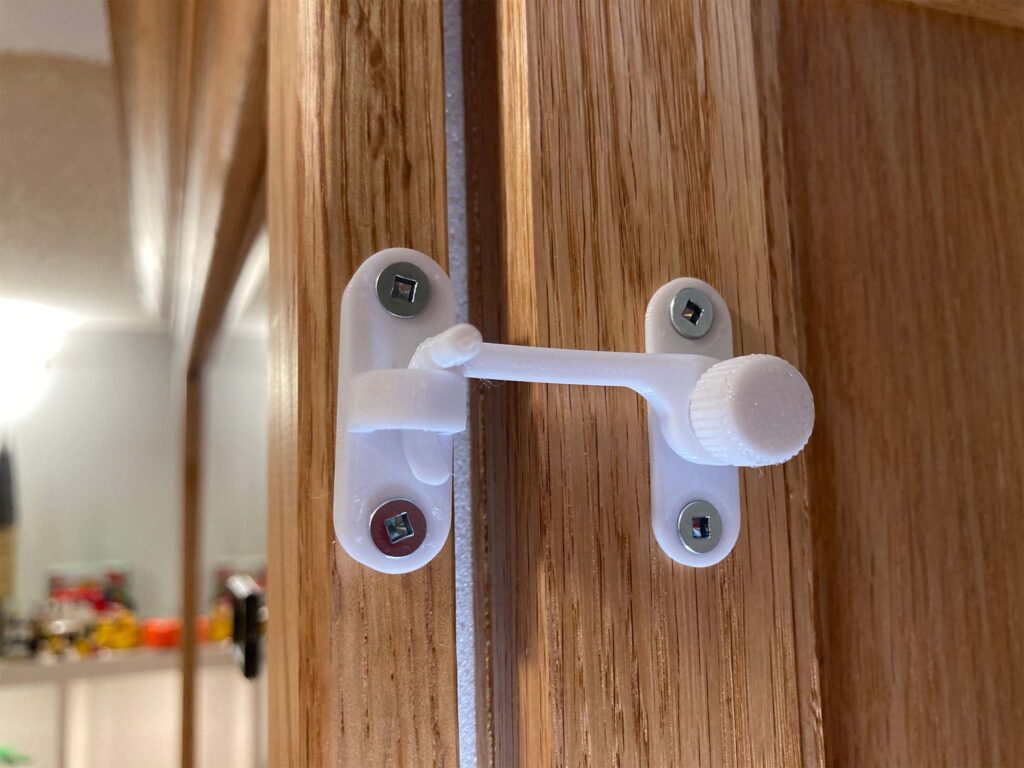
The foam weatherstripping means the door doesn’t like to close tightly on its own. I designed and printed some swing latches to keep it shut.
This project took a total of about 2.5 months of evenings & weekends. I would estimate maybe 40(?) hours? I learned a LOT about woodworking in the process and I already look forward to the next project. But for now, not much left to do but stand back and admire the results.
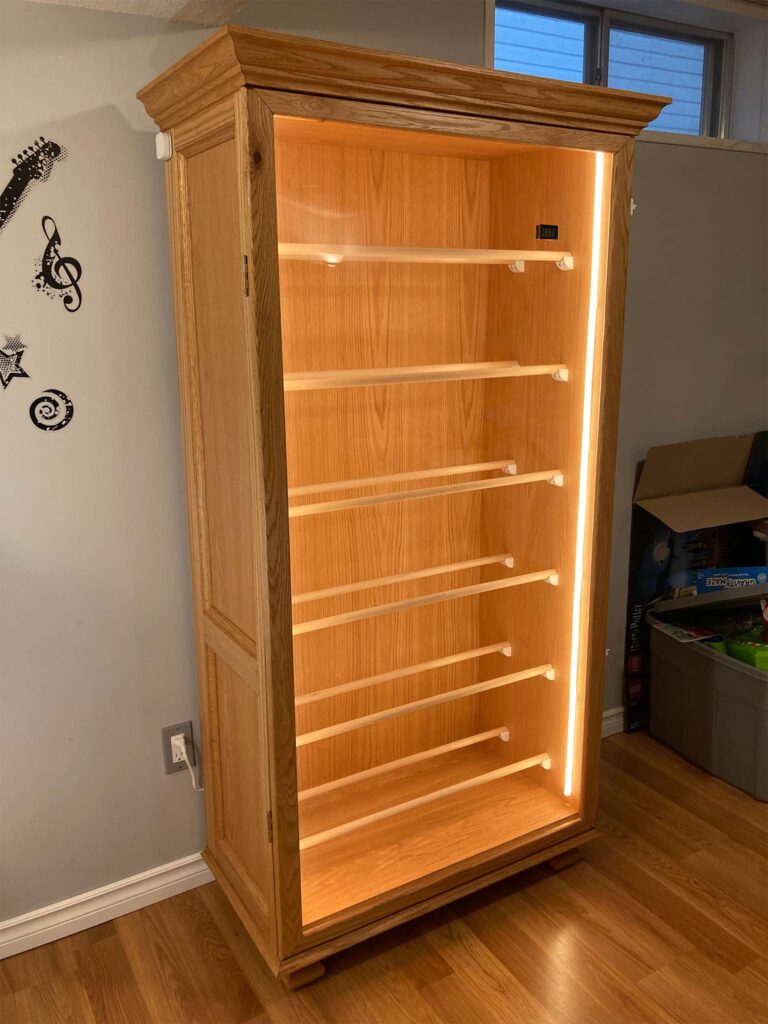
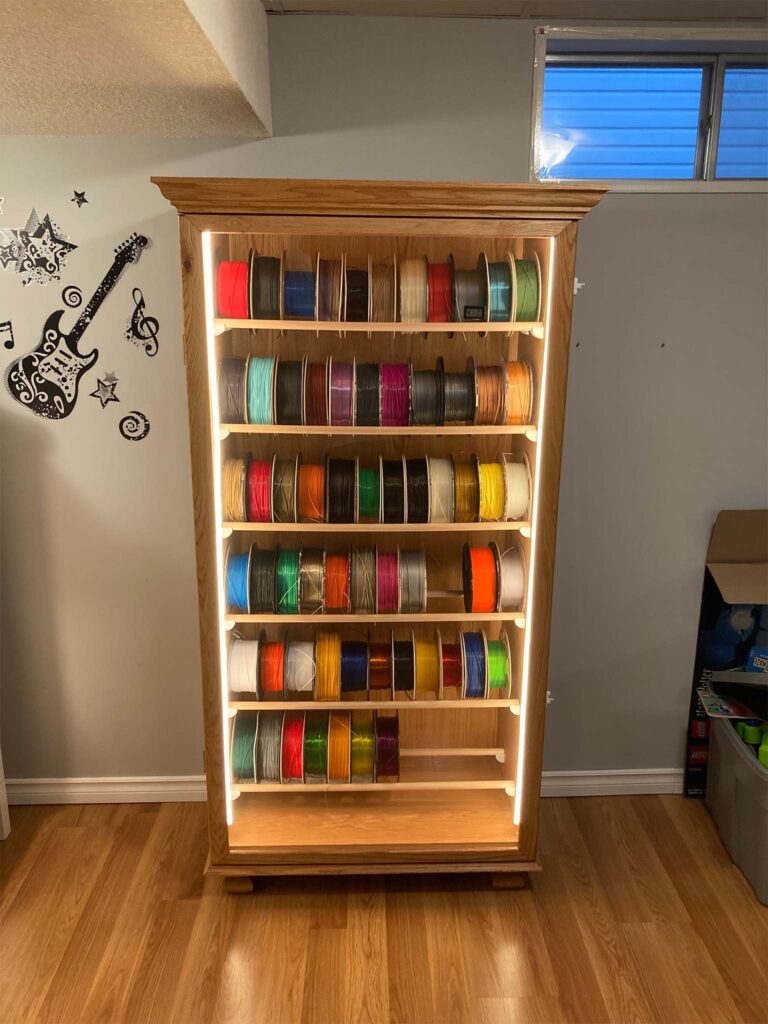
Thank you so much for following along on this build! I’ve said it a million times but my joy in learning comes from sharing with others. Hope to see you again soon for the next project!
Comments
13 responses to “3D Printer Filament Cabinet”
order enclomiphene uk where buy
cheapest buy enclomiphene online no rx
générique kamagra prix
obtenez kamagra sans ordonnance
how to order androxal generic mastercard
get androxal cheap alternatives
online order dutasteride buy online canada
buying dutasteride price south africa
canadian flexeril cyclobenzaprine for purchase
online order flexeril cyclobenzaprine generic good
discount gabapentin usa online pharmacy
overnight buy gabapentin
online order fildena australia pharmacy
online order fildena usa cheap
itraconazole ireland over the counter
discount itraconazole buy dublin
cheapest buy staxyn usa pharmacy
buy staxyn cheap from india
avodart price stores
how to order avodart uk suppliers
how to buy rifaximin cheap united states
ordering rifaximin generic pharmacy in canada
get xifaxan generic order
ordering xifaxan generic prices
kamagra dodání přes noc
jak získat předpis kamagra