To save my ailing eyes from manually populating PCB’s with tiny 0402 components, I purchased a LumenPNP pick ‘n place machine from a startup called Opulo. It’s nearly 3ft x 3ft in dimension though, so I wanted a nice sturdy workbench for it to live on.
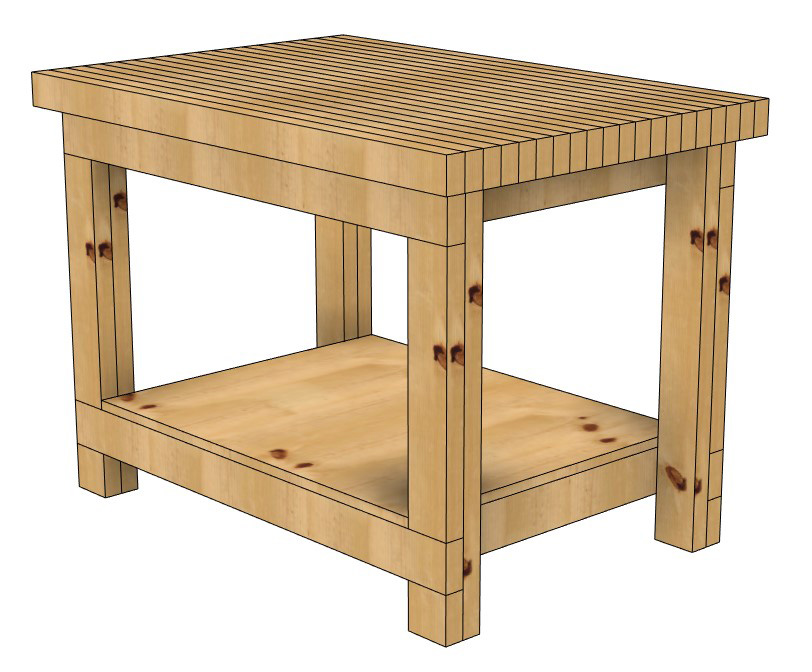
As with the filament cabinet, I started my planning in Fusion360. I measured out the room where it was going to live and tried to hit the best compromise of size vs. function.
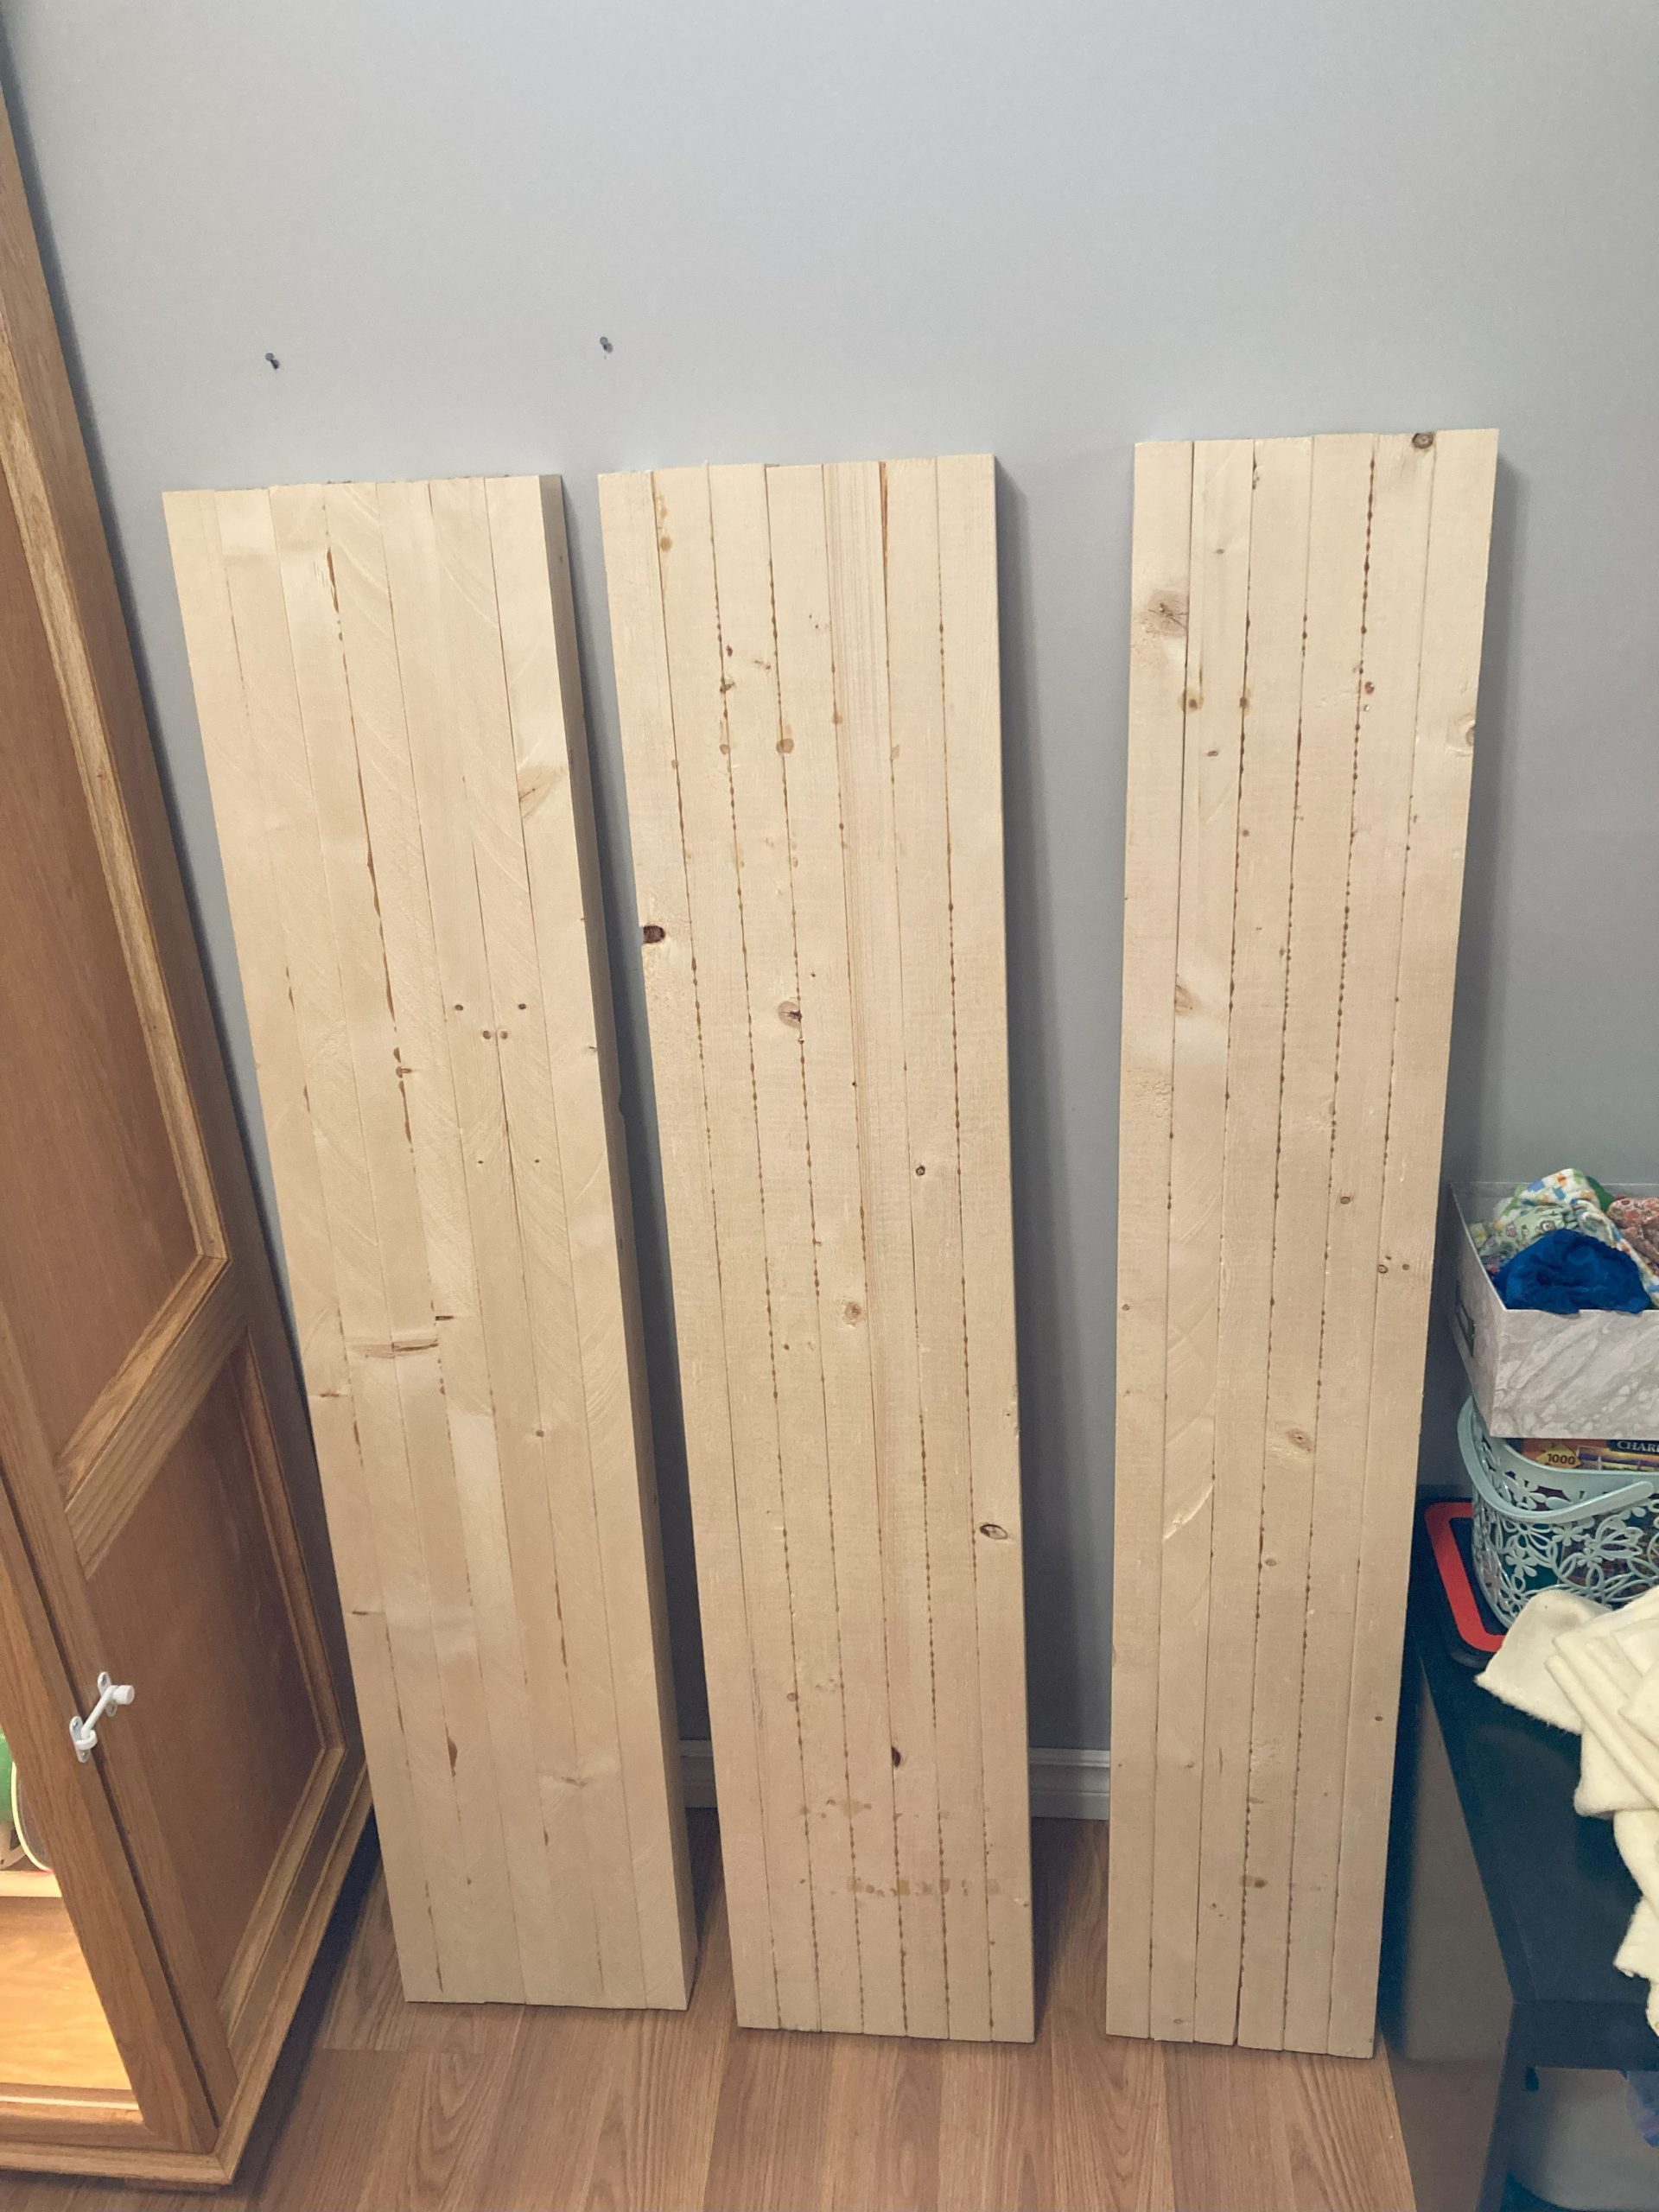
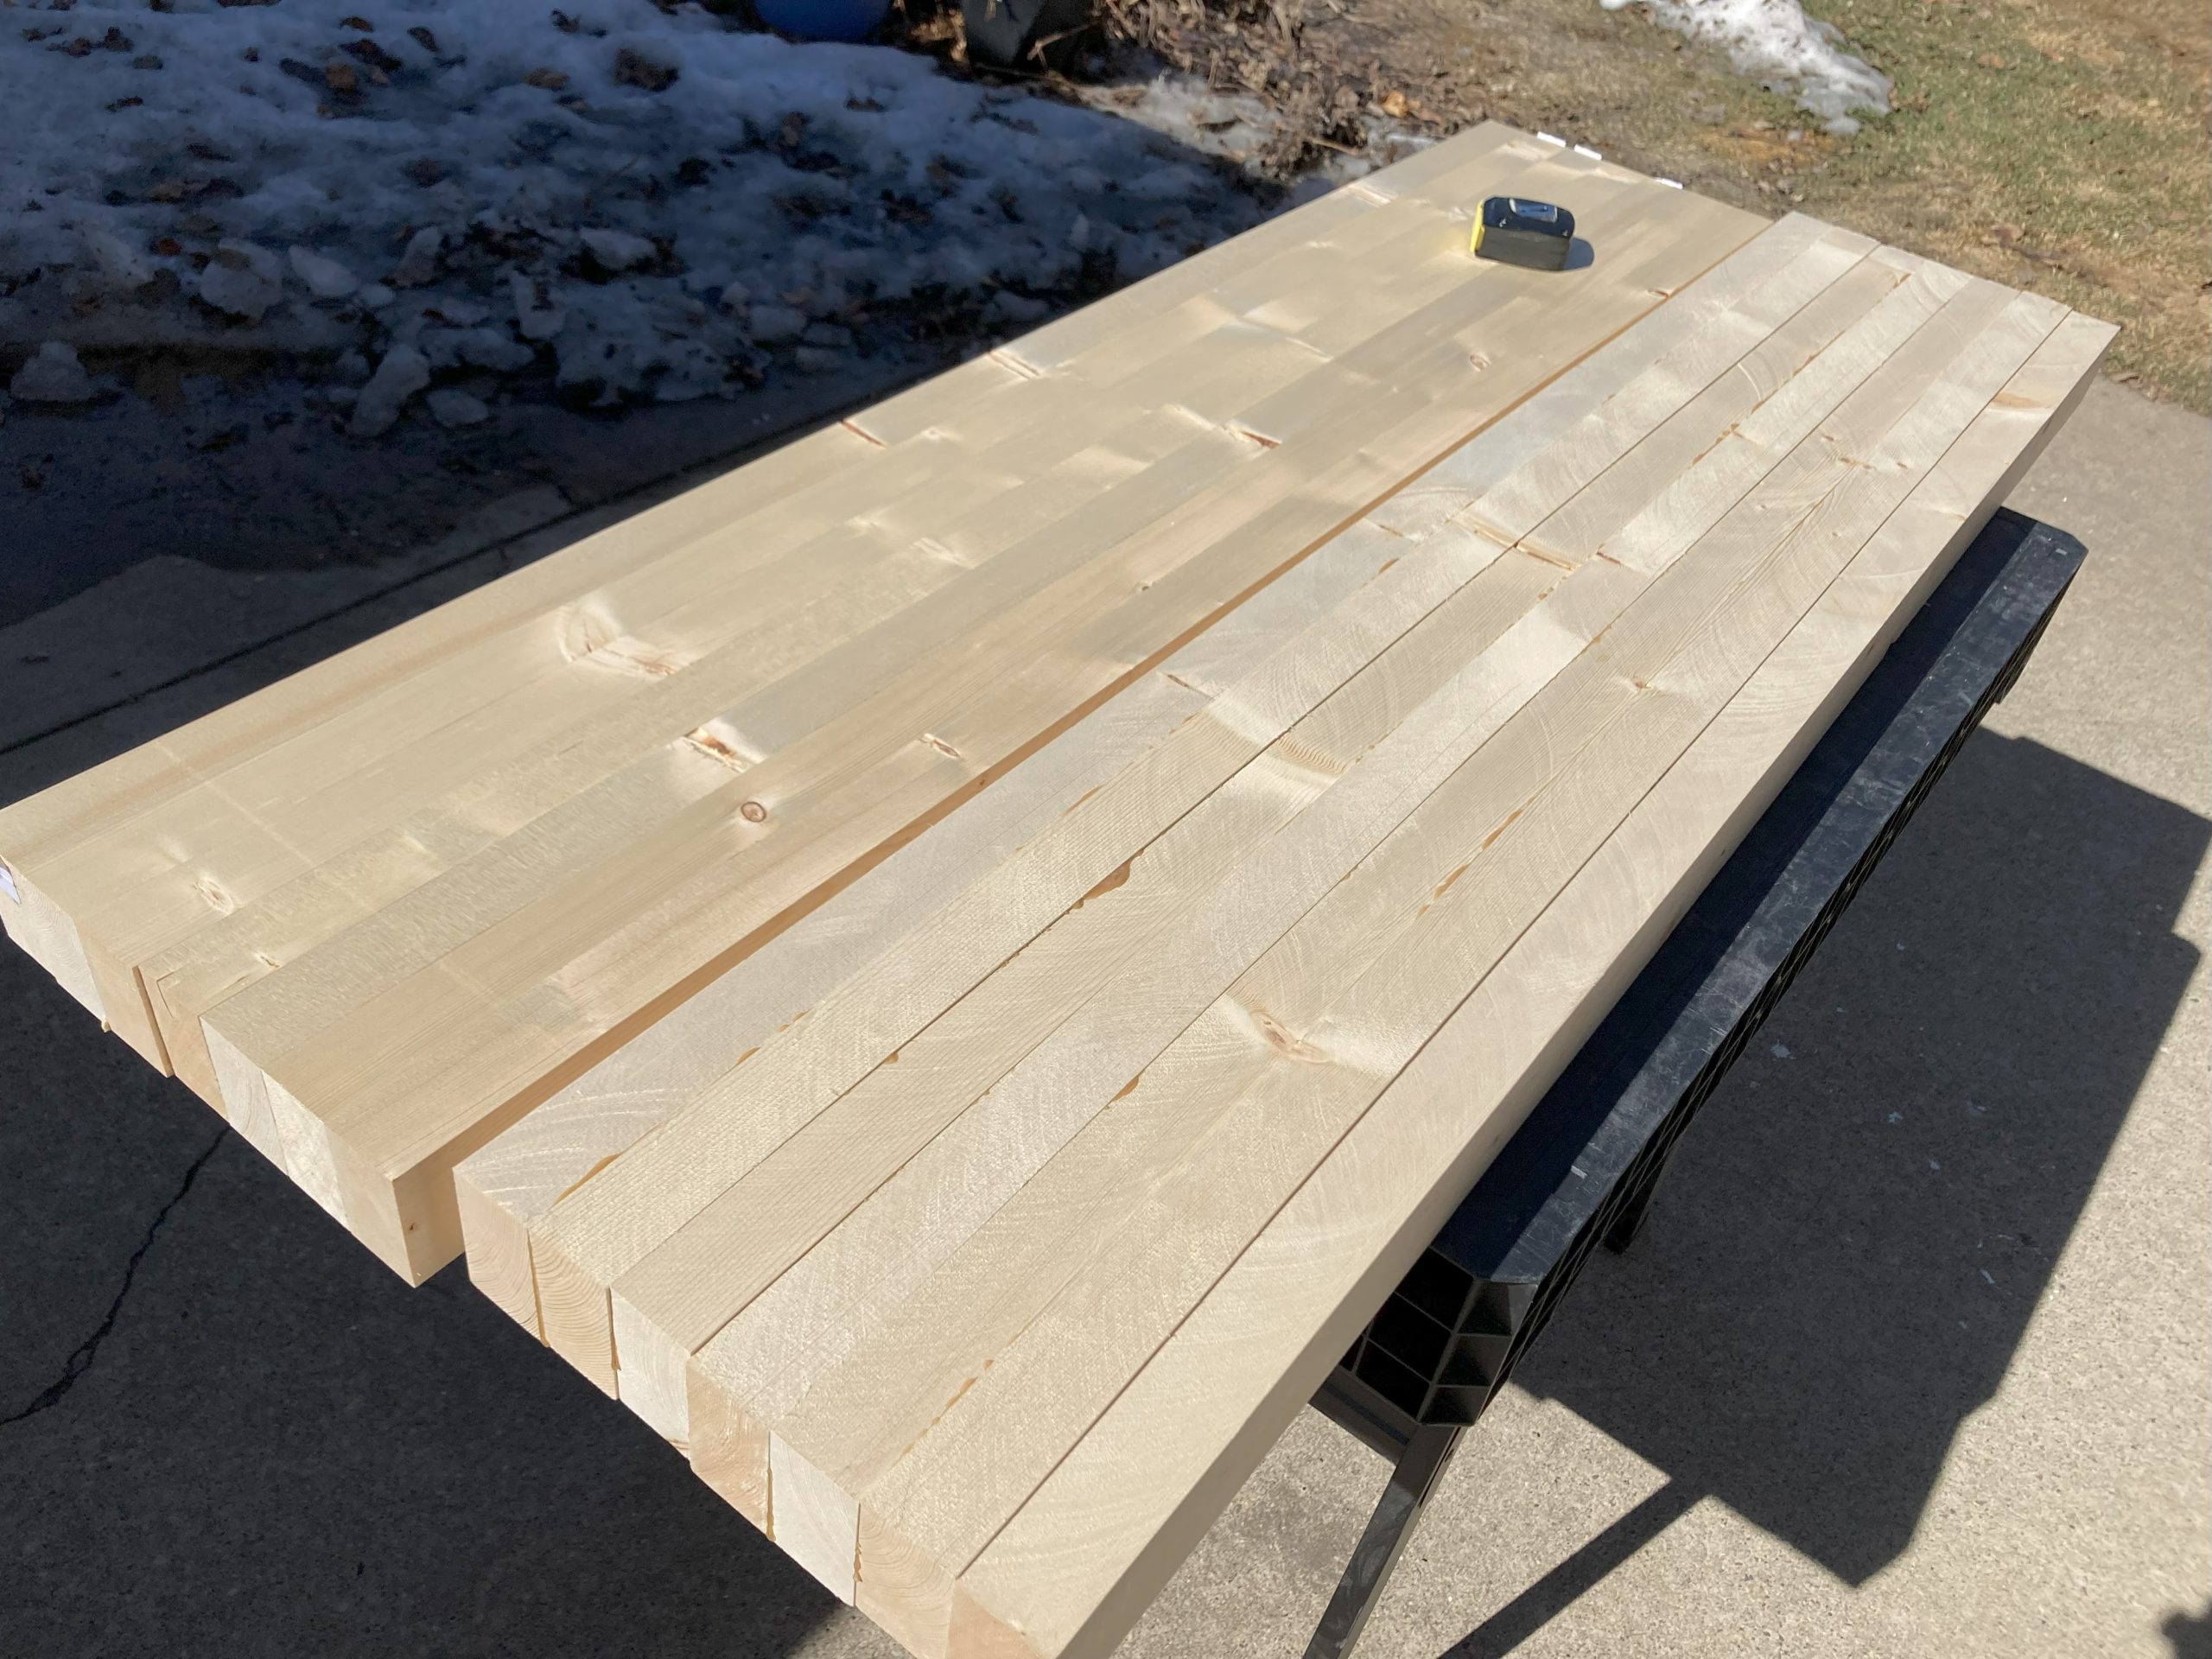
A YouTuber I like gave a “pro tip” that you can buy construction grade 2×8’s and rip them down into 2×4’s and they’re somehow better quality wood. That… was not my experience and I wouldn’t waste the time & effort again.

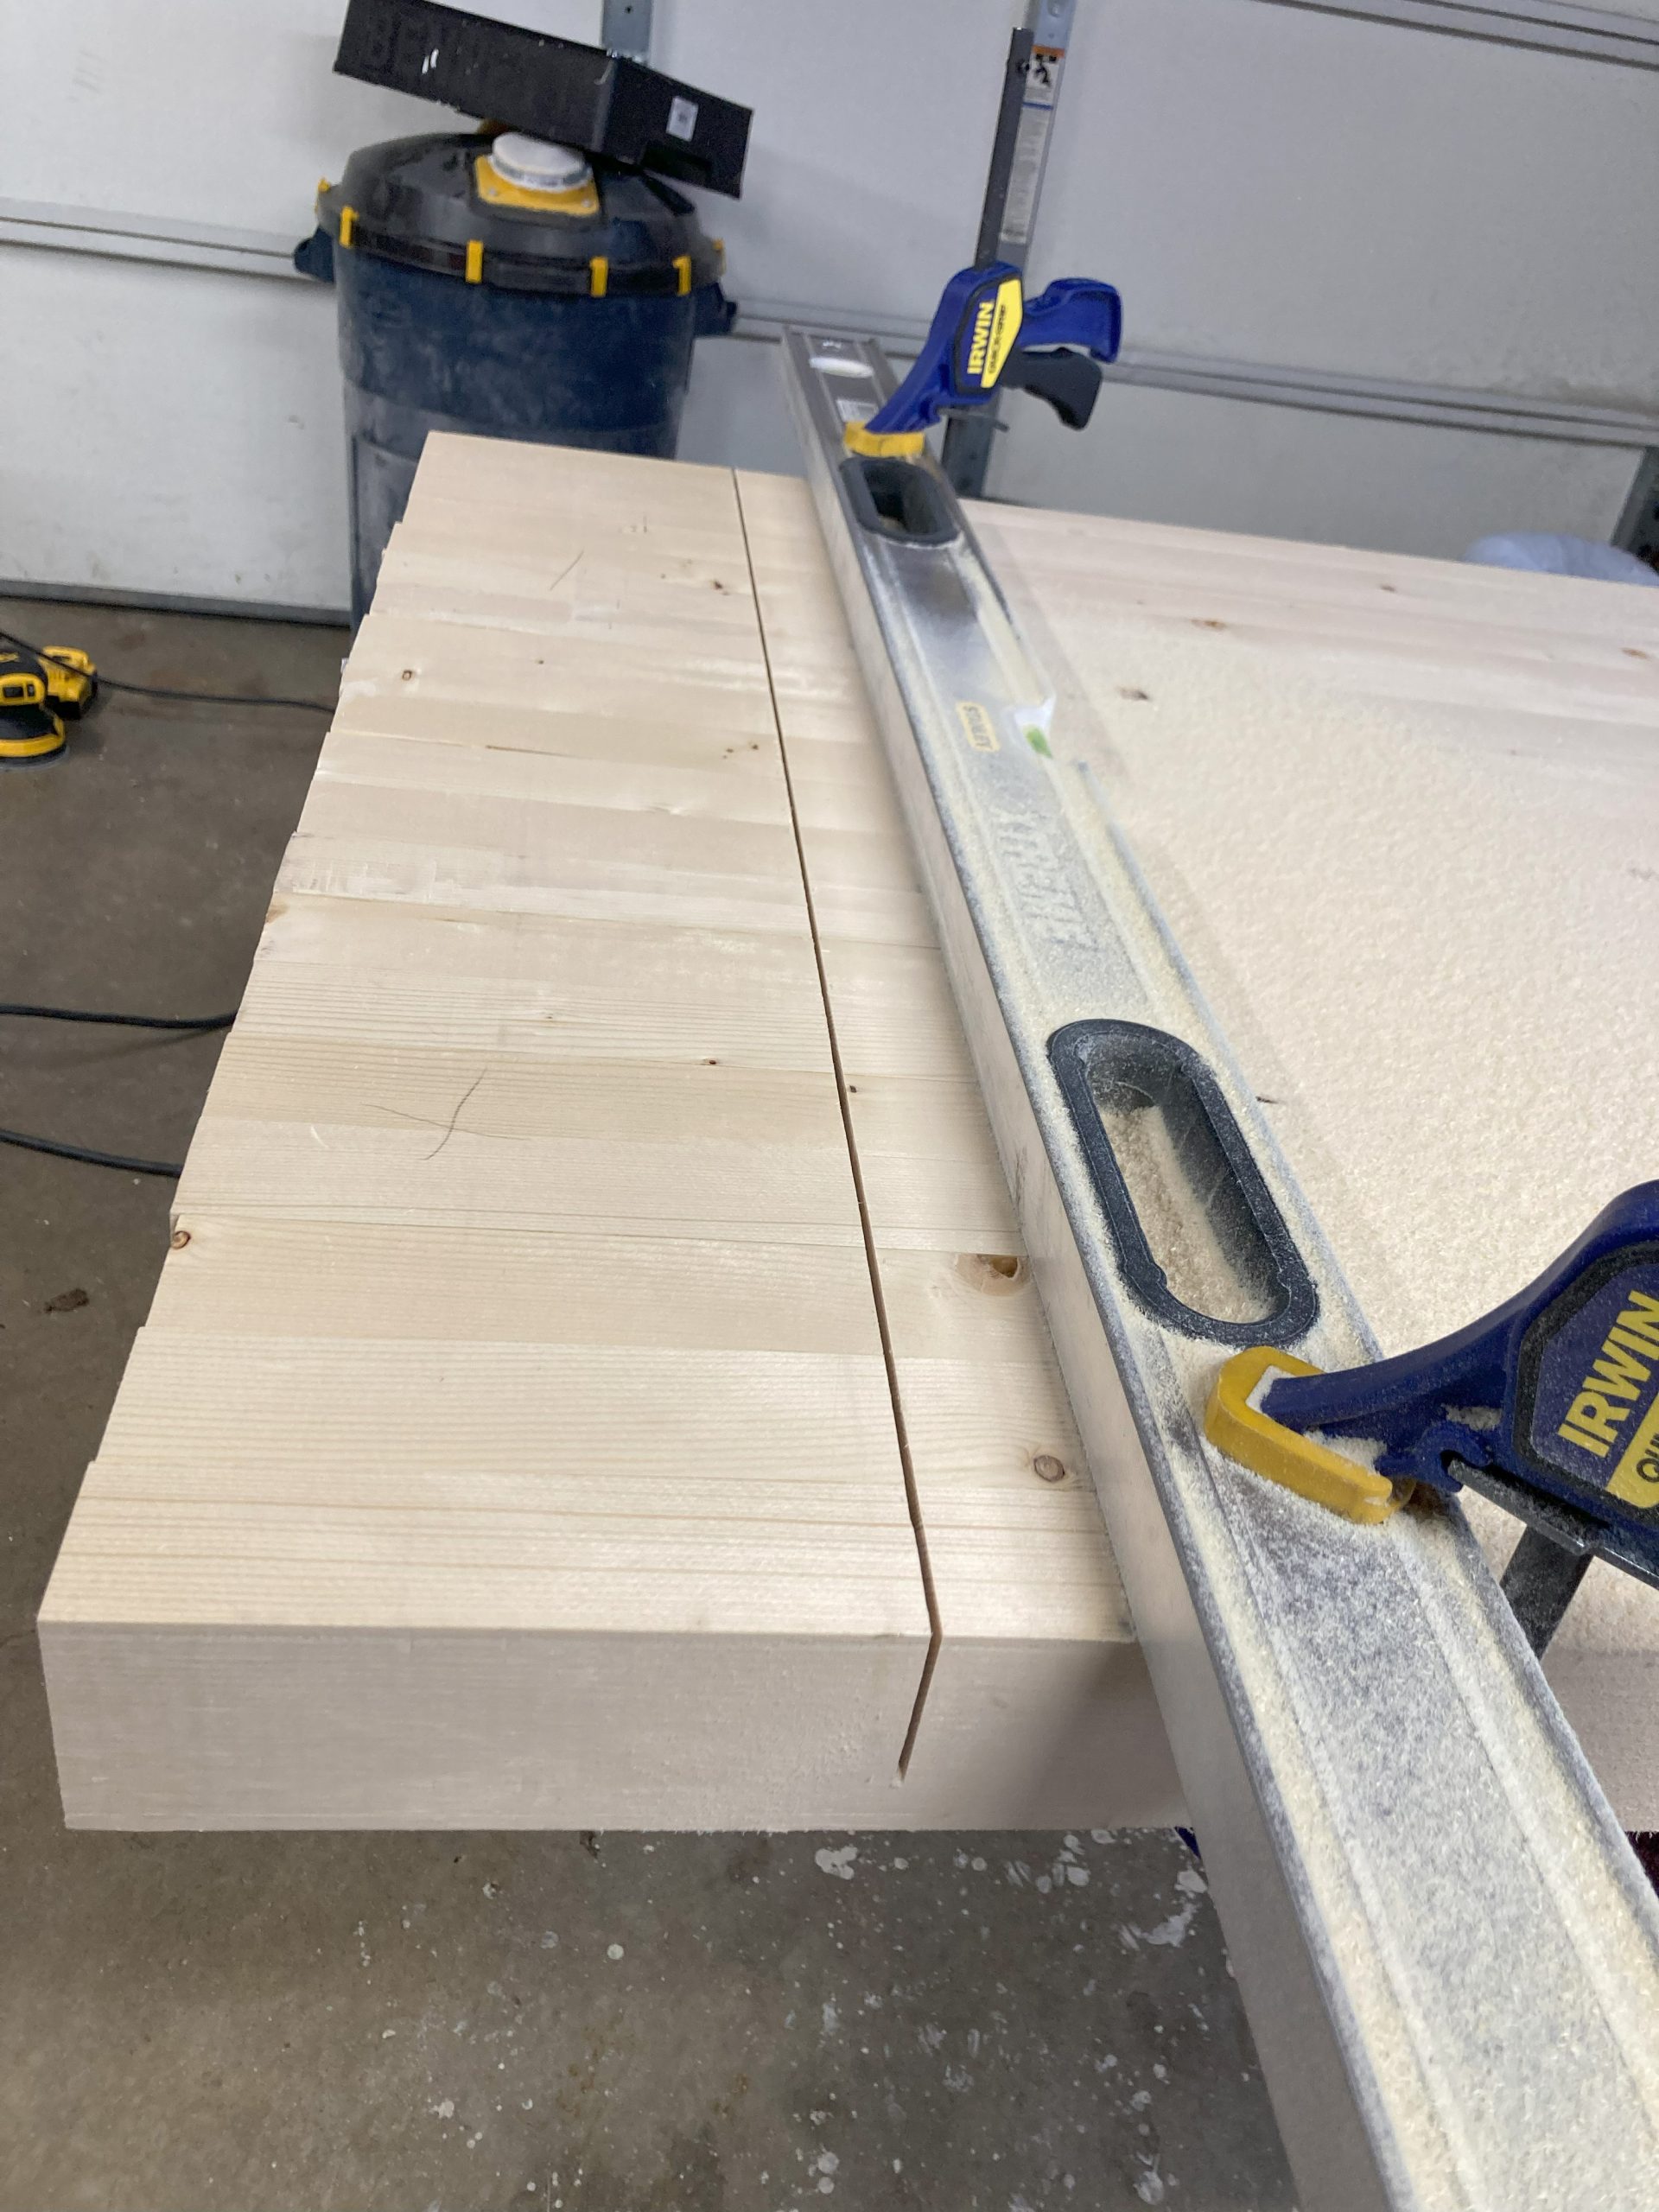
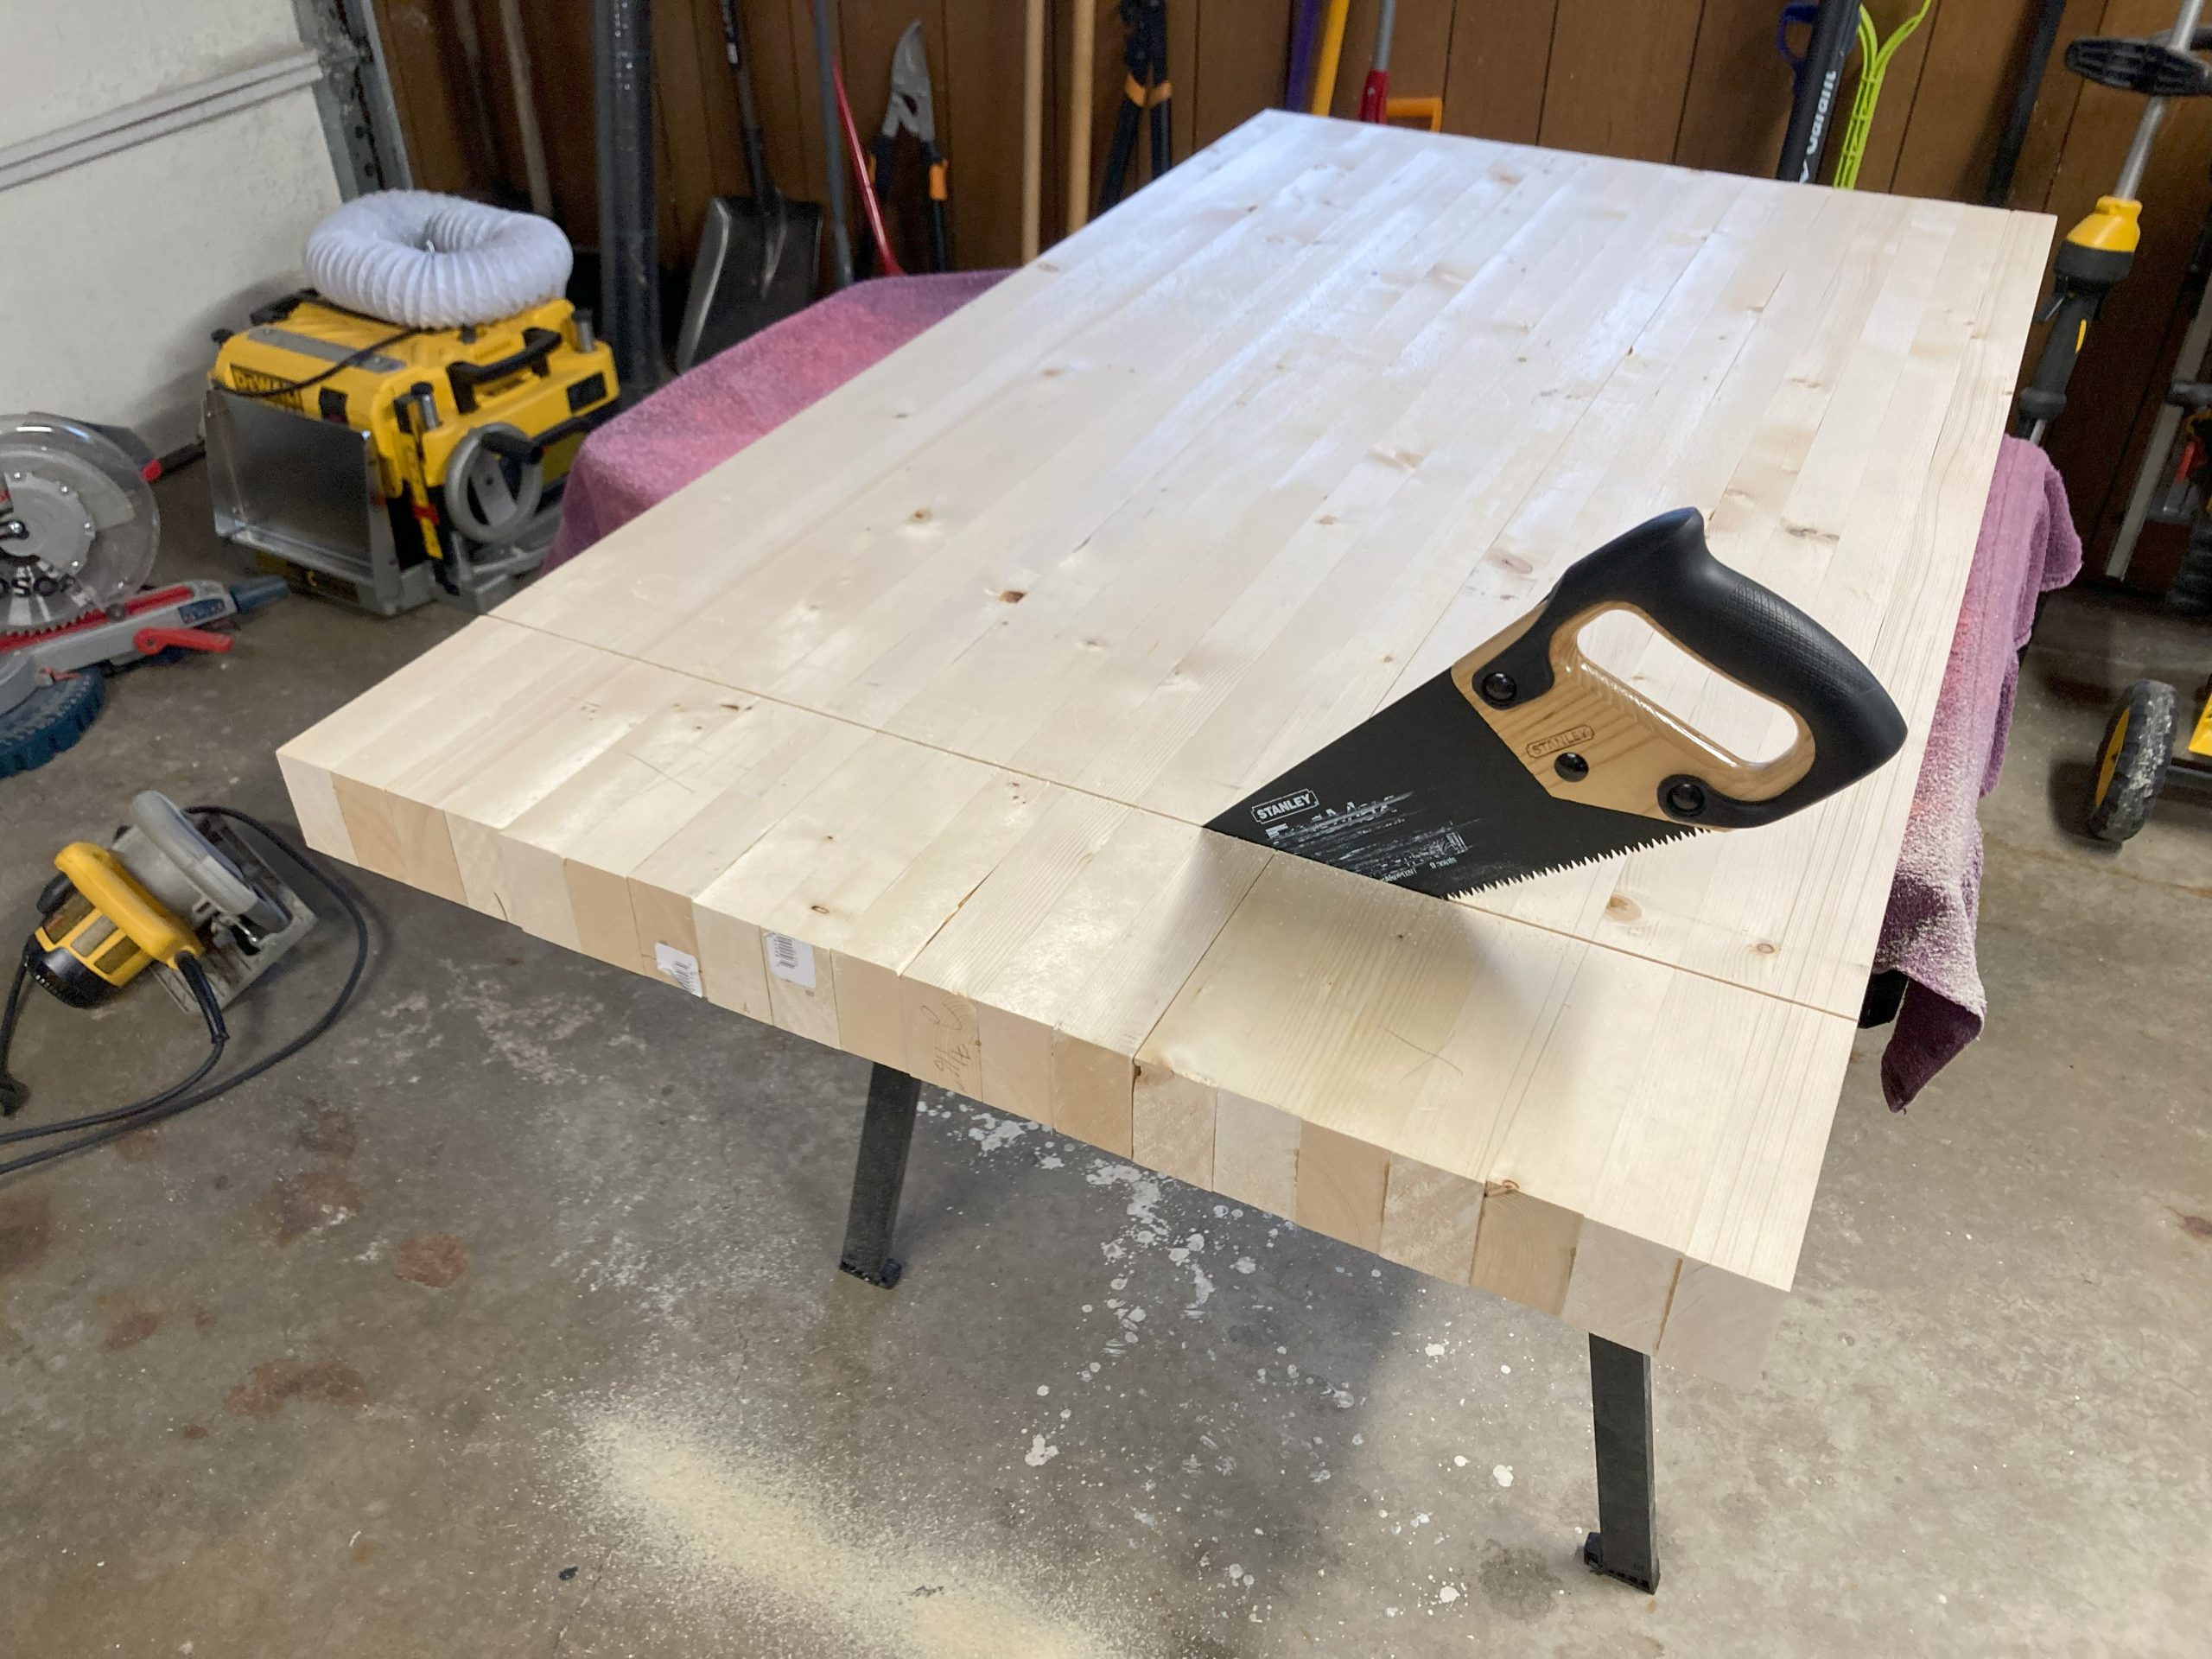
A couple sheets of plywood or melamine would probably be perfectly fine for the benchtop but I really wanted a “butcher block” kind of look so I laminated a bunch of 2×3’s together into 3 large sections. Each section weighed like 65 lbs and I immediately wondered if it was a mistake.

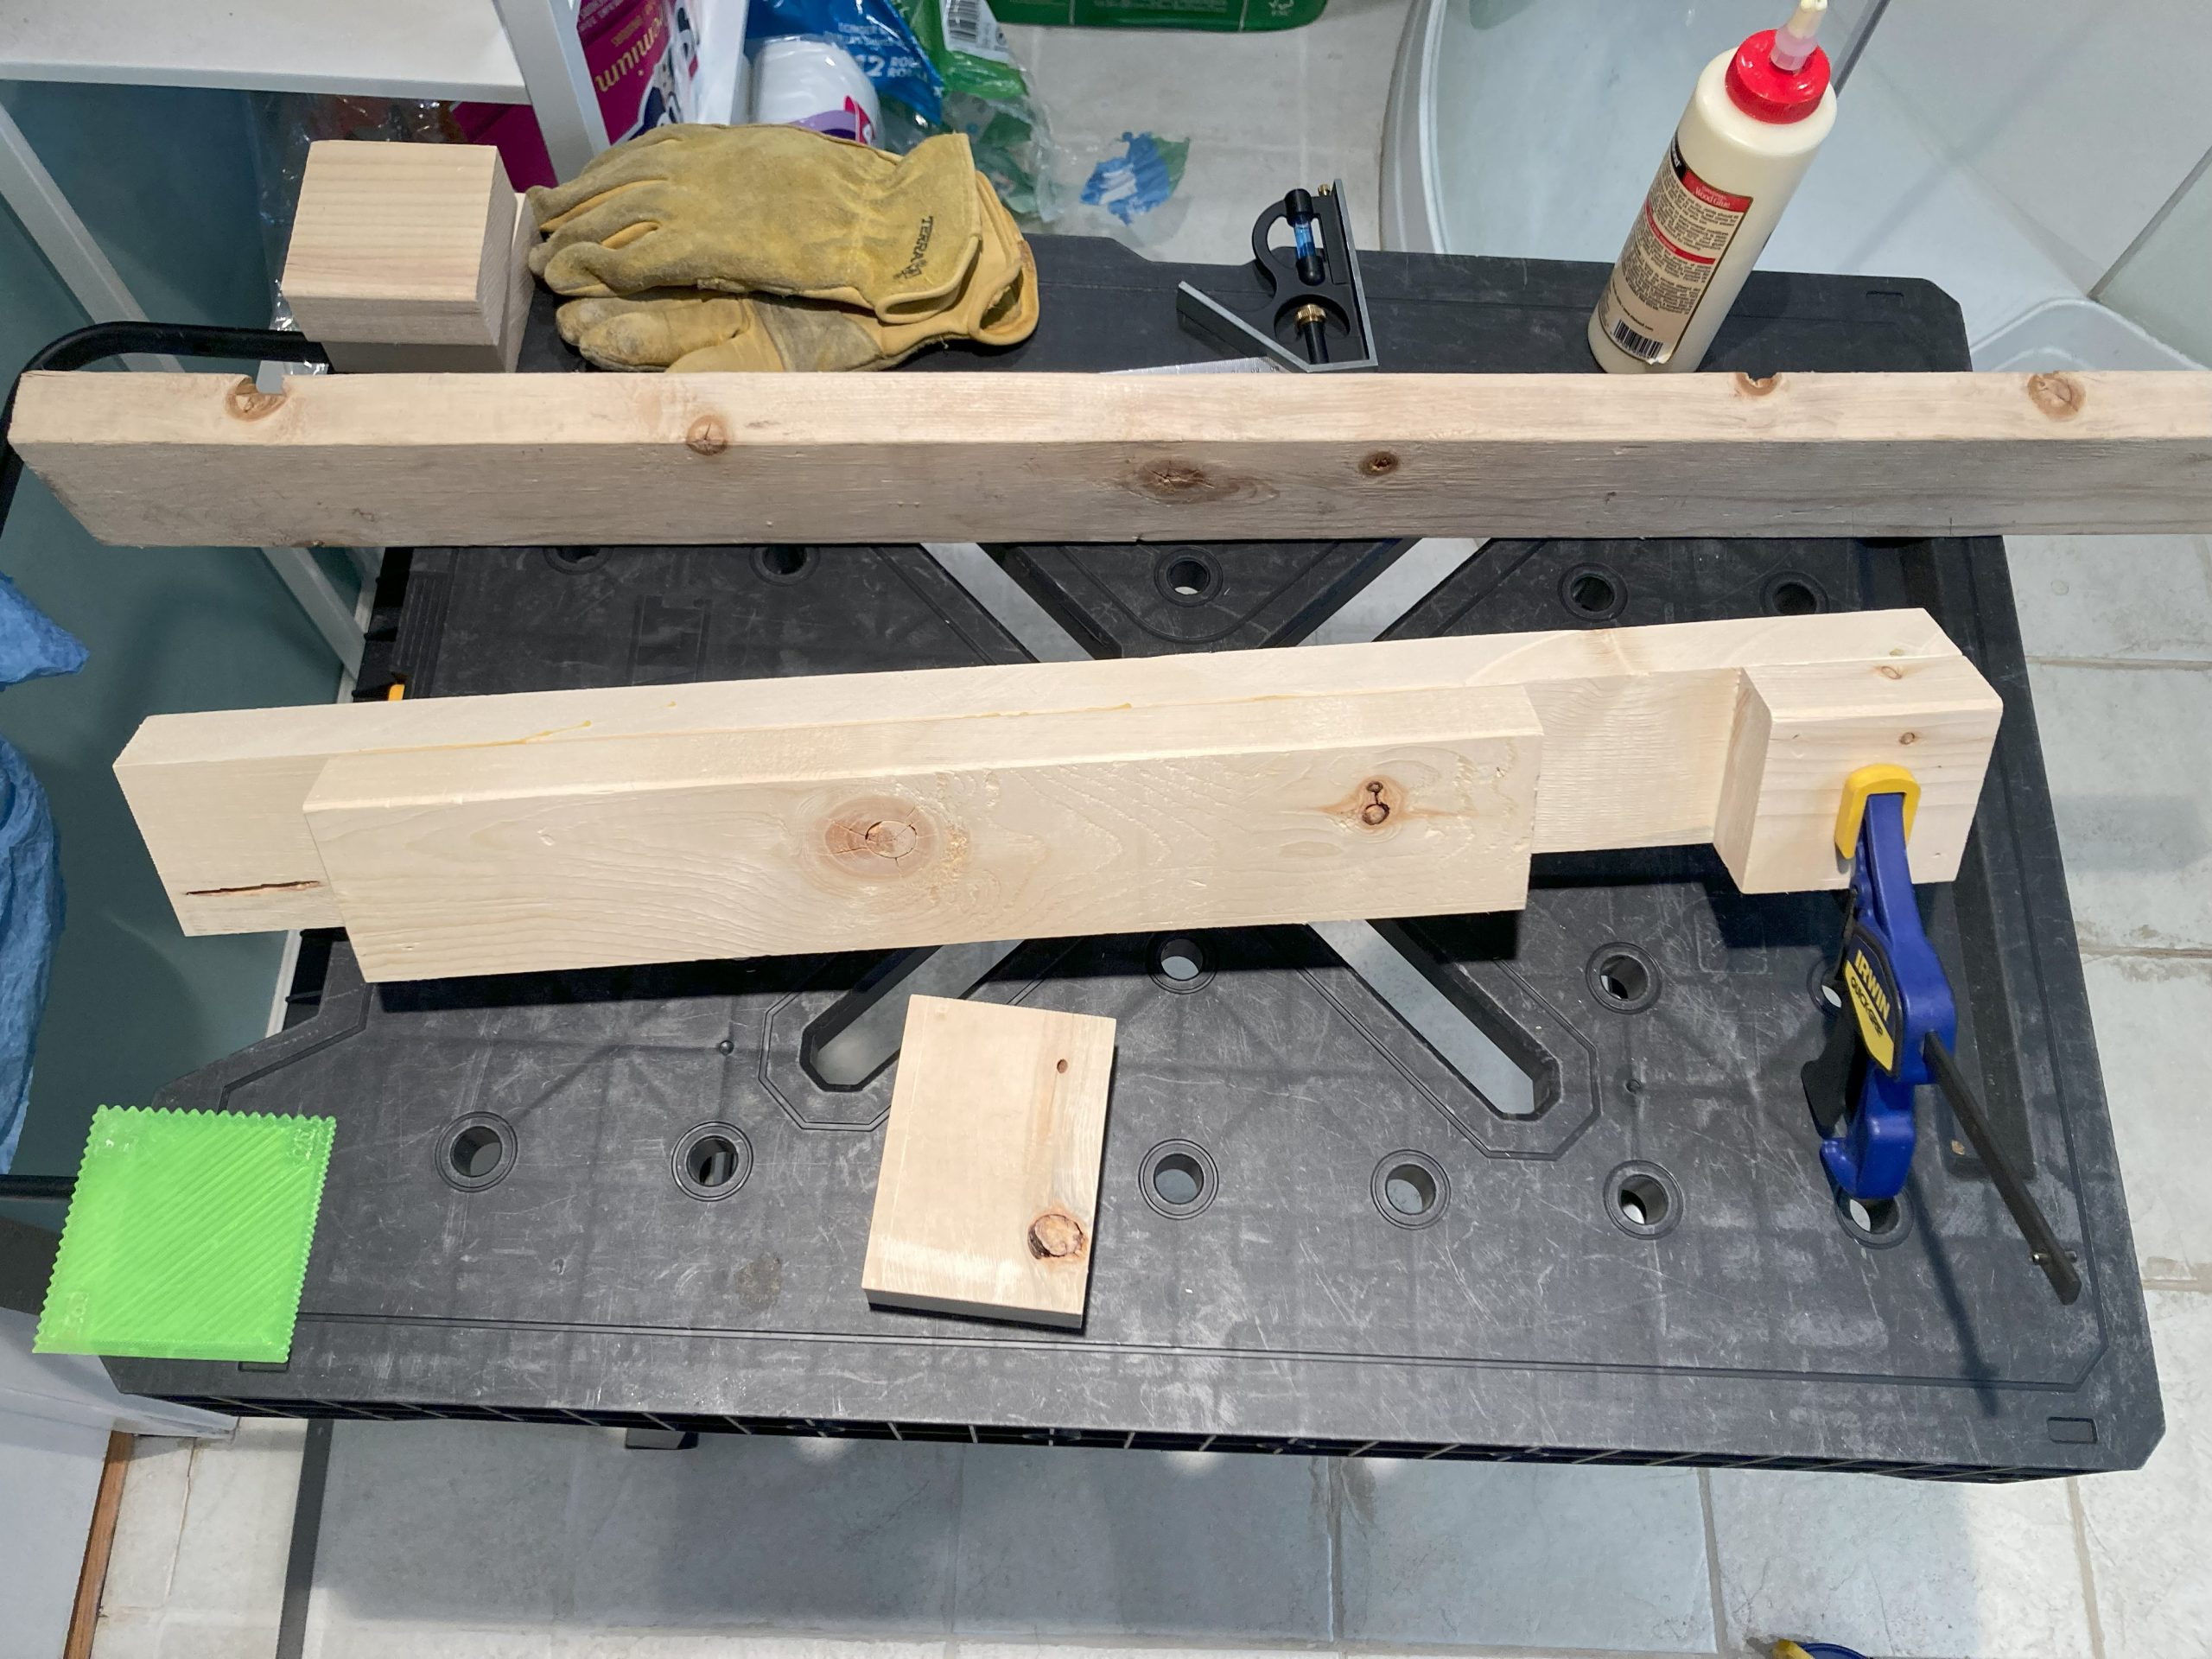
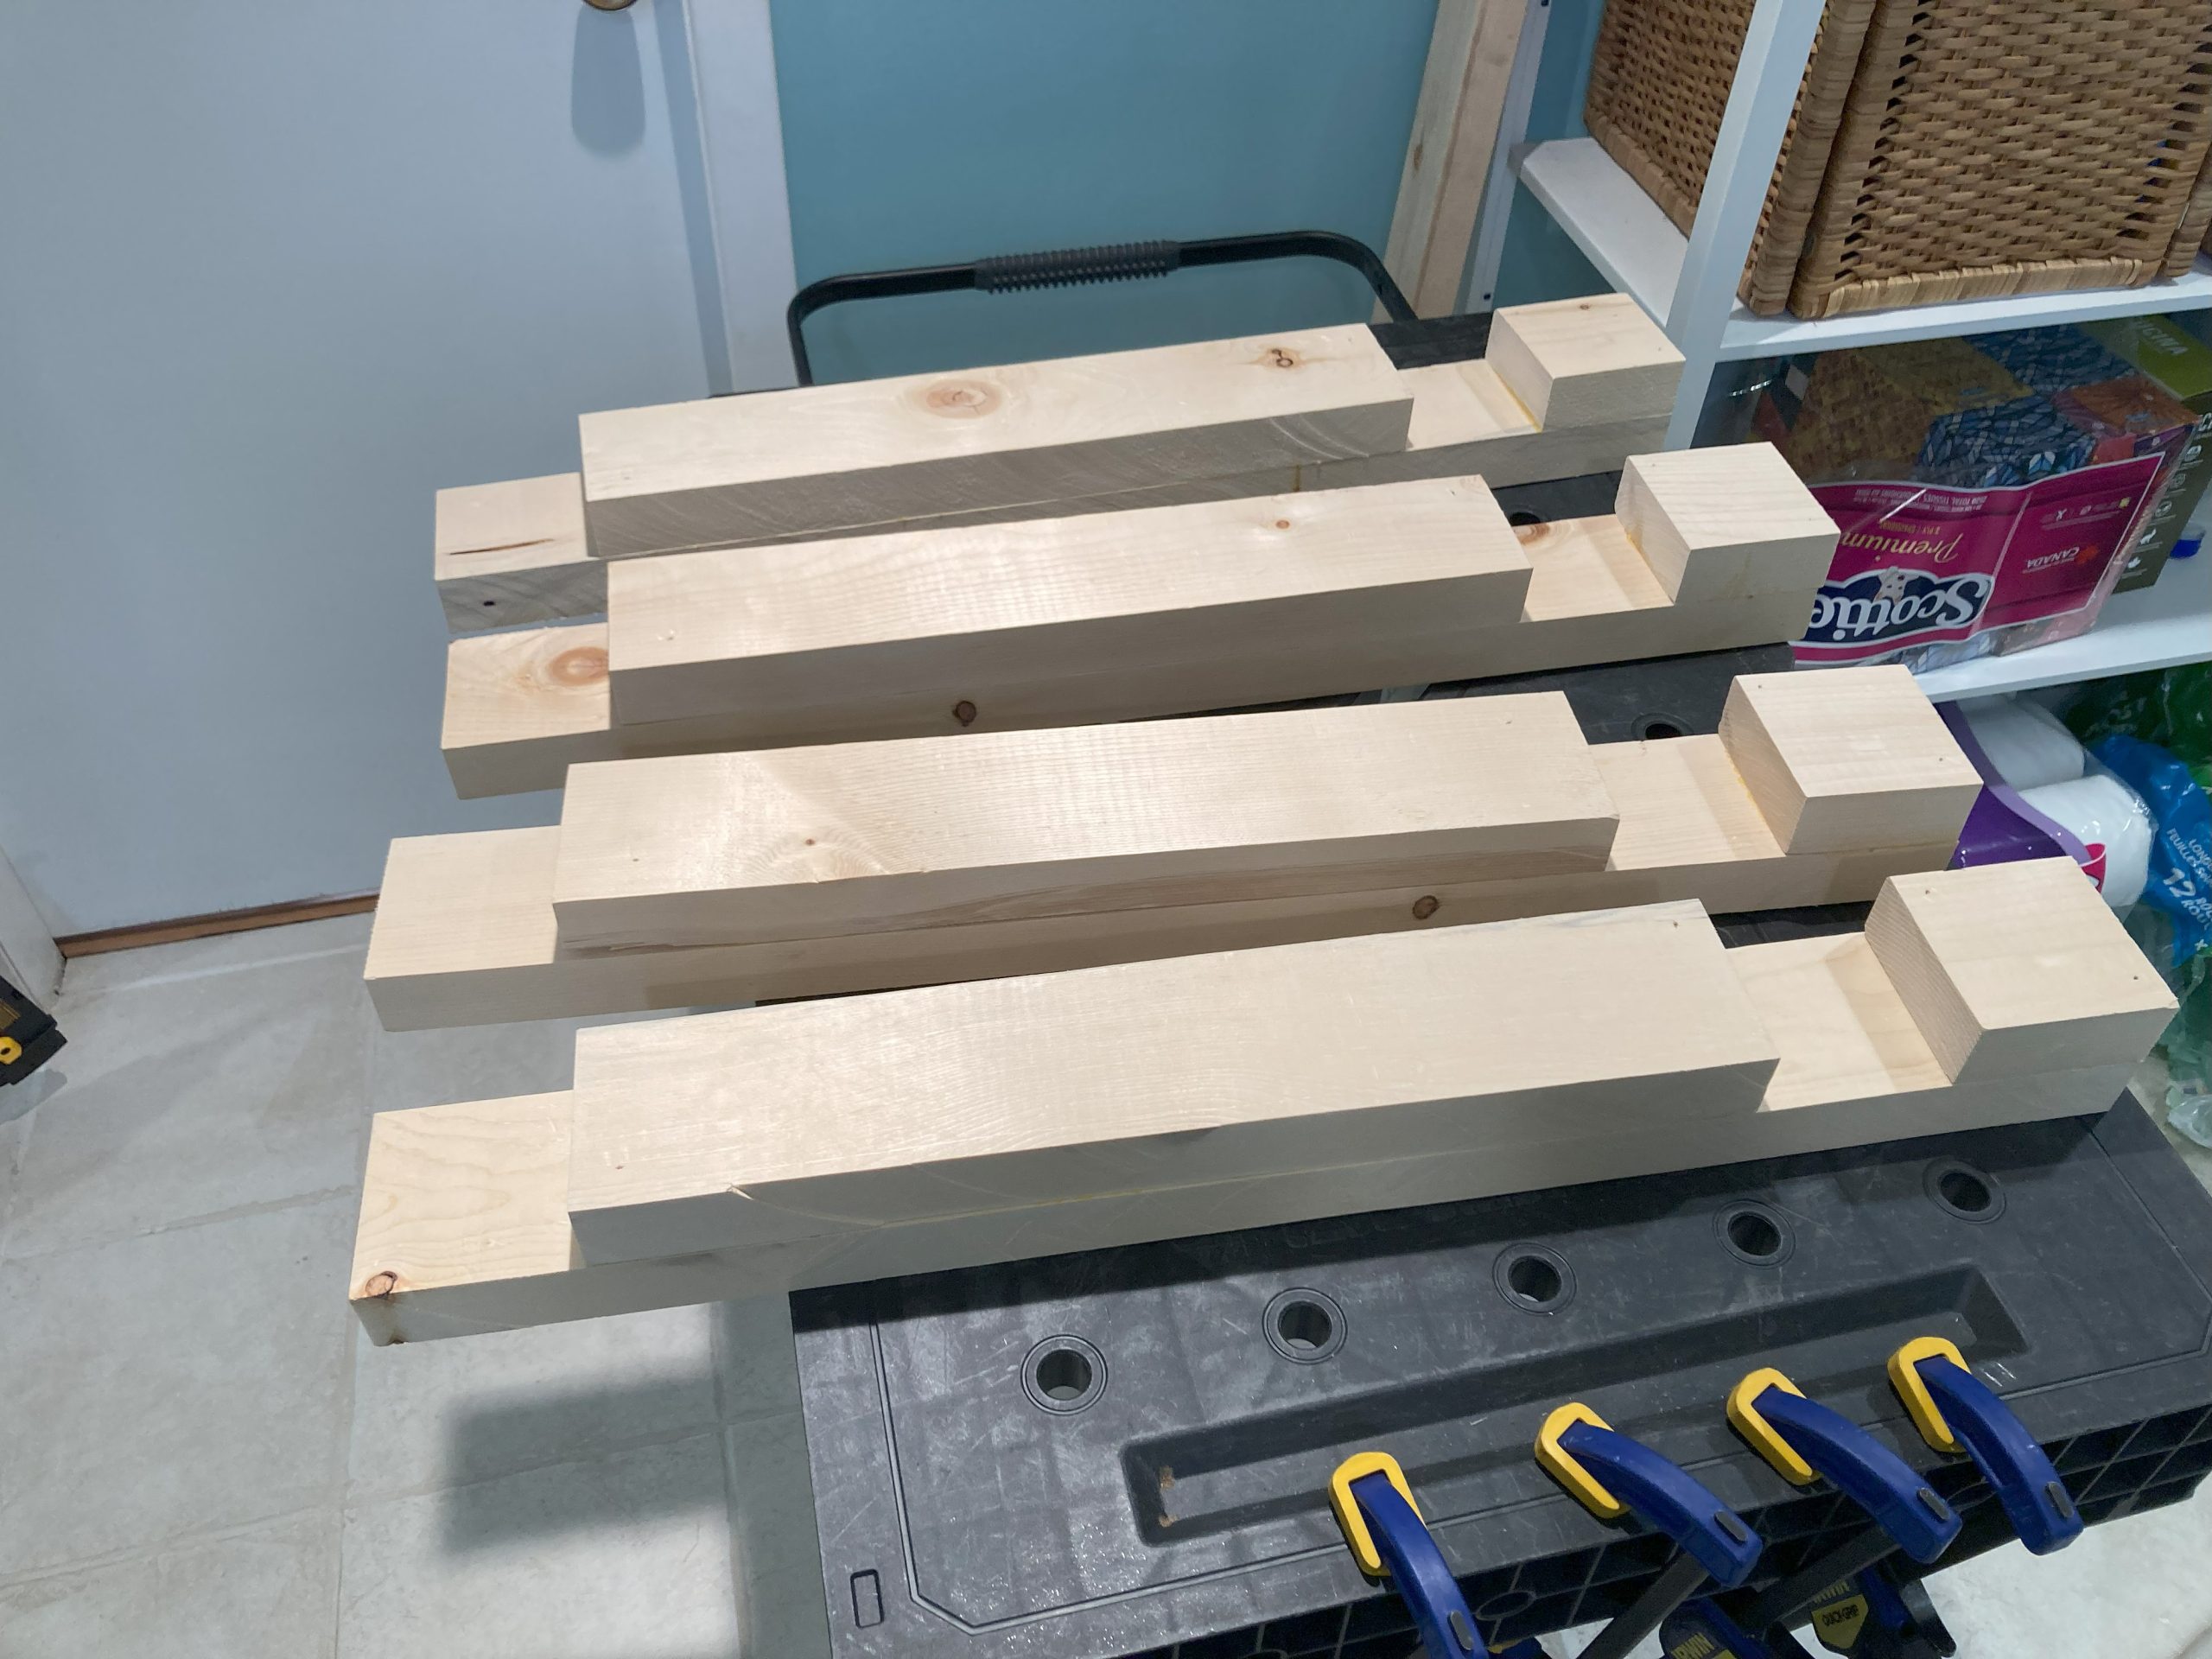
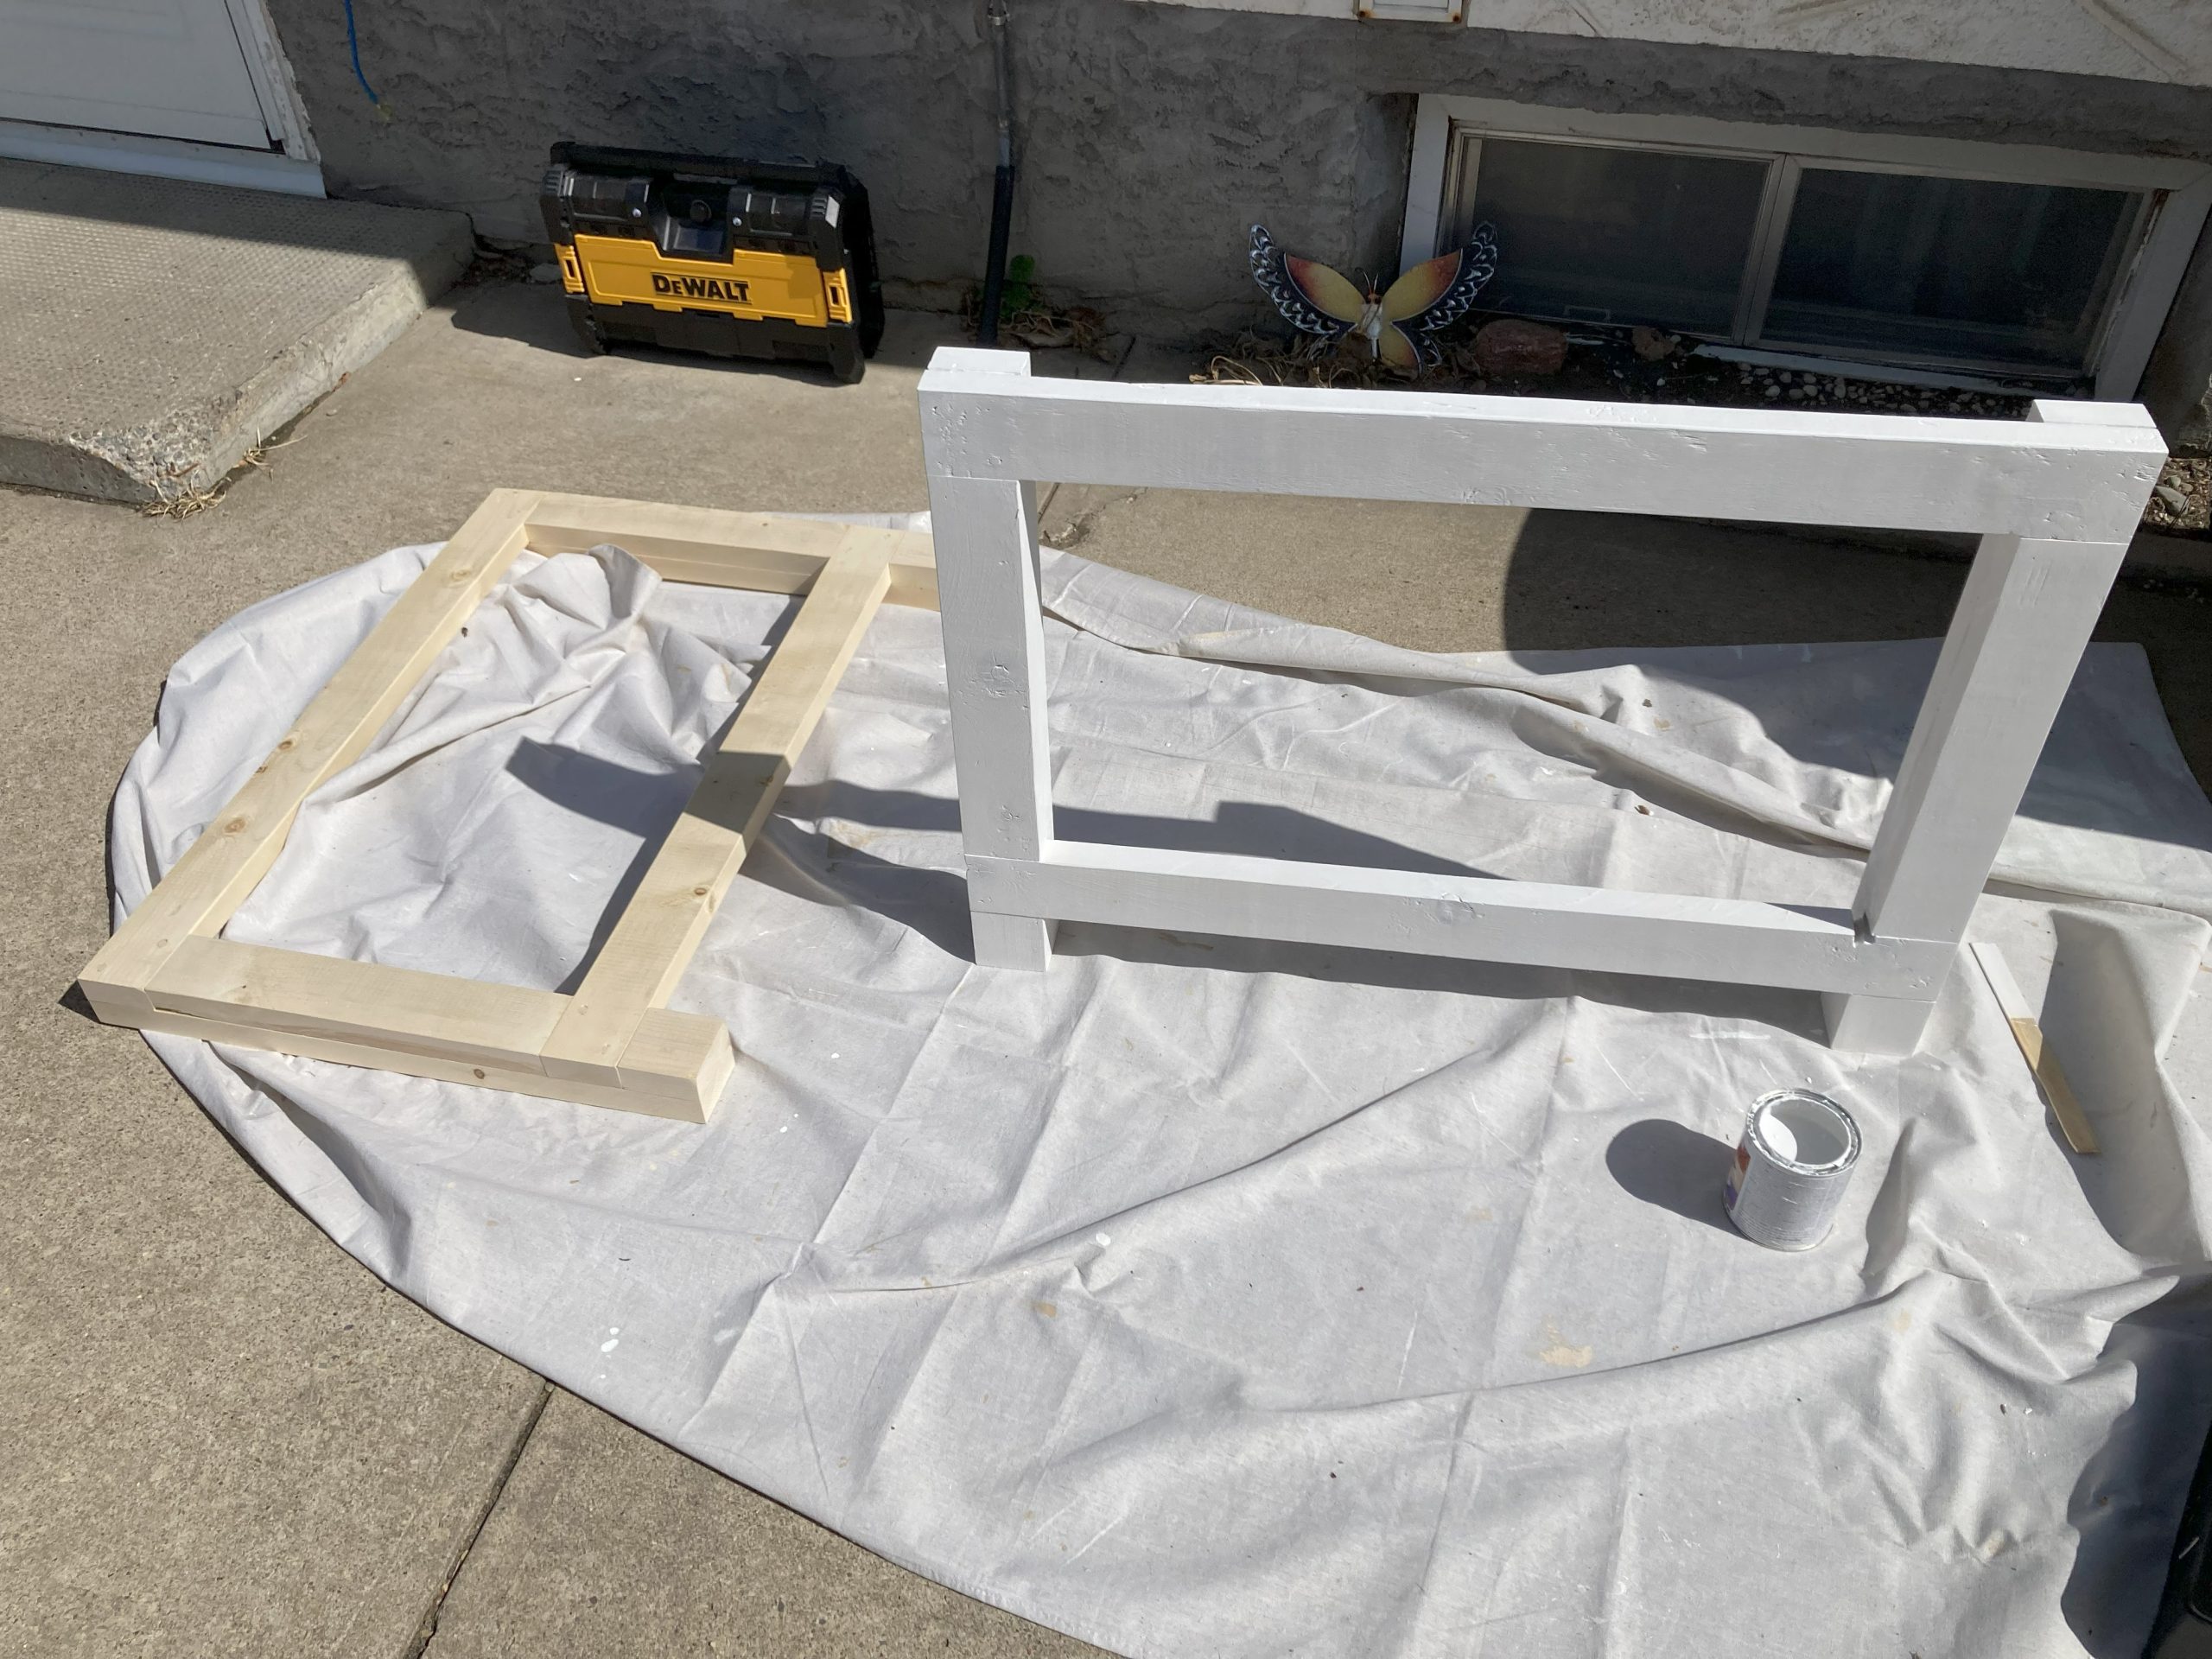
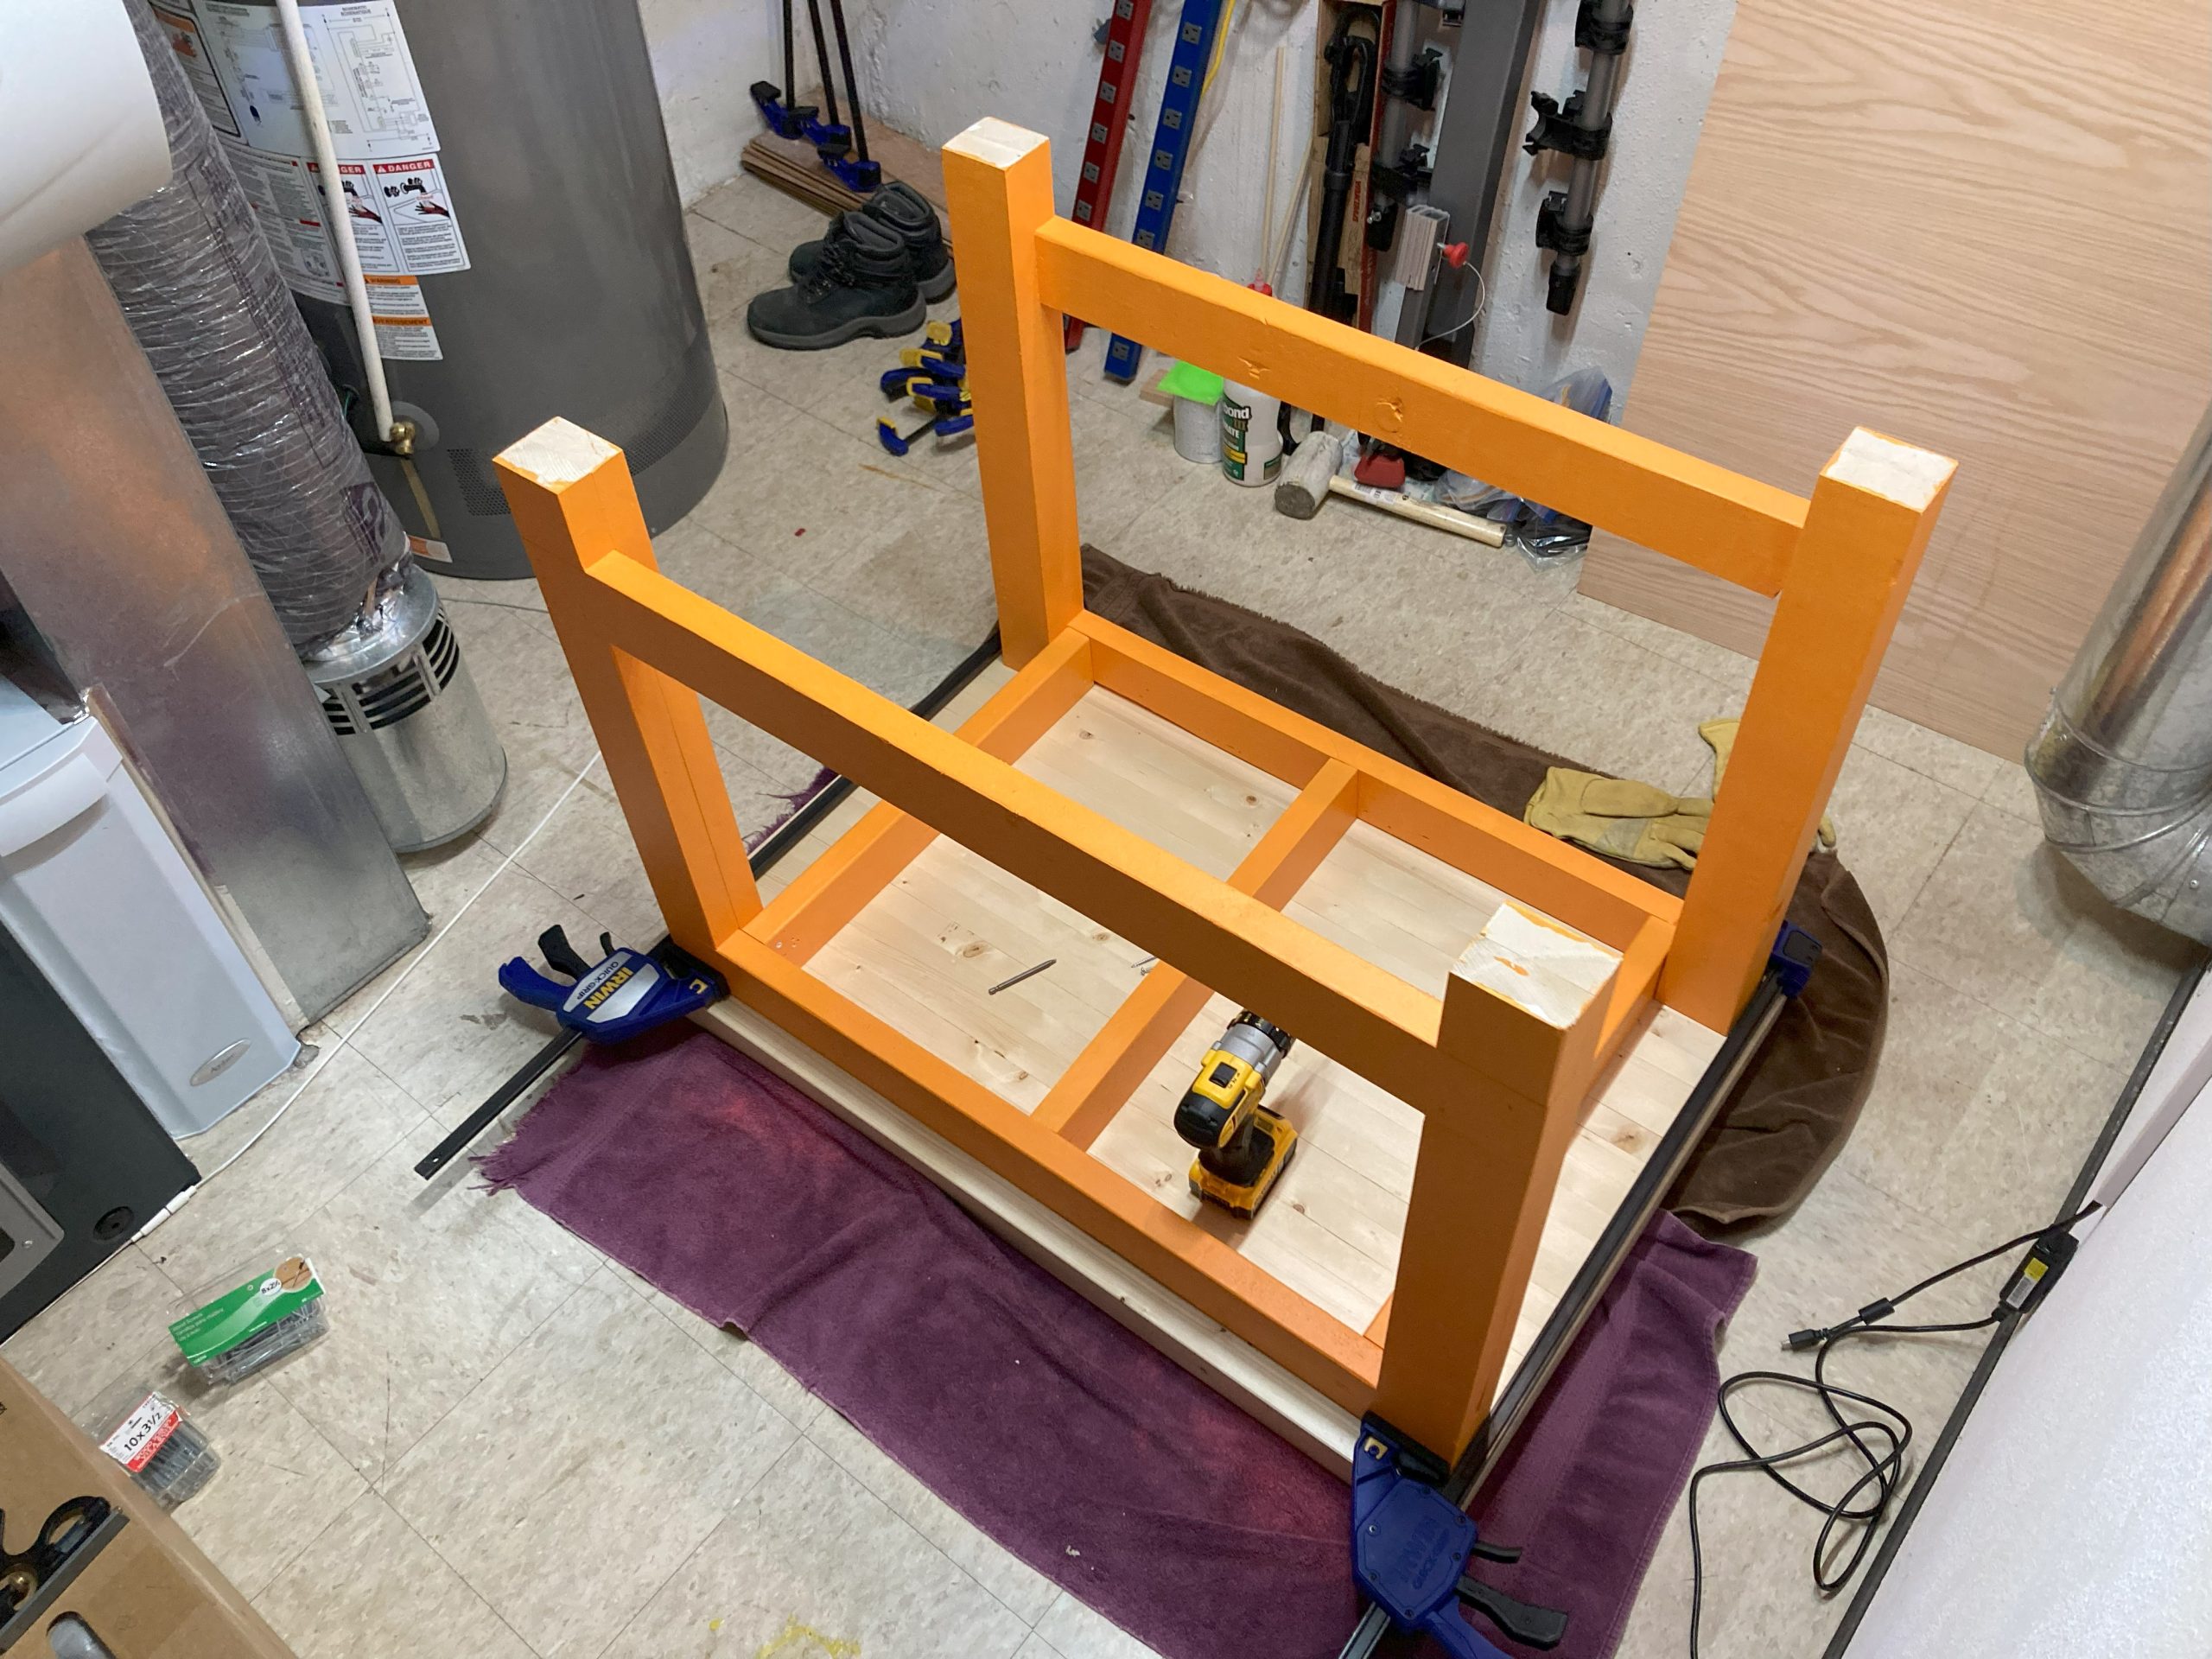
The lower frame was designed as 2 large assemblies (front & back) joined by crossmembers. This would allow the bench to be easily assembled/disassembled since it doesn’t fit through the door on my workroom.

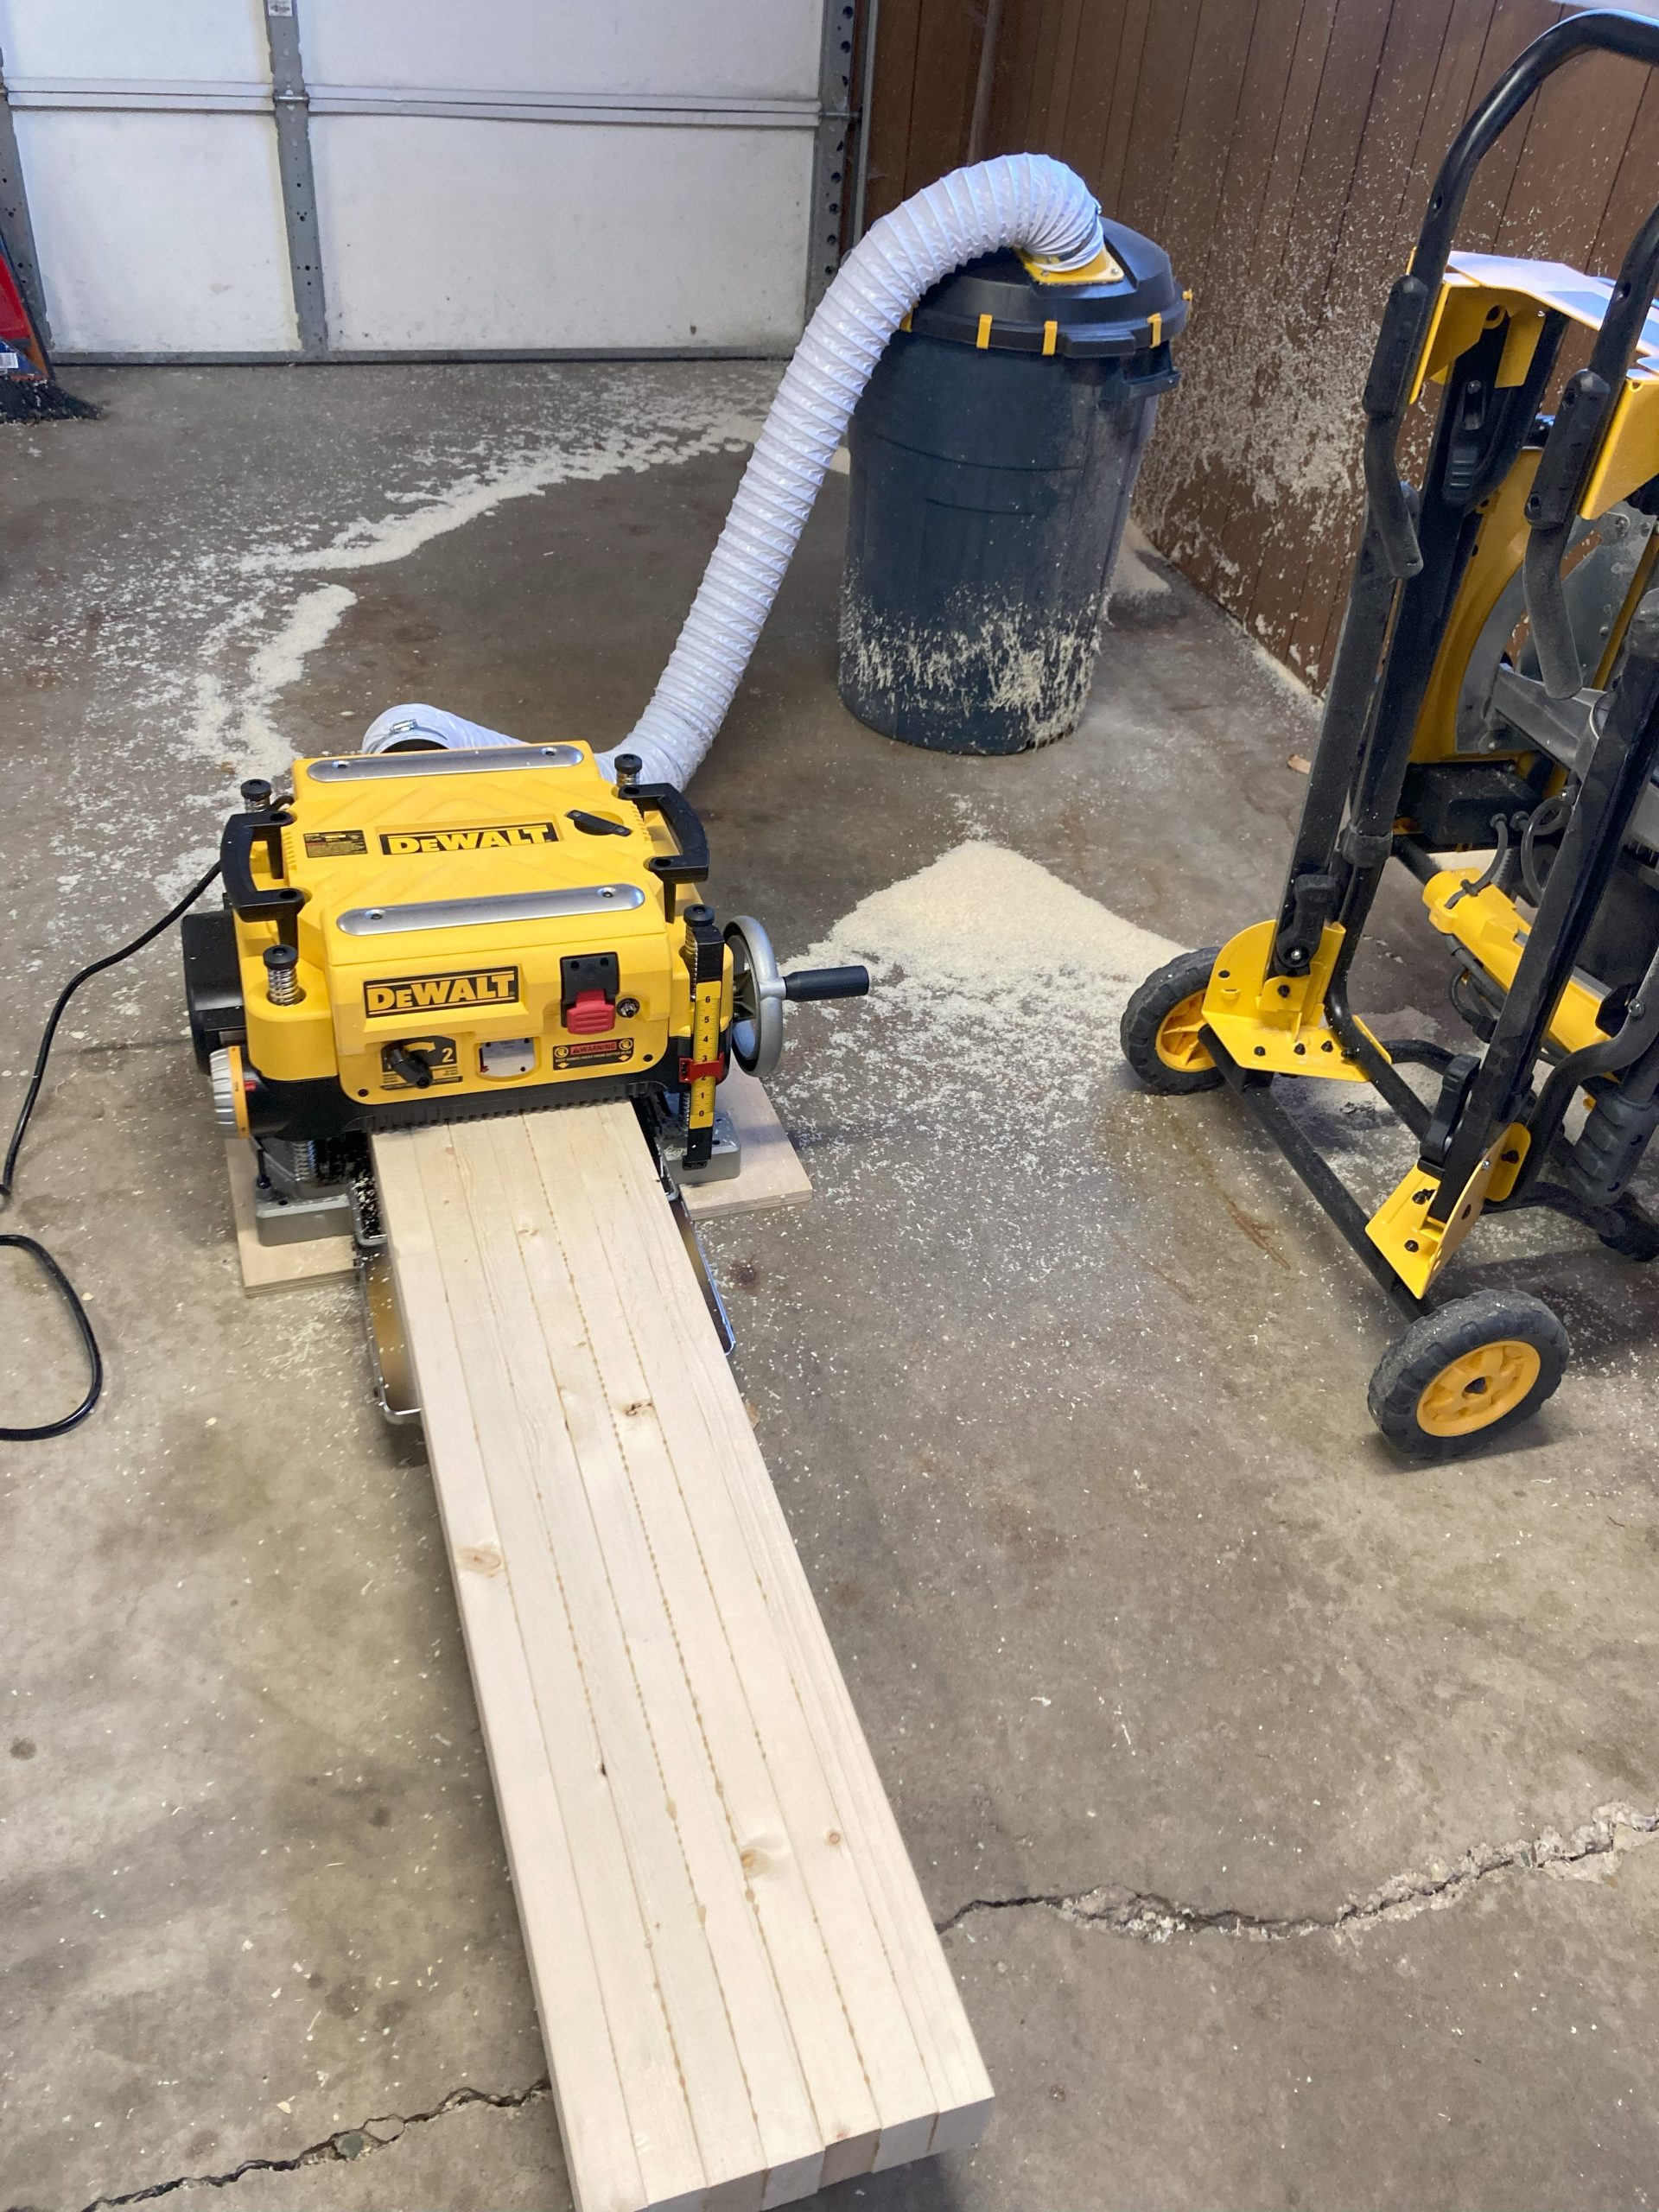
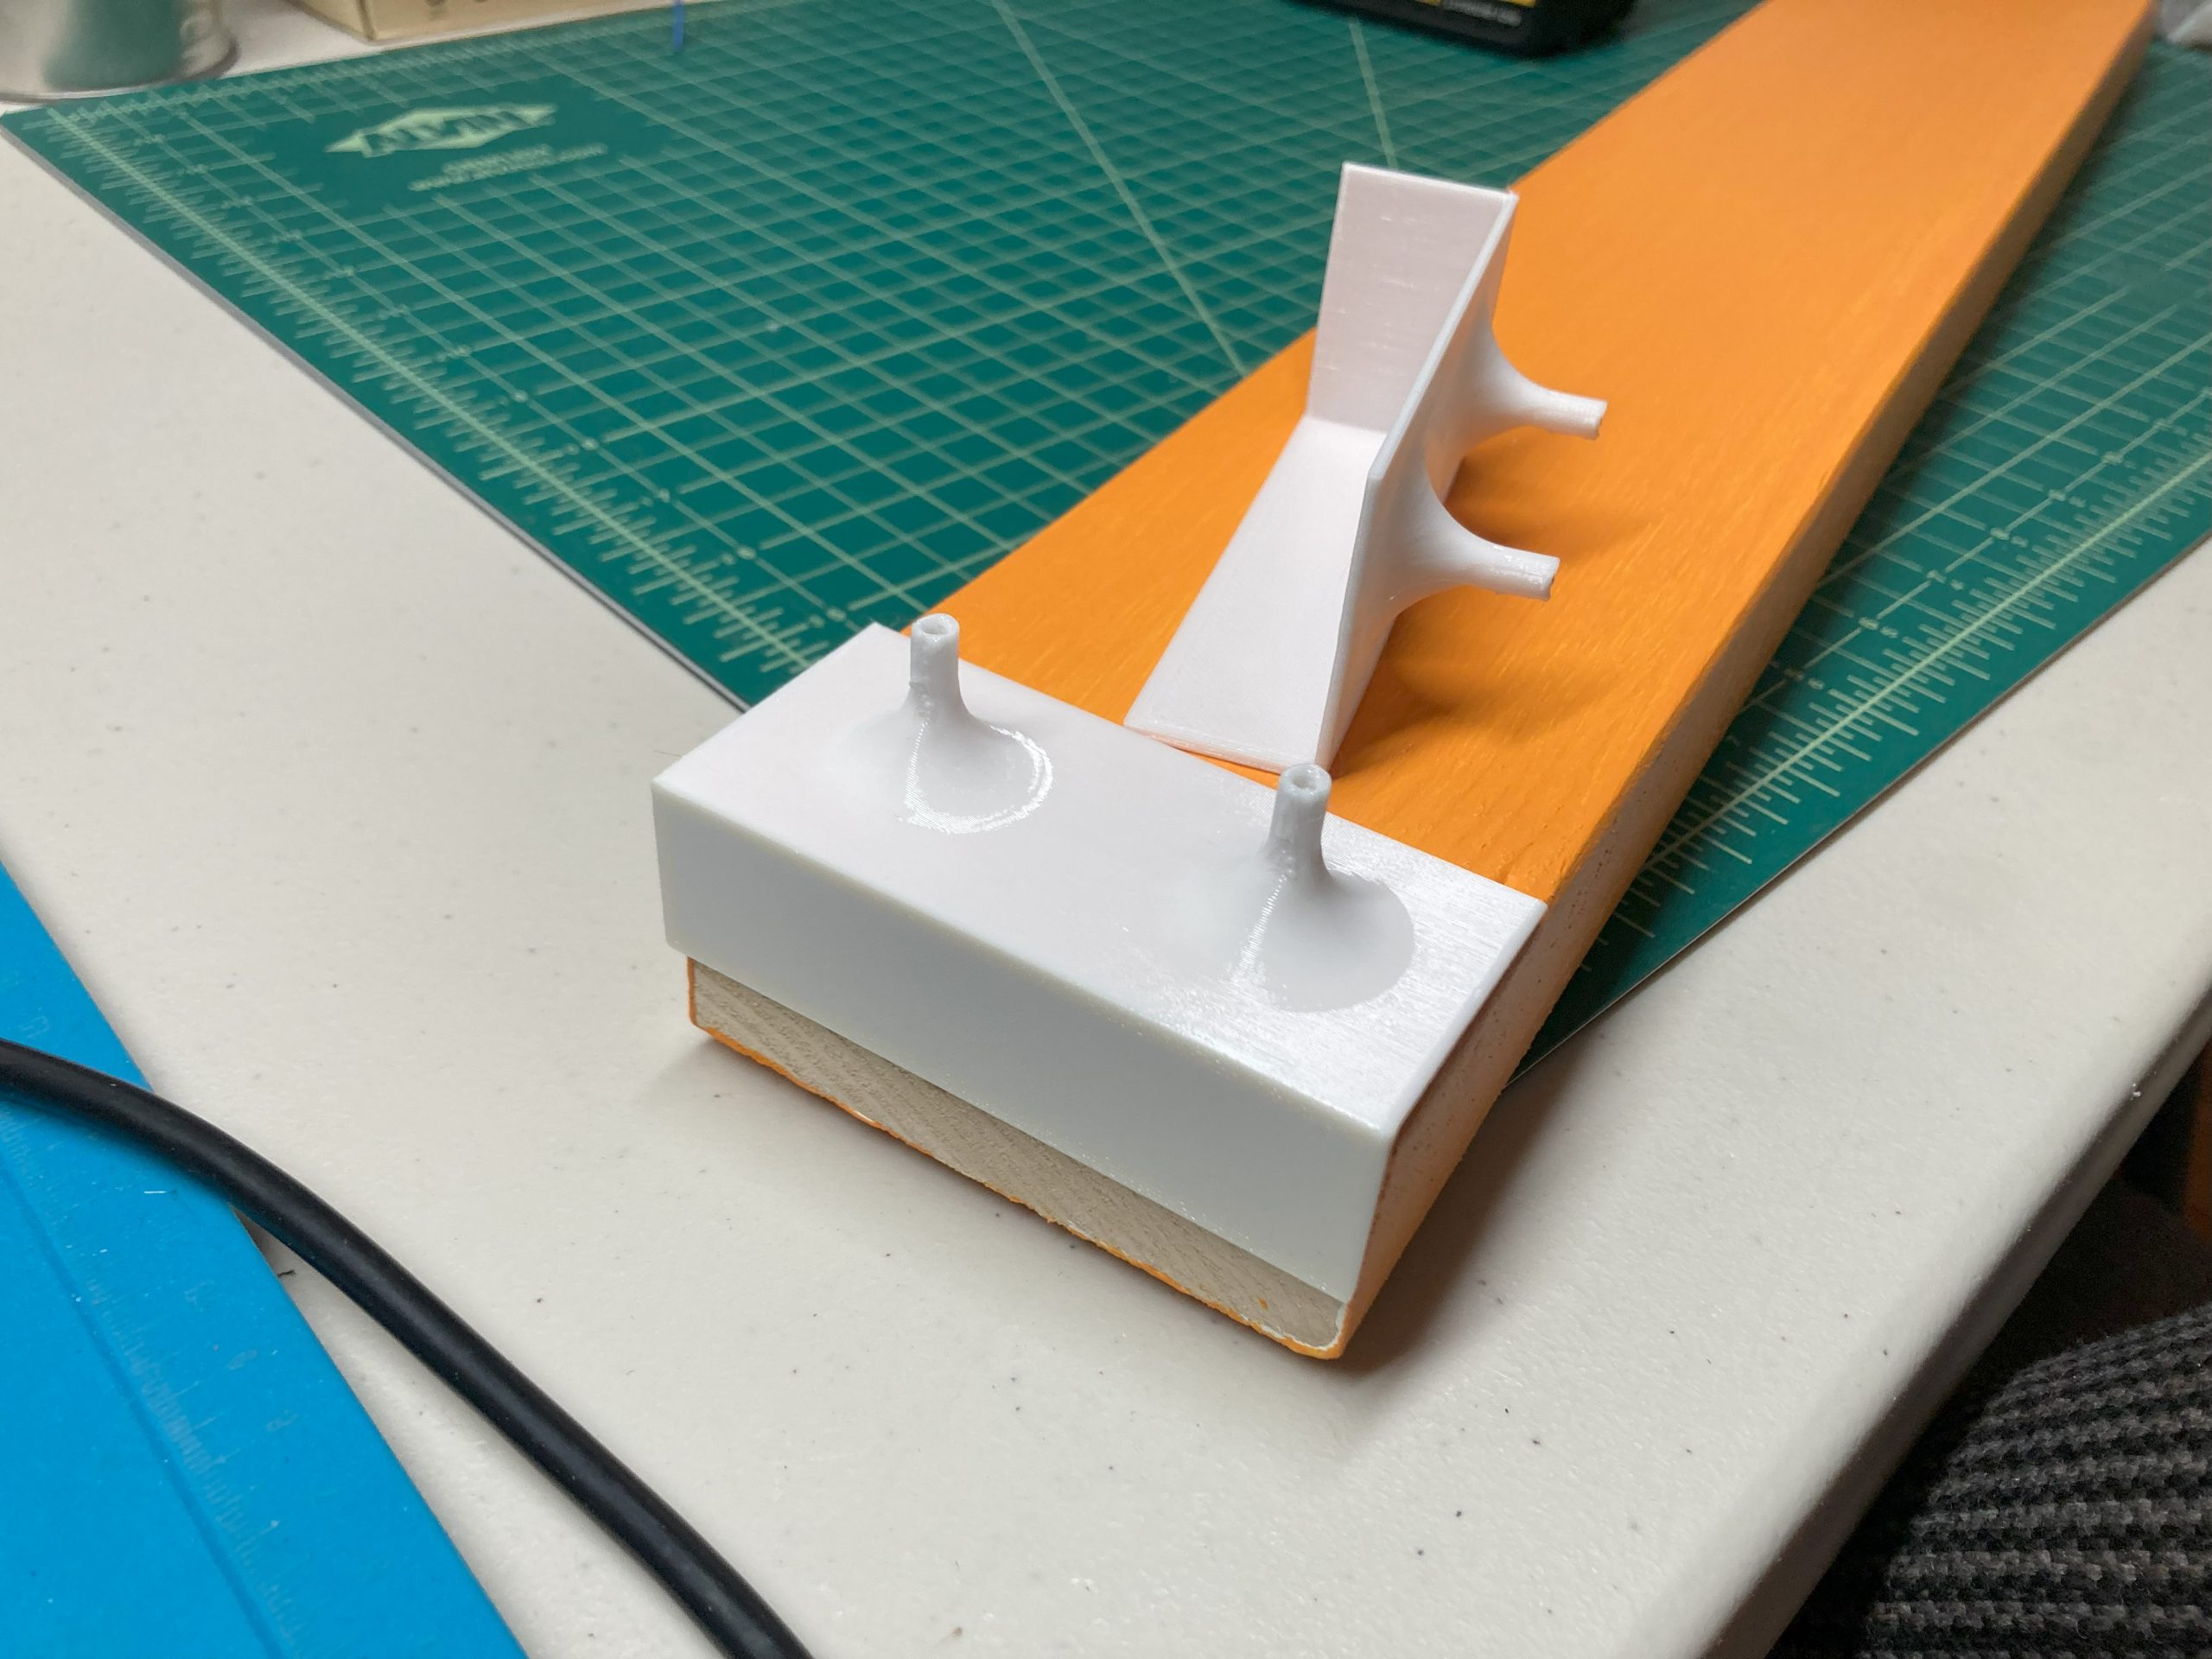
As a side-note: my little orbital sander (for whatever reason) ONLY came with a dust bag attachment and no way to attach a vacuum. Luckily someone on Printables posted a nice locking attachment that was able to print and adapt to fit my ShopVac onto it.

The 3 large tabletop sections were 12″ wide which allowed them to just fit into my thickness planer. I did eventually add some weather-stripping to my chip bucket which cut down on the amount of chips blown throughout the workshop.
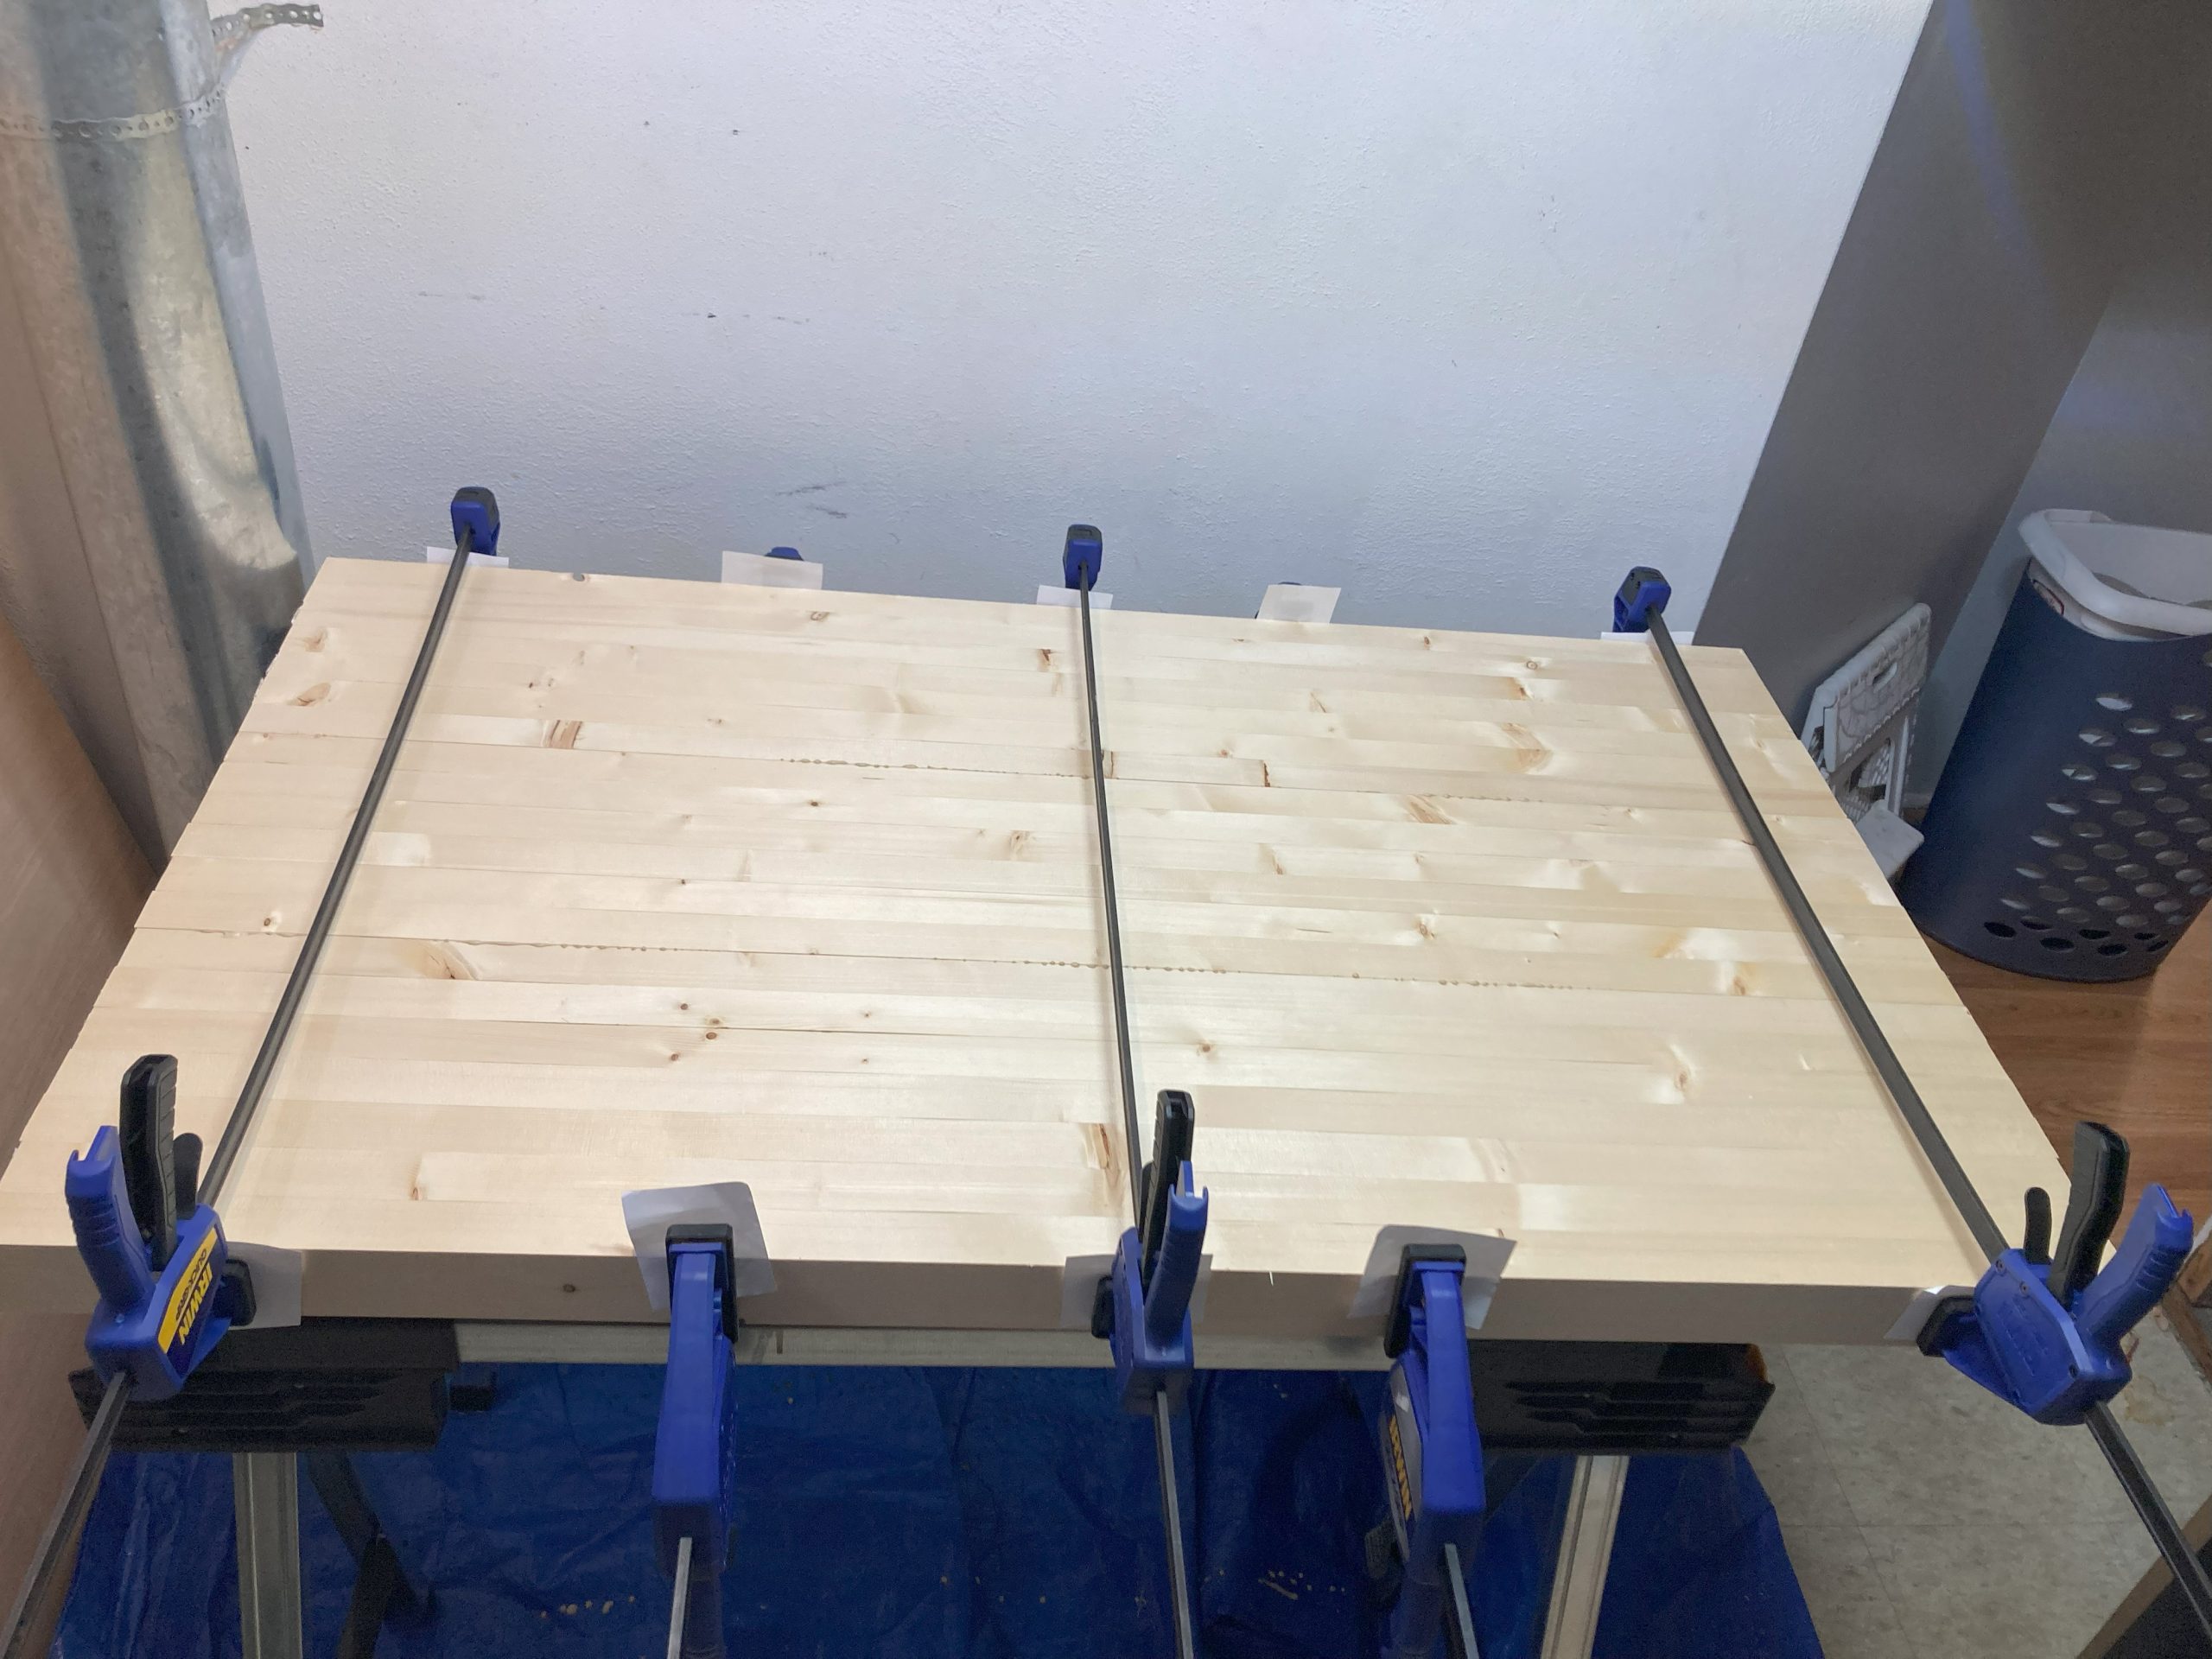
The tabletop glue-up was extremely frustrating and I see why all the YouTuber’s start cursing during that step. I did eventually get all 3 pieces aligned and quite level.

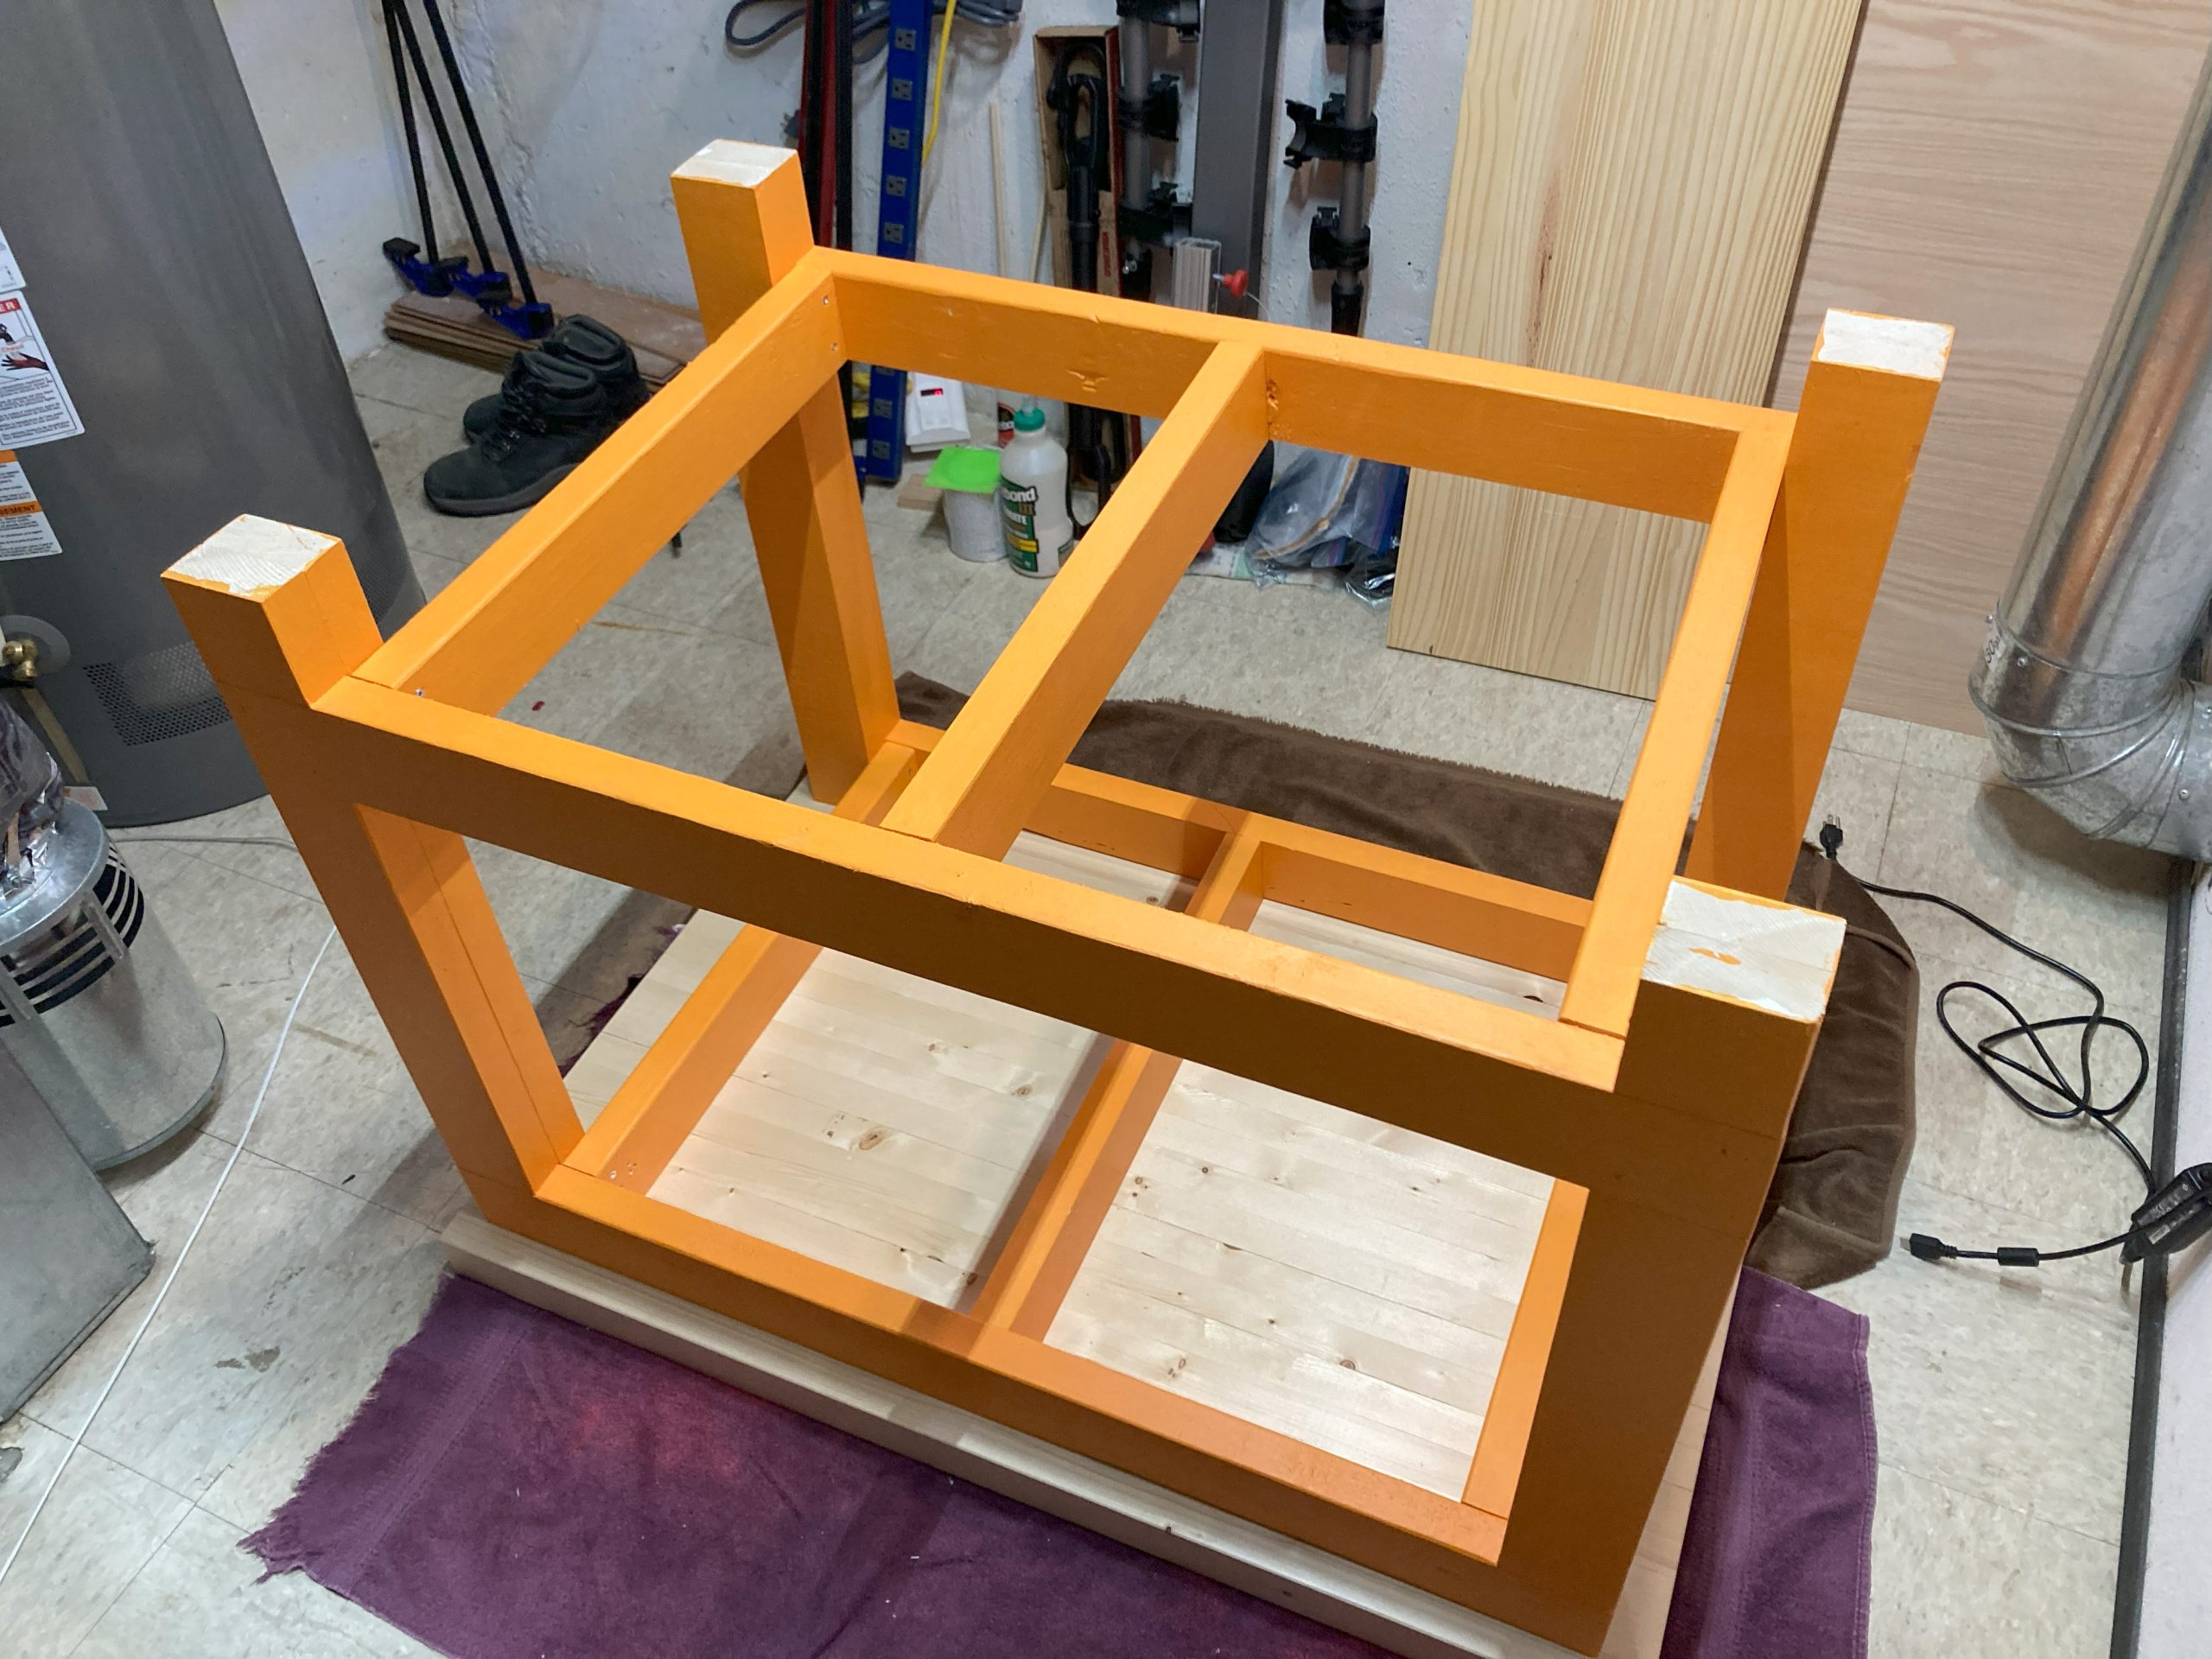
The workroom this table is going in can be quite dark so I wanted a pop of color in there. I gave myself 3 minutes in front of the Home Depot paint swatches and picked a dozen colors. I eventually settled on “jack-o-lantern orange” which I hoped would look ok with the natural wood of the tabletop. The internet says you can’t just paint directly on unfinished construction lumber, so I coated the whole thing in white shellac primer first, then painted it all up.

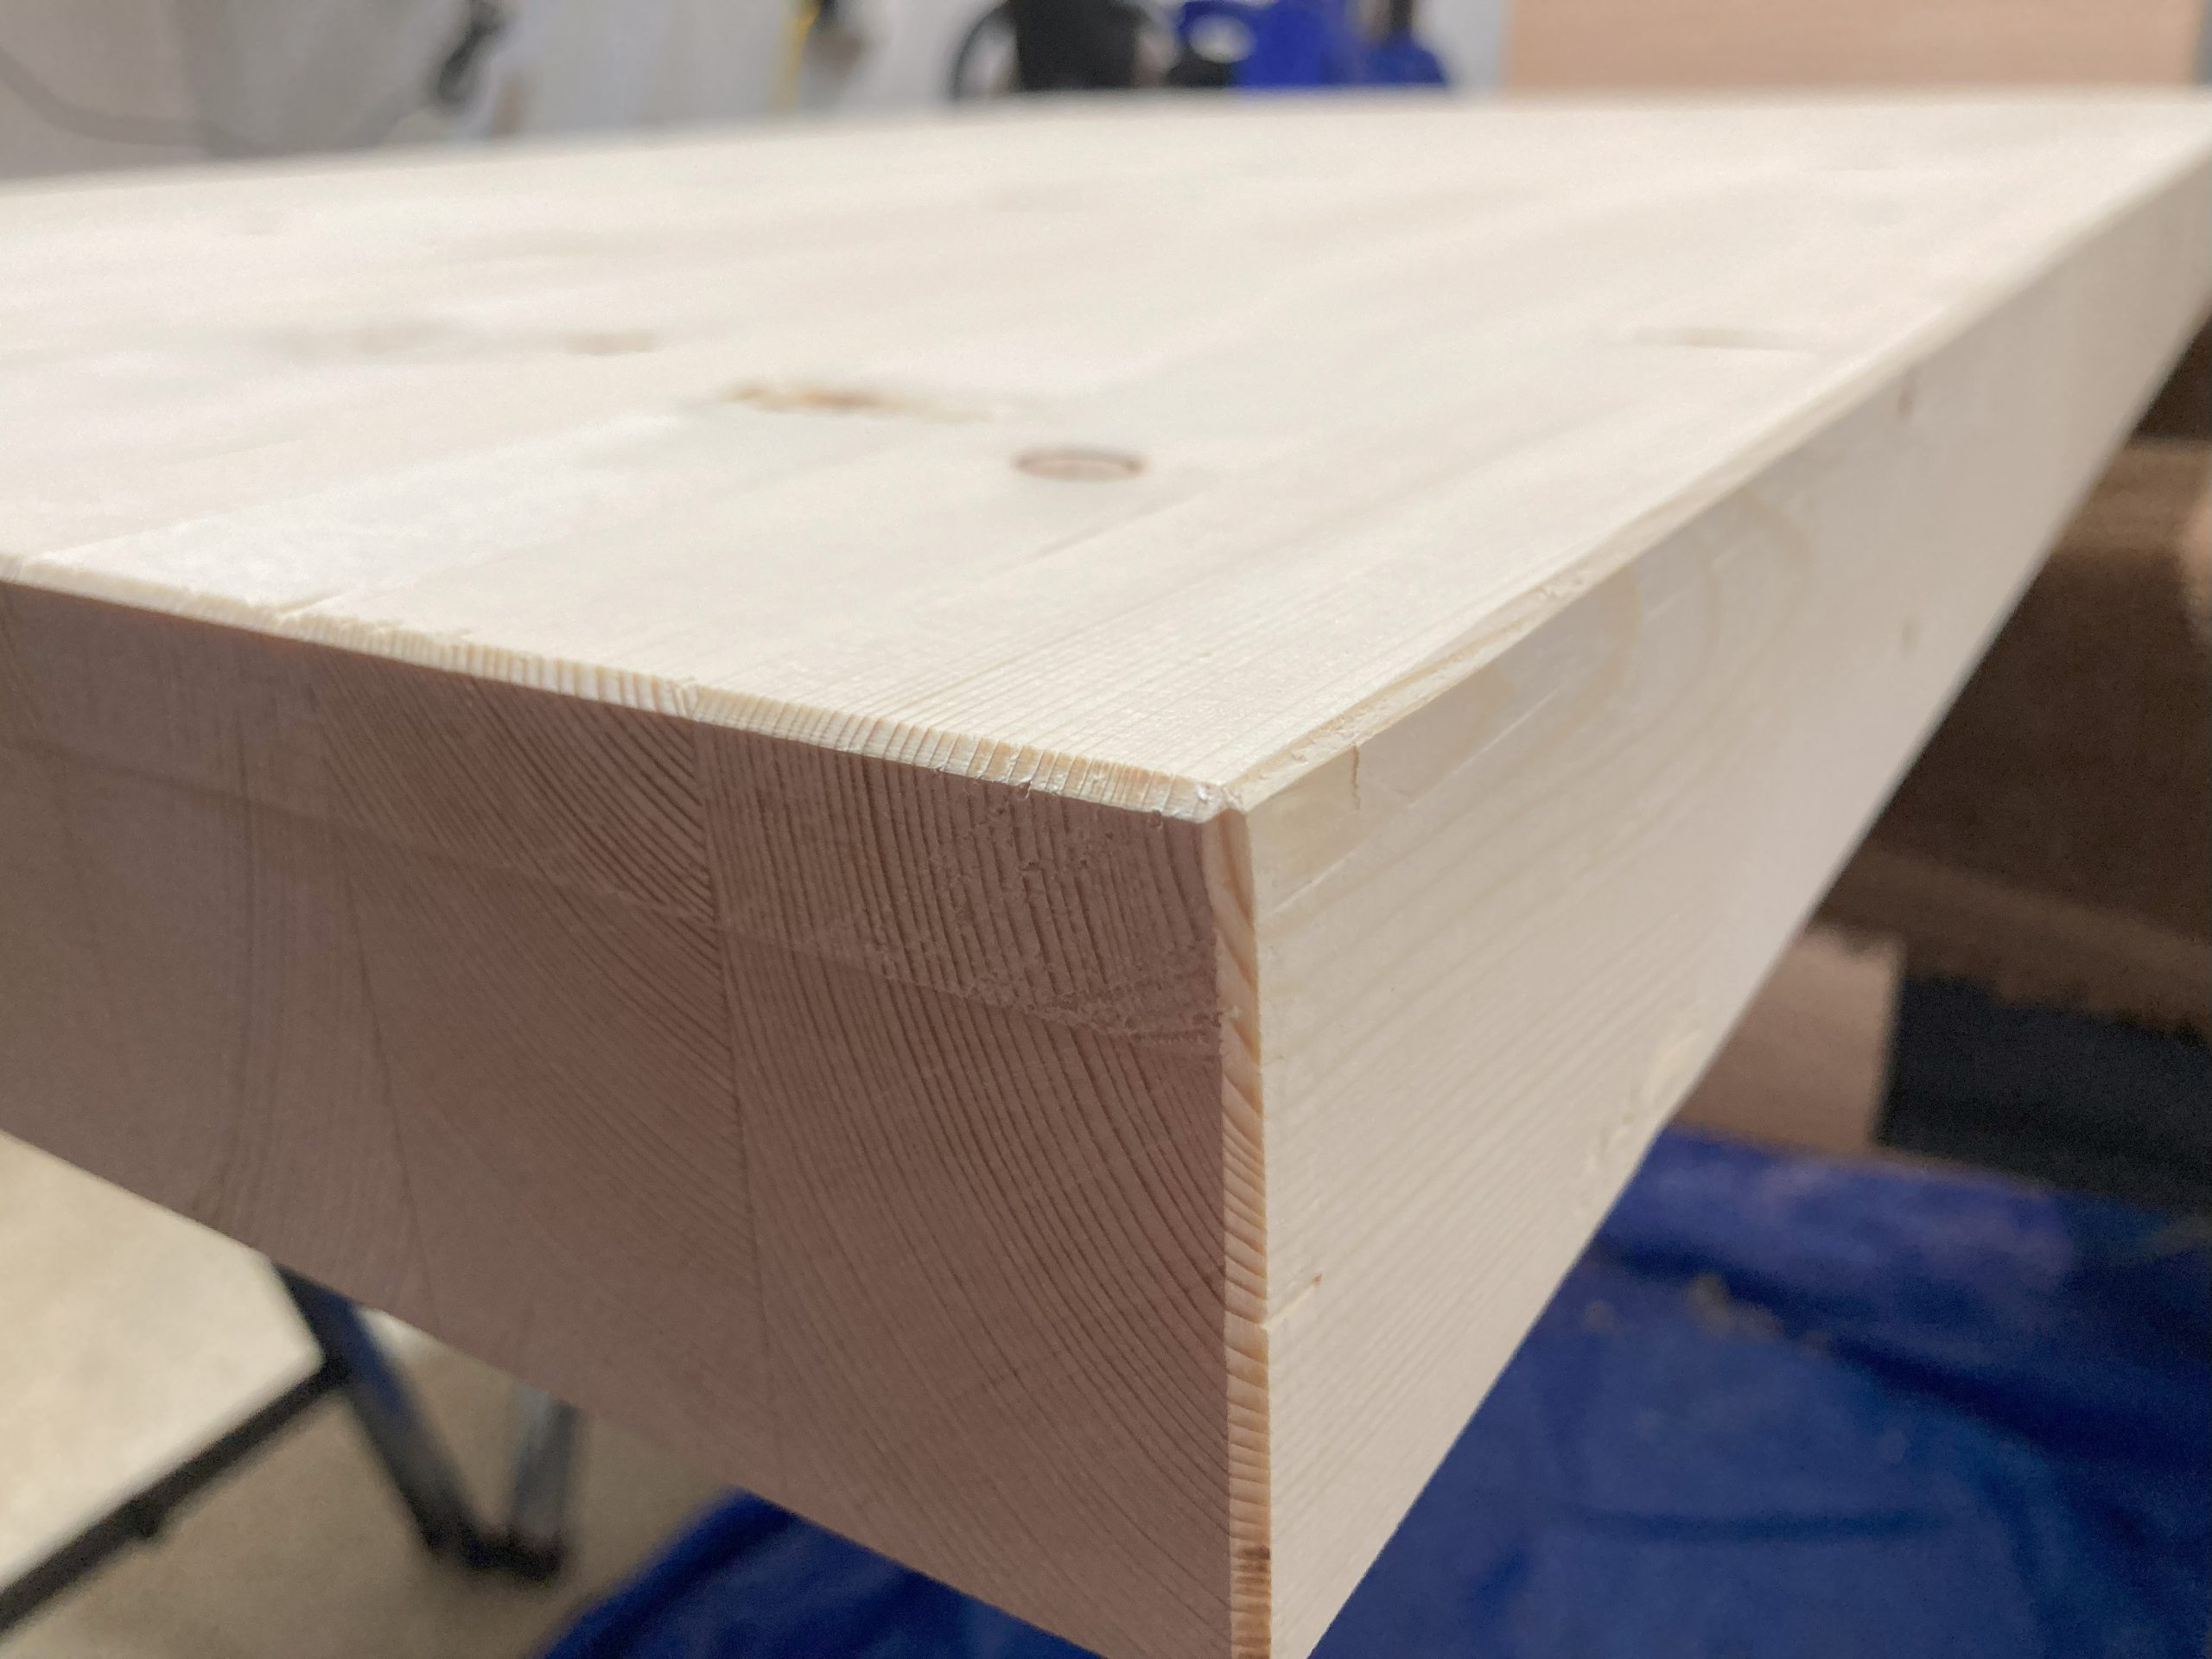
Trimming the tabletop and getting it all sanded was quite the endeavour as it likely weighed 150+ lbs. Put a nice 45 chamfer on each edge and gave it 3 coats of clear polyurethane.


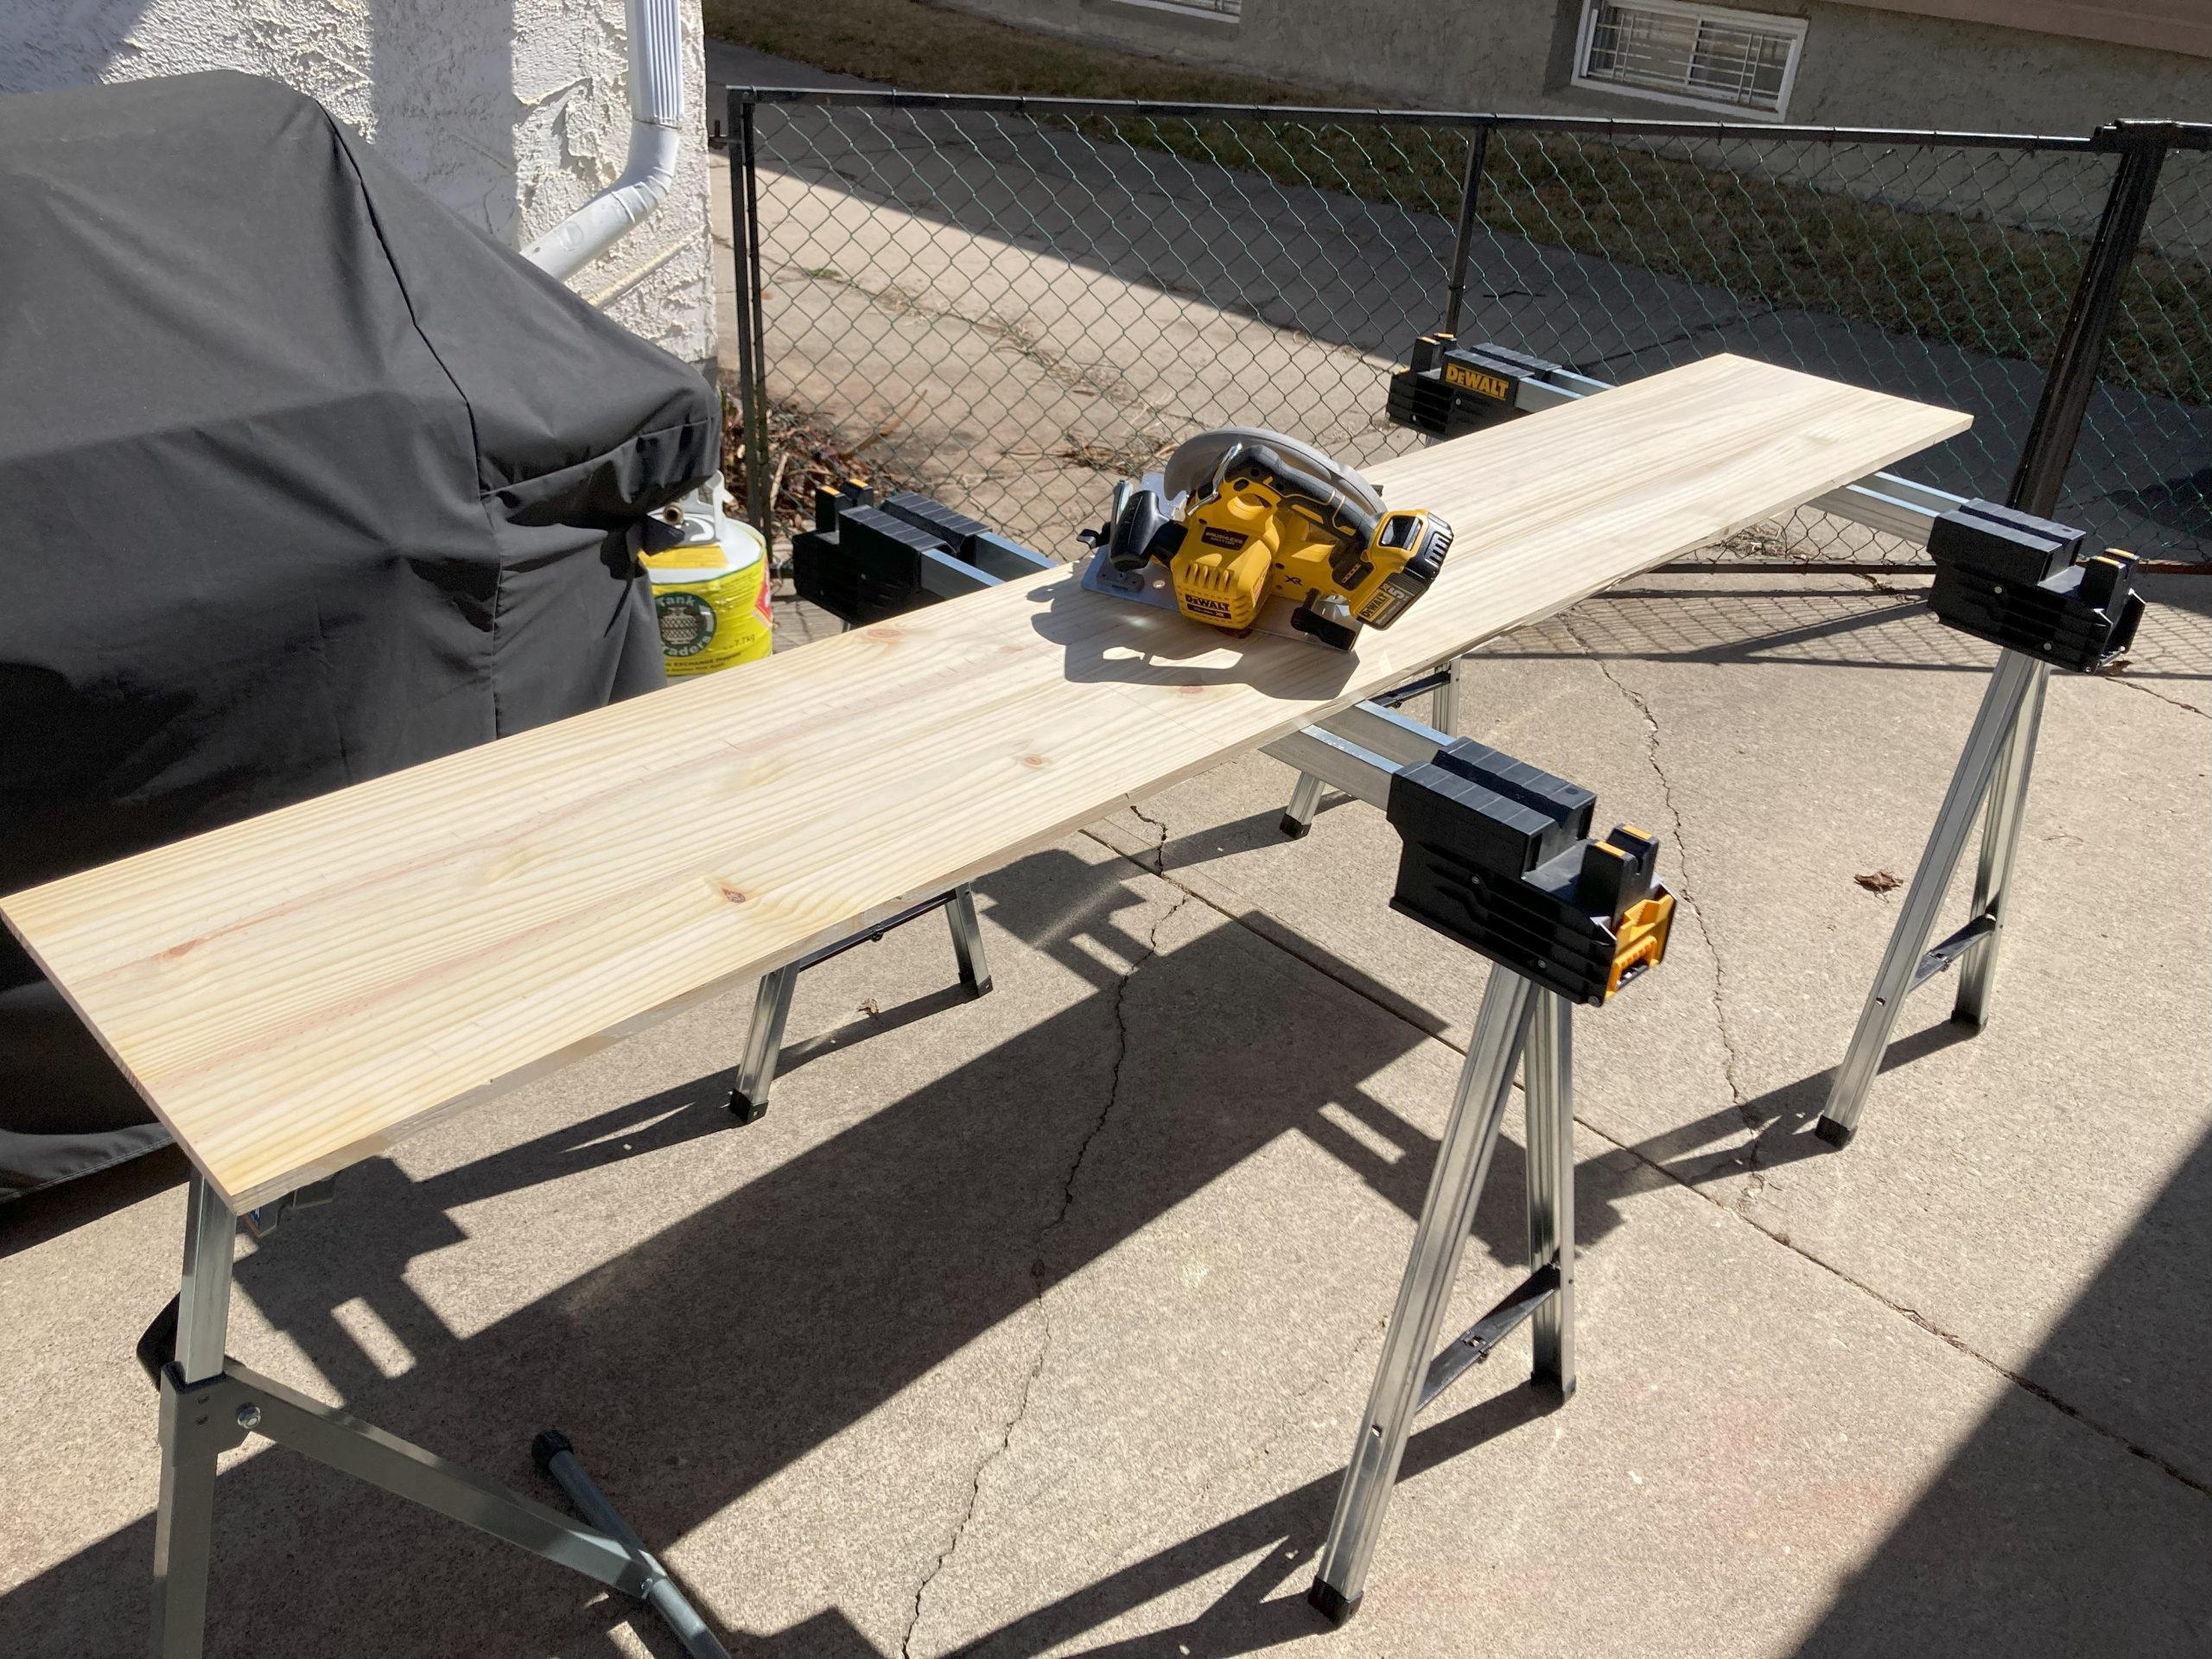
The lower tabletop holds the PC that runs OpenPNP and gives some extra storage. I used laminated board from Home Depot there. Cut two pieces and chamfered all the edges and everything.
I may need to disassemble/reassemble the table as I move it around, so I wanted the screw holes to be as uniform as possible, that way if I mixed up the crossmembers they’d still fit properly. I designed a little drilling jig in F360 and printed it out.

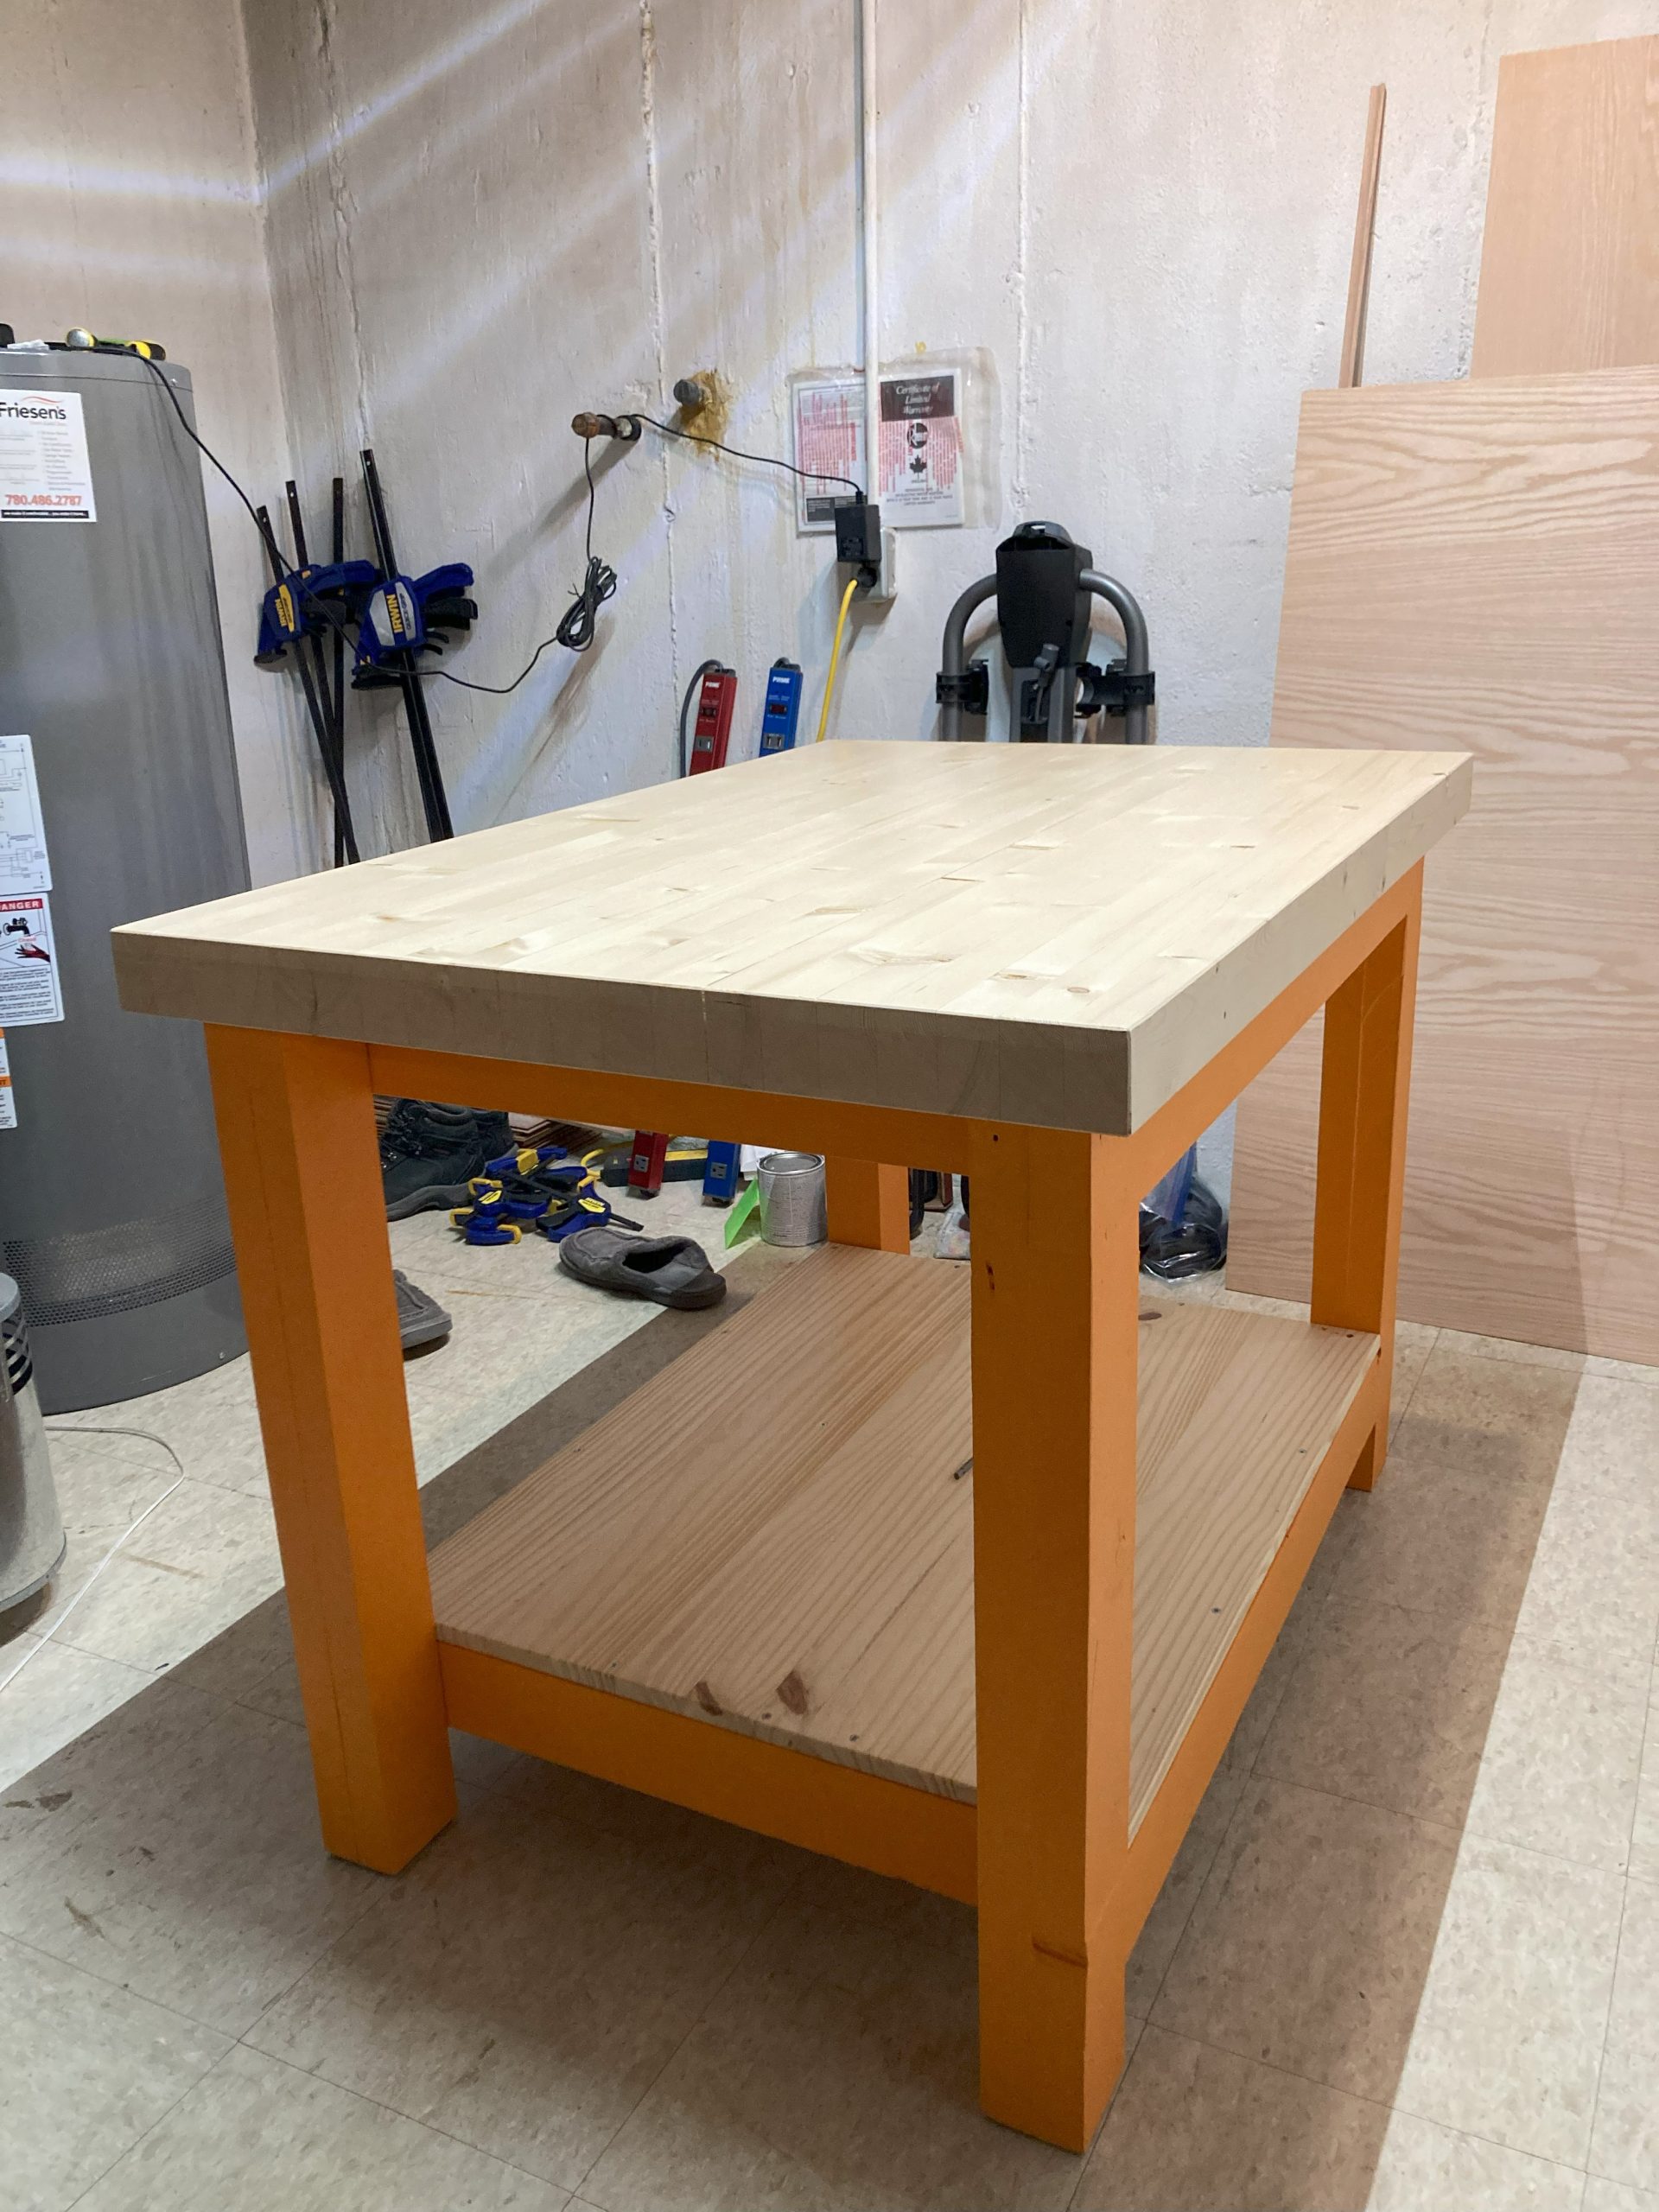
After that there was nothing left to do but start assembly! I never did get the whole thing perfectly square as the construction lumber was too twisty, but it was close enough.
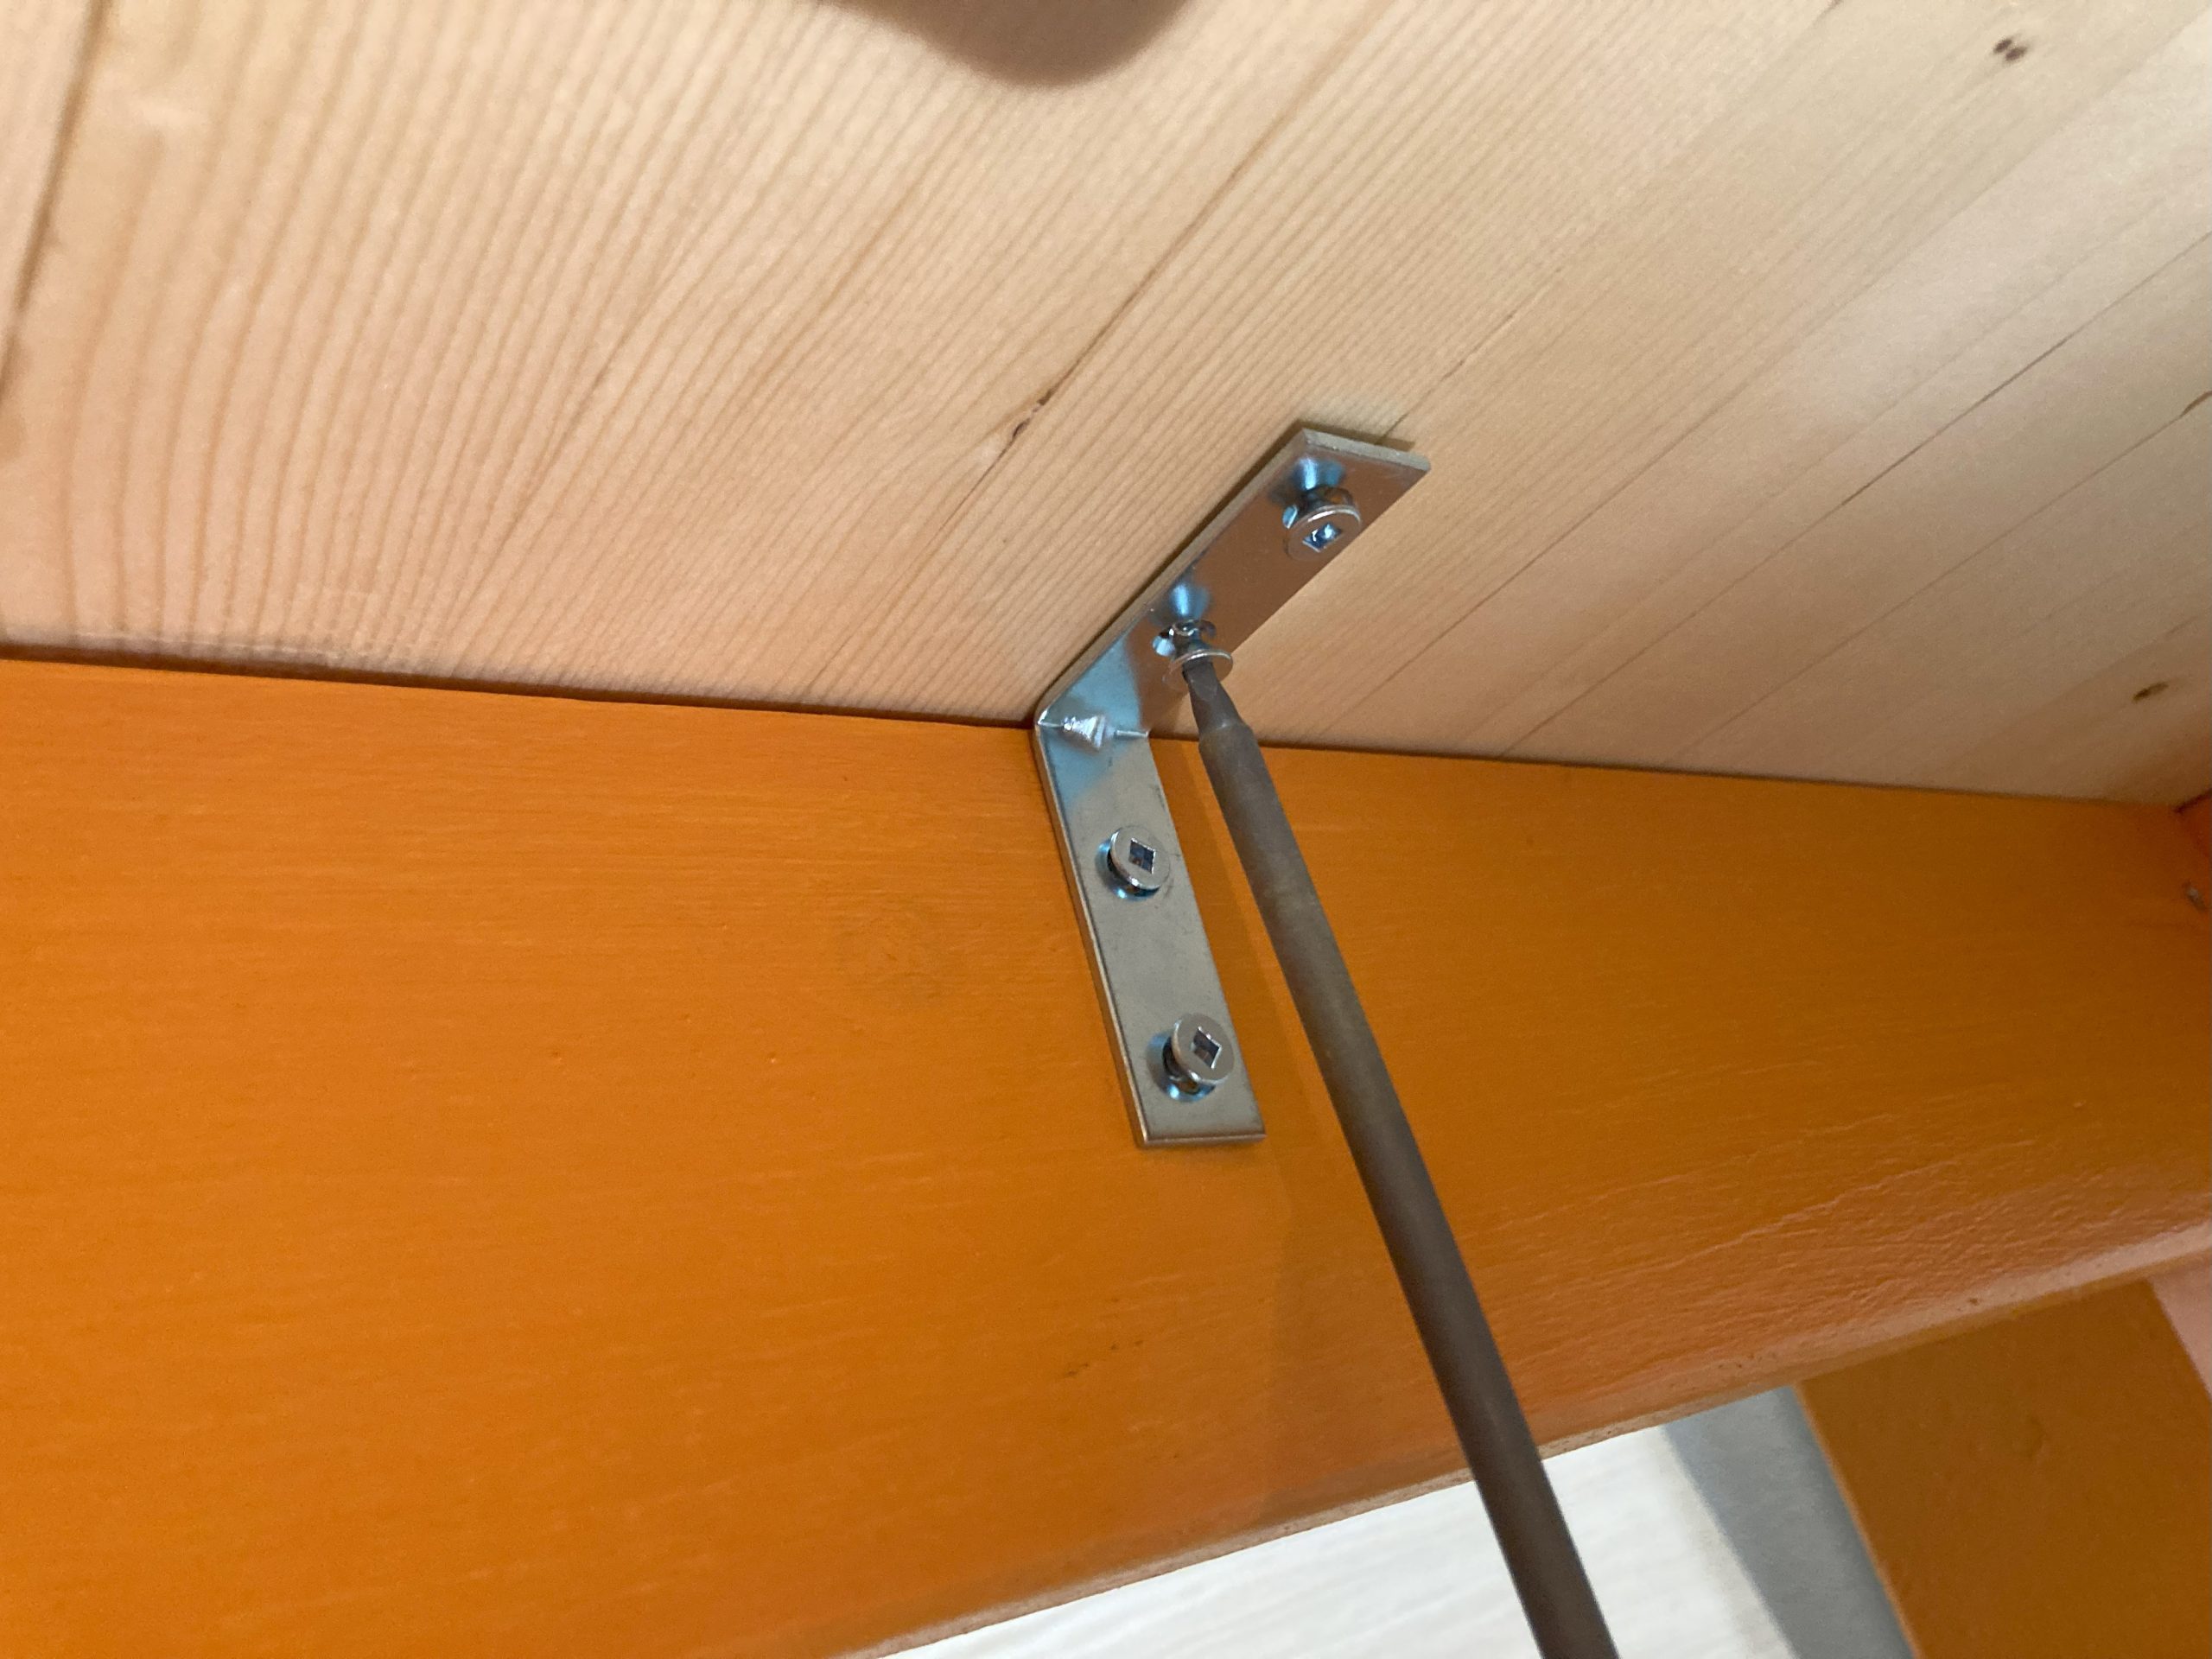
The tabletop attaches with metal L-brackets so that it can be easily removed.
The completed bench looked pretty good in my opinion! It’s super-heavy and really needs 2 people to move it.
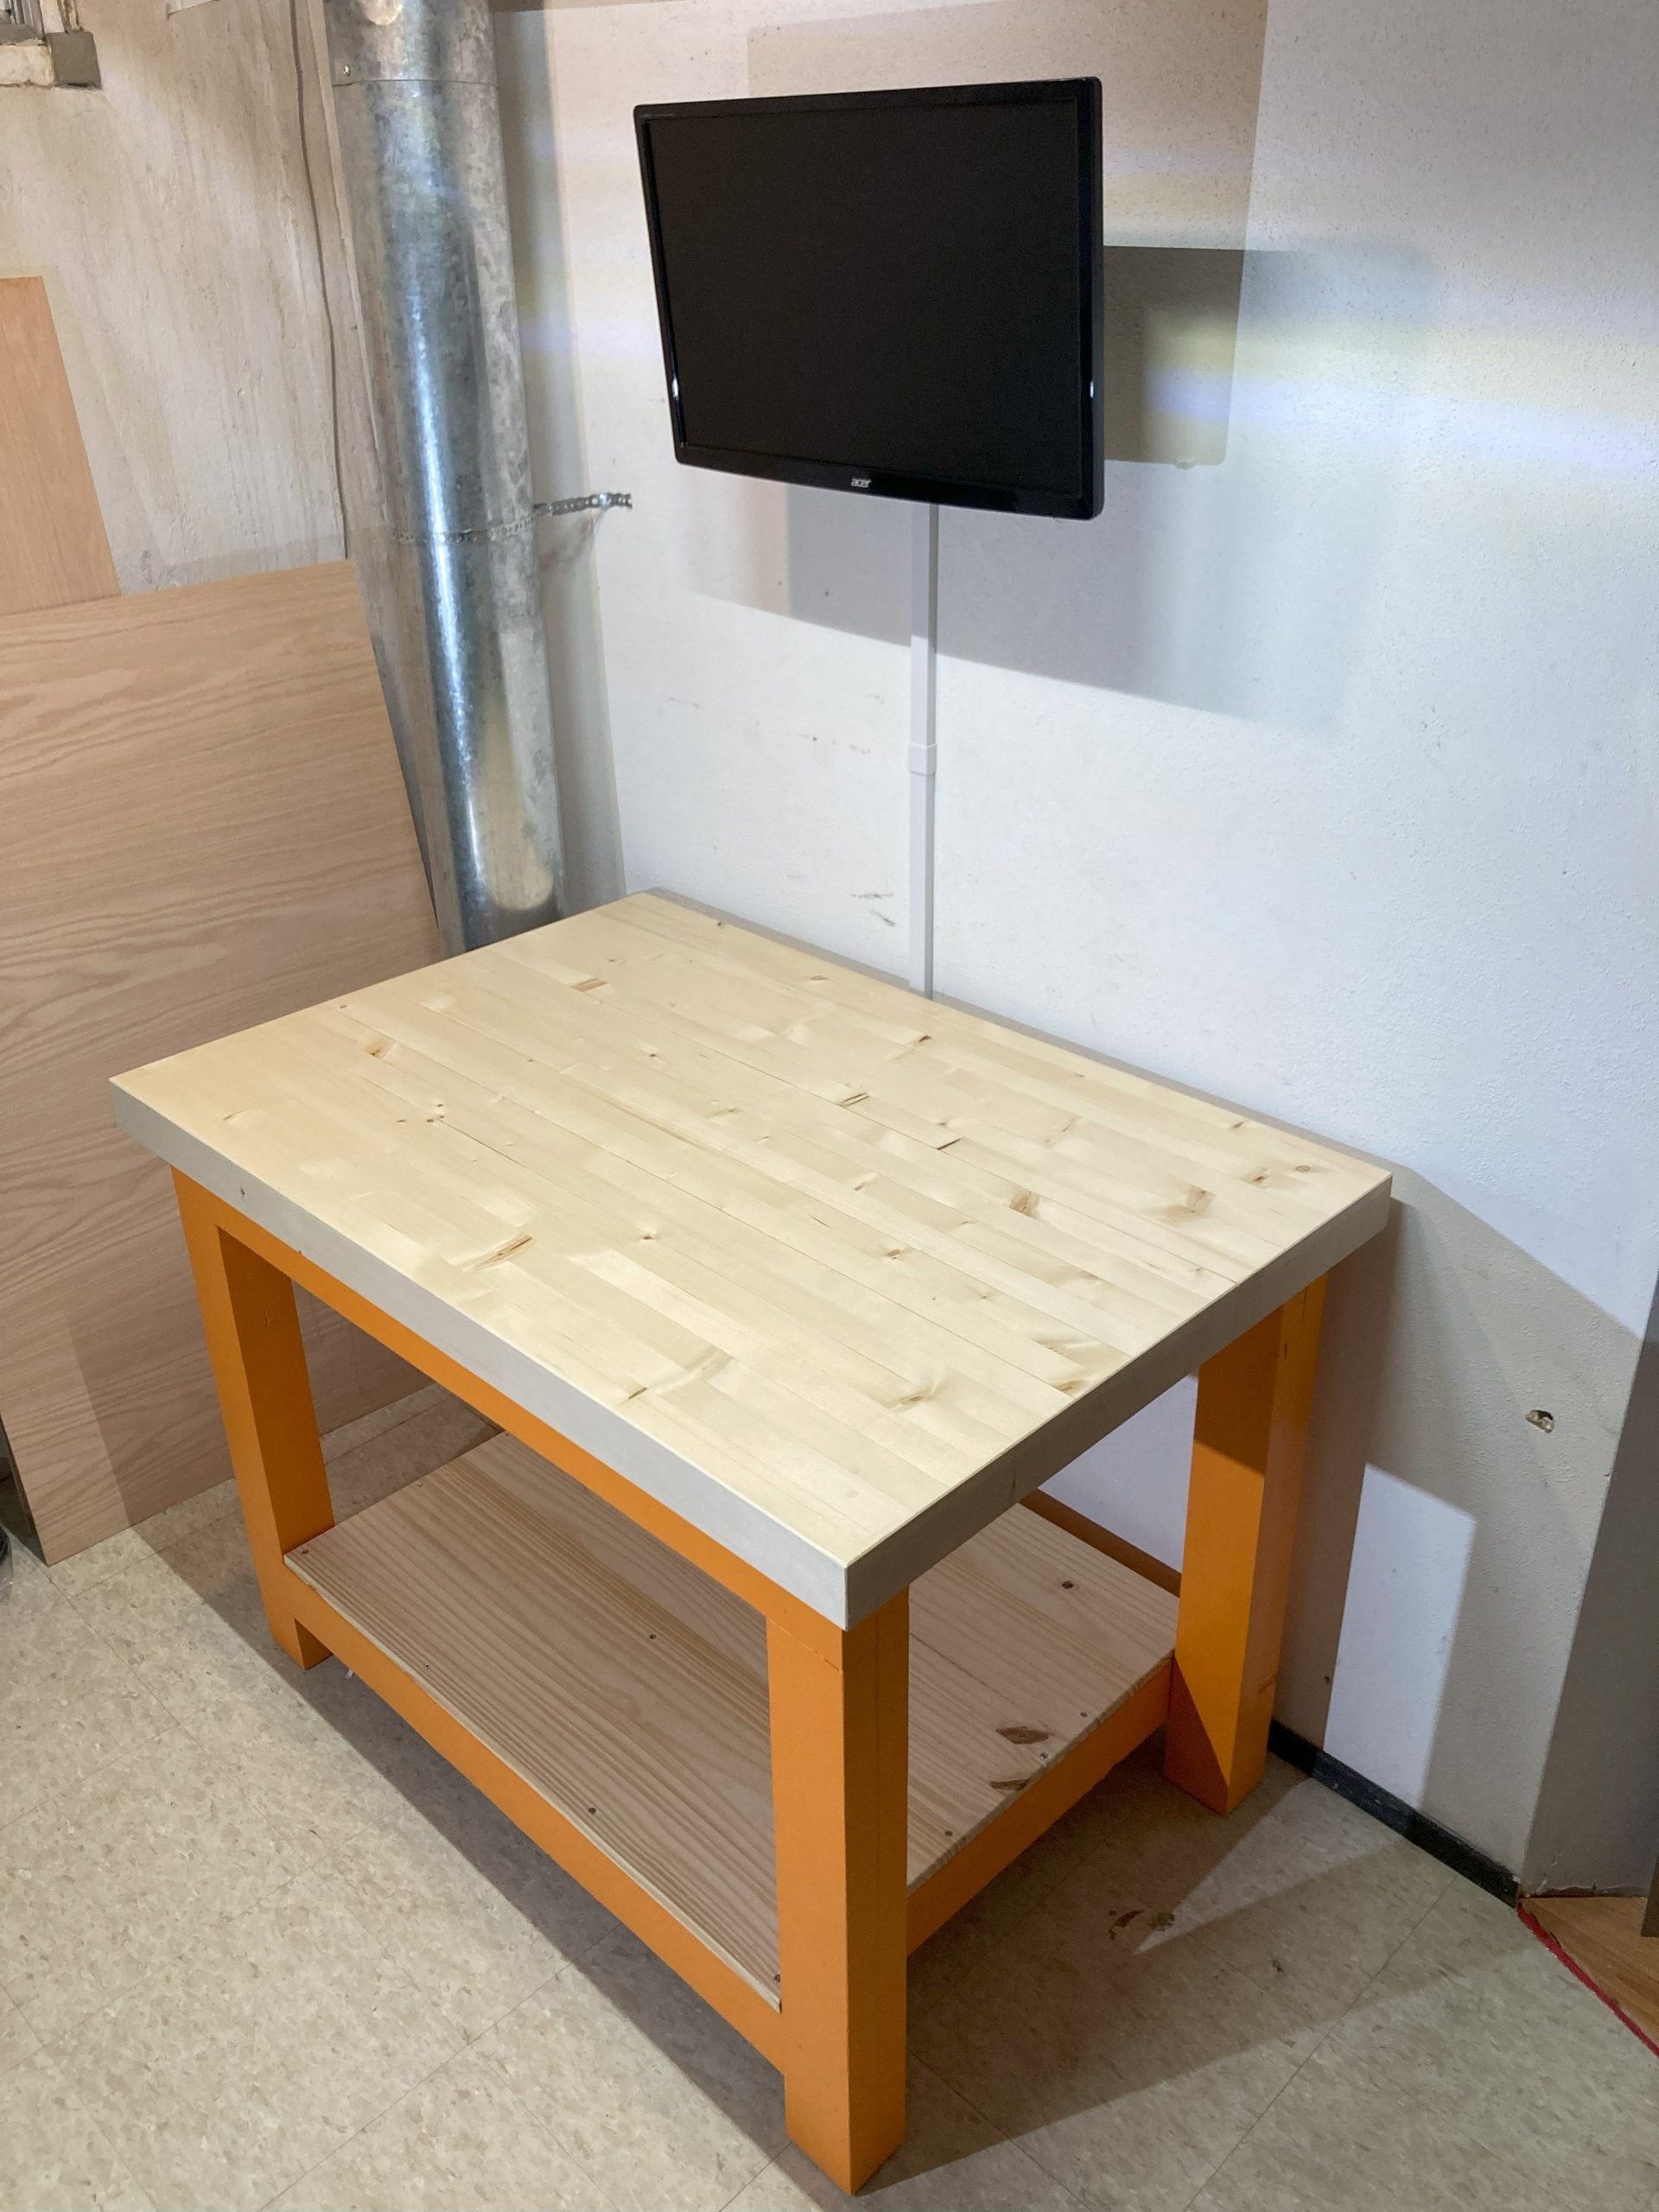
I mounted a monitor up on the wall so I could watch OpenPNP without having a display taking up room on the tabletop.
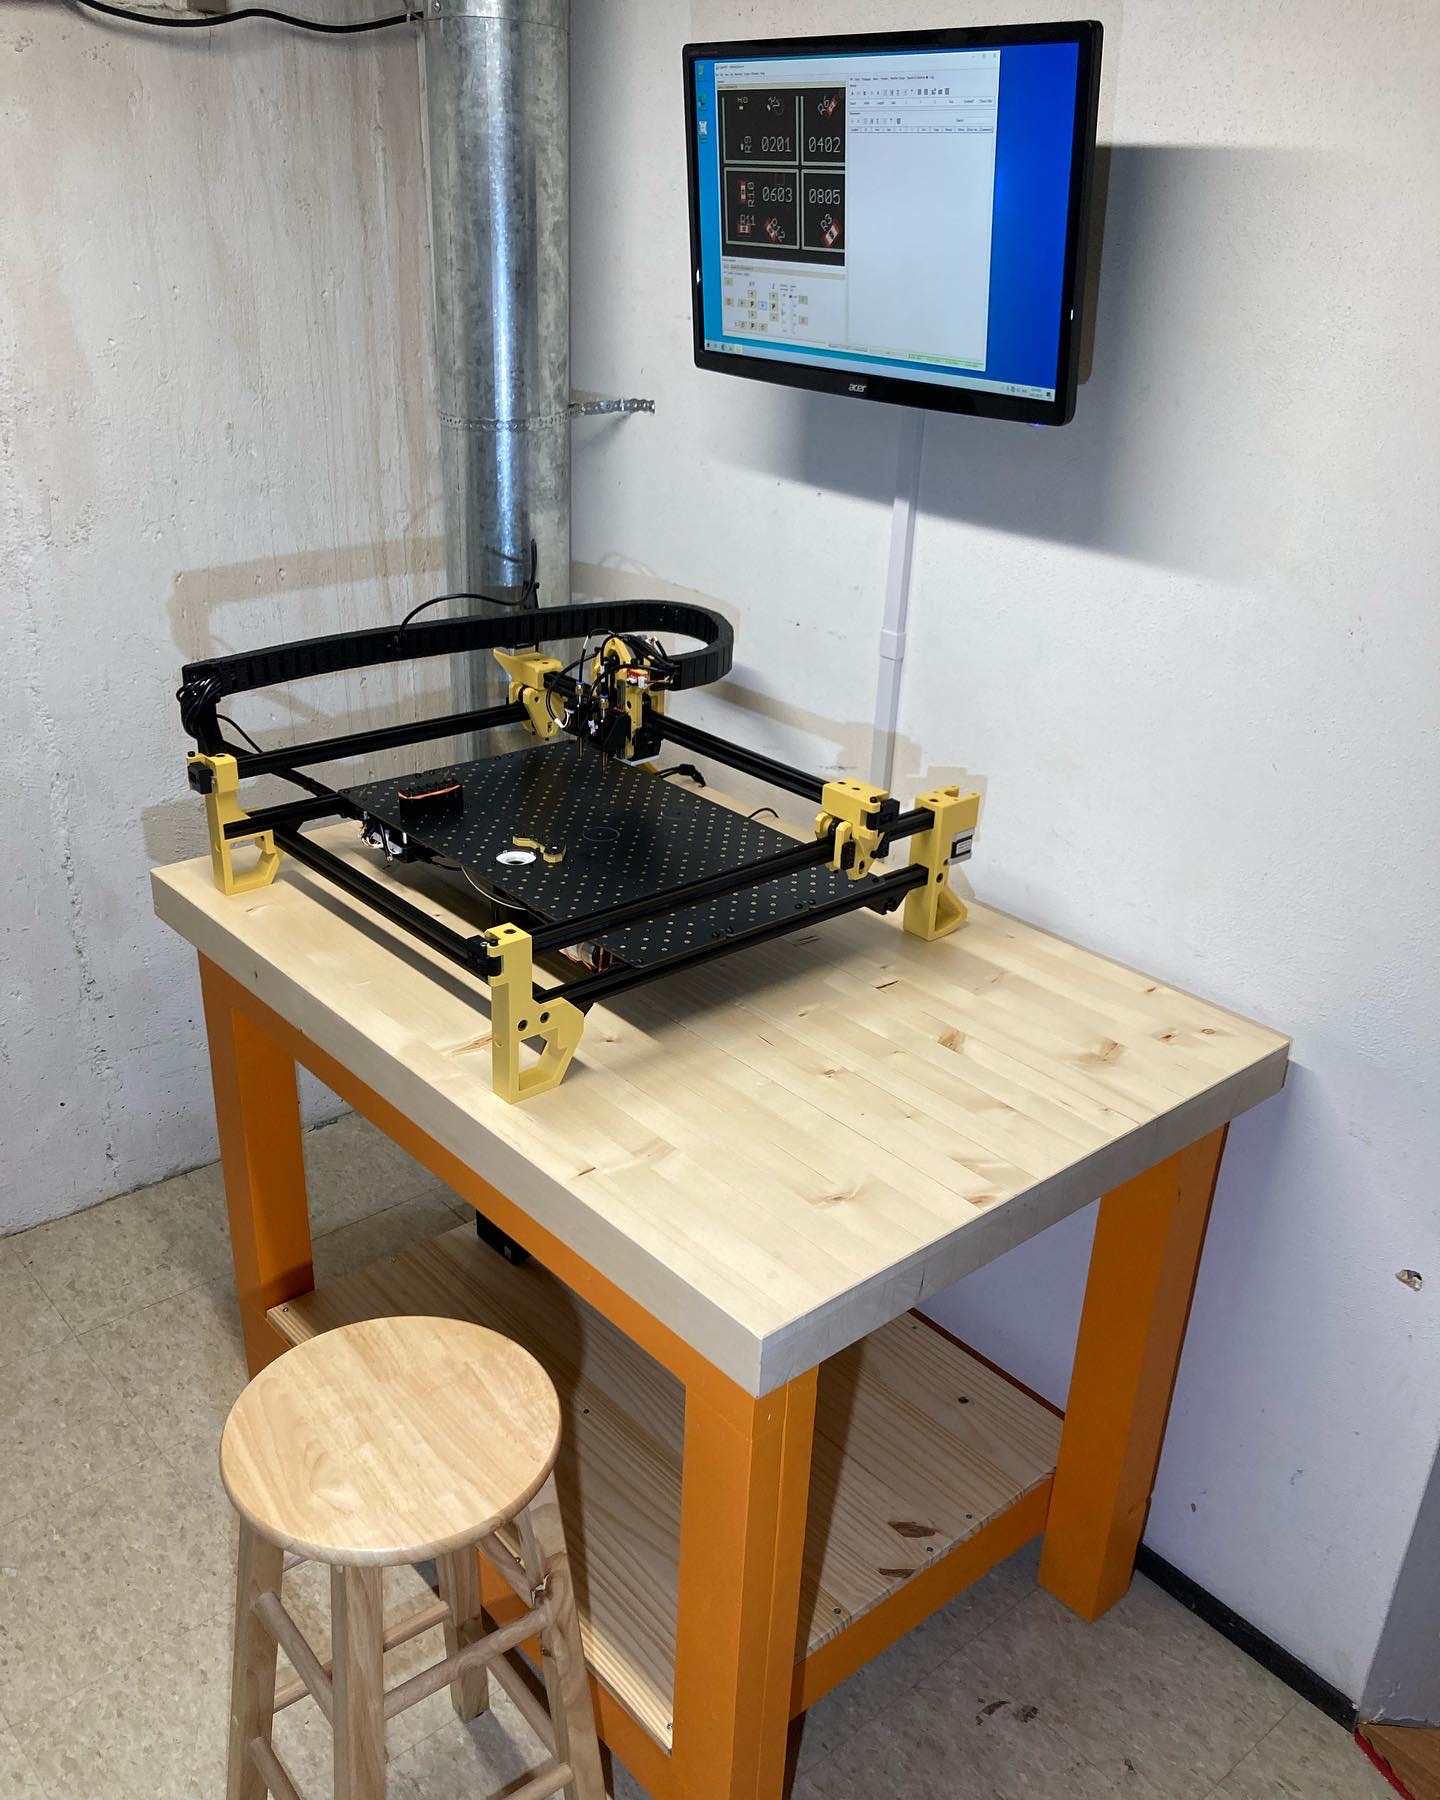
The finished setup works really well! The PC sits on the bottom shelf with a wireless keyboard/mouse. The monitor is on the wall with all the cabling in a white channel. And the PnP machine fits perfectly on the table with no wobbling. I’m very pleased!
Thanks again for following along and I look forward to sharing my next build with you!